Introduction

  1. fQE5WsnSc5ZF4i6Z
    fQE5WsnSc5ZF4i6Z
    CdnnplYradAEVRjT
    toRdH1WRvpcTDoCh
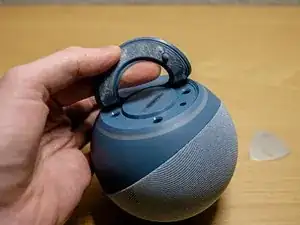
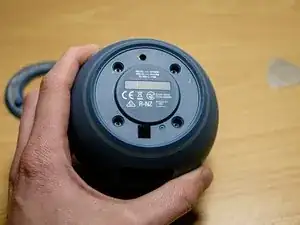
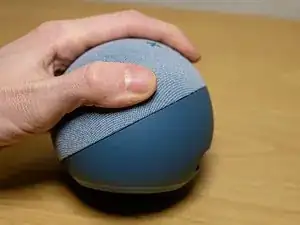
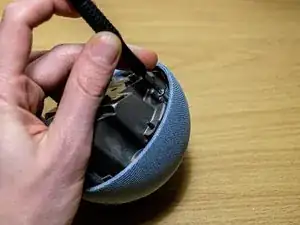
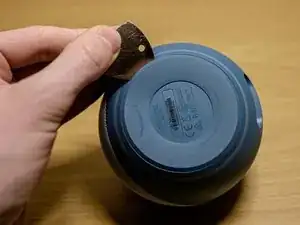
    • Get under the bottom layer with something thin and pull it off. You might need to use quite a force as it's glued pretty well.

  2. X46VDfRULQIVnhdT
    X46VDfRULQIVnhdT
    RHaJtVStQeE2KA4E
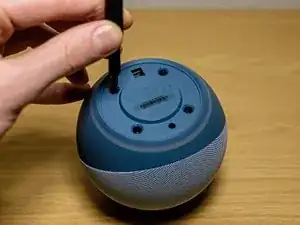
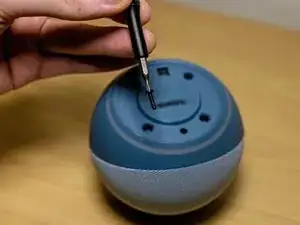
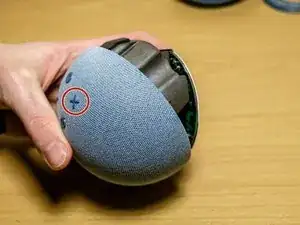
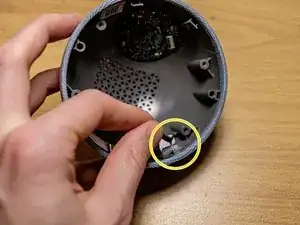
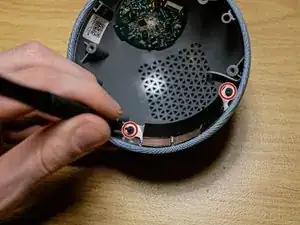
    • Take the screws out with torx 6. A T5 might work as well.

  3. Pd5mNupbGVaZIPVE
    Pd5mNupbGVaZIPVE
    e6ppM3spYS5rVkSI
    1w1TOBPZTFSeSuTO
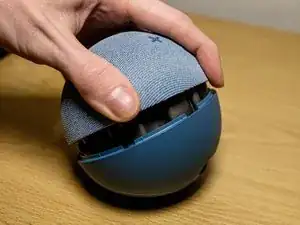
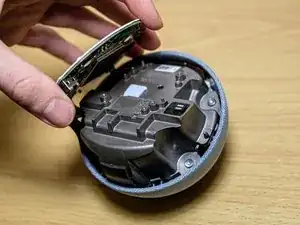
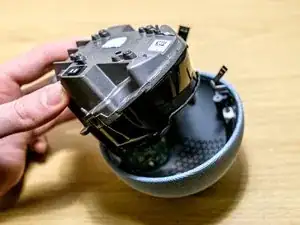
    • Open the device.

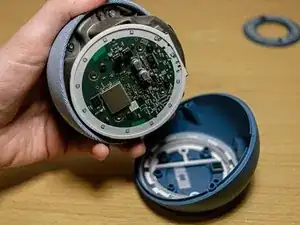
    • The top part is housing the speaker with all boards and components.

  4. 5mvDVqnrUfViCqmU
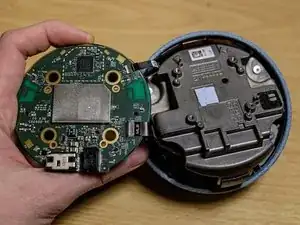
    • Take out the mainboard screws with a torx 5.

  5. 4cS2llWCUTnQyTYe
    4cS2llWCUTnQyTYe
    LTgiCABD4U1R4bUE
    KBQMTOvtUTJRrDlO
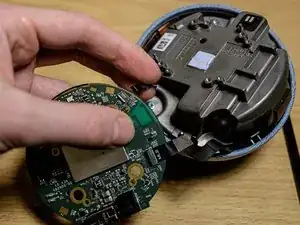
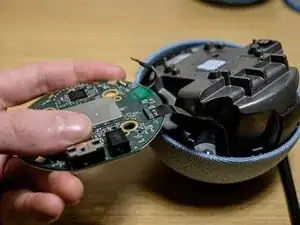
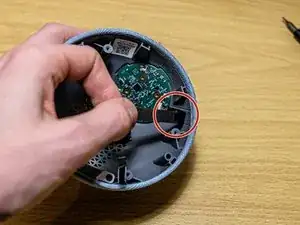
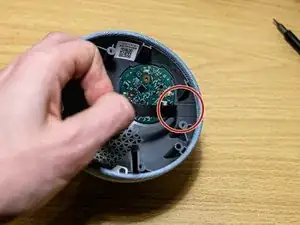
    • Be careful by lifting the mainboard. The LED panel and the control board are still connected.

    • Open it from the side on the volume up button.

  6. T1XJxFx6fIxlZ5JG
    T1XJxFx6fIxlZ5JG
    bH5L1SyLZnFC3ZYU
    VVJQcqIBoXYKIGts
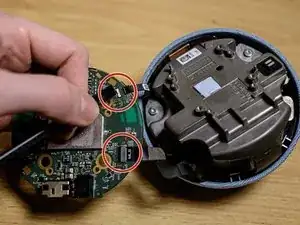
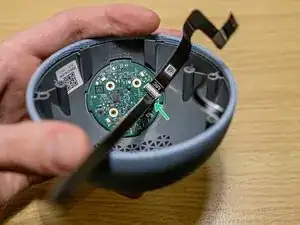
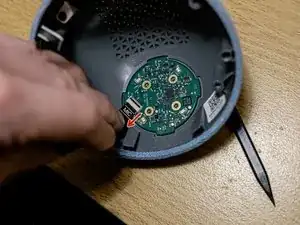
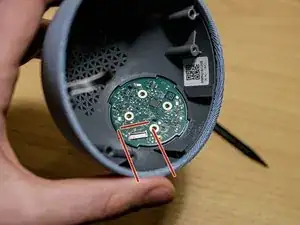
    • Take a spudger and lift the connector off. Careful! It opens from the opposite site to which the cable is going to.

  7. rS2guJHGhqfsGnAF
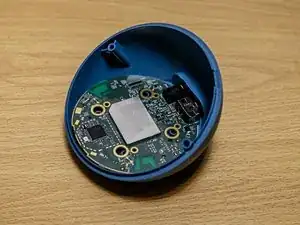
    • Best place is in the bottom part where it originaly sits.

  8. k5pJrpQekgNACtNW
    k5pJrpQekgNACtNW
    nnuq2DAUVIbjnWSZ
    RaSXxAS6wKeuGXWY
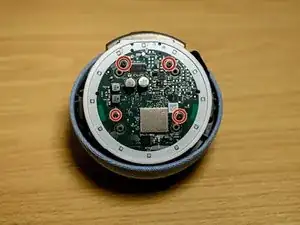
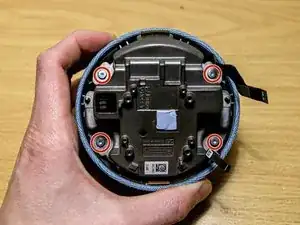
    • Open the four torx 8 screws.

    • Lift the speaker outside the speaker grill.

  9. tlFHVqDTLbVmrnwb
    tlFHVqDTLbVmrnwb
    1t1NZ3EMjMaG5Dot
    I4Ot2xPItDdLfSim
    • Carefully pull the partially glued connector cable off.

    • Use a torx 6 or 5 to take out the two screws.

  10. MU4Hdoxhf5ESEhHk
    MU4Hdoxhf5ESEhHk
    vjOWhZmIbUDOGmHc
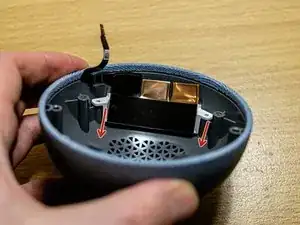
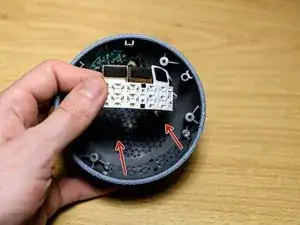
    • Pull it in the direction of the arrows to take the panel out.

  11. 1FOViv43OBVjFFGB
    1FOViv43OBVjFFGB
    5IFlAJwOkdtHIpCf
    • Loosen the four screws.

  12. MjmxLYKMHTpb1hao
    MjmxLYKMHTpb1hao
    n15BJmWrVgEfiynn
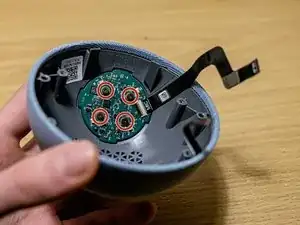
    • Pull of the glued connector cable.

  13. QIOTojwjp1OgYNId
    QIOTojwjp1OgYNId
    rpJJAHC4c6gDBq3O
    L1x6Ob3L6XfxsAUm
    • Lift the lock, which is again on the opposite side of the cable.

    • Beware pulling the cable out. Don't pull it up, pull it as low as you can. See the arrow.

    • Remember how the board is placed because there isn't much of a difference.

  14. 5Rirl2C5kaDRkMTZ
    5Rirl2C5kaDRkMTZ
    qKhHjkqkP3jRdBBL
    JMc6NrXU3lx3FStV
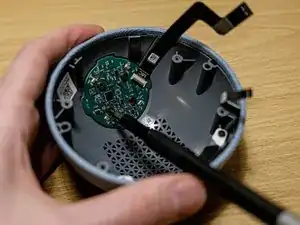
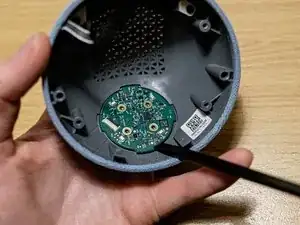
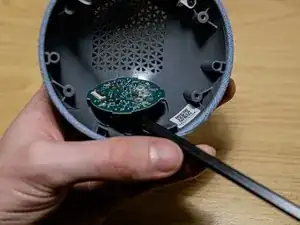
    • As the controller board sits quite tight better use the flat side of a spudger to lift it off.

    • Use the leverage effect.

  15. p3ZSEE6oHjiWNKha
    p3ZSEE6oHjiWNKha
    htbuUEKOIlmDxjUM
    EDiNuwY1qJ5HZscE
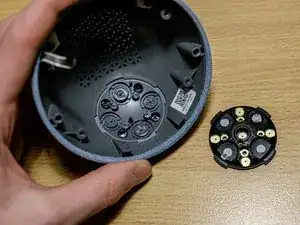
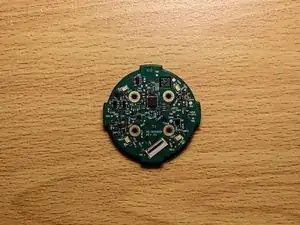
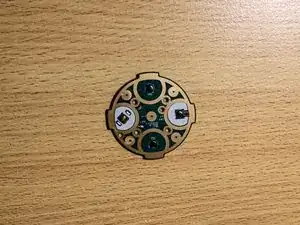
    • Thats the controller board.

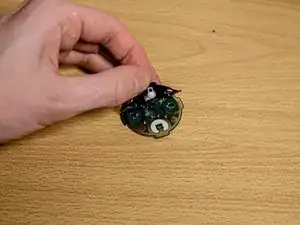
    • On the other side are the buttons. Remove the rubber cap.

  16. n6AFkppYTPLksiAF
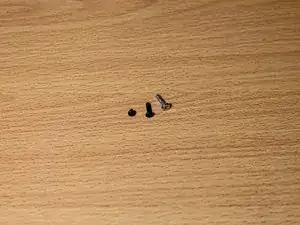
    • The device uses three types of screws.

Wolfgang

Member since: 04/02/22

512 Reputation

2 comments

Has anyone firgured out what kind LED is used??

Helios -

Onde posso adquirir o cabo flex flert da echo dont 4ª geração
Eder Bezerra -