Introduction
-
-
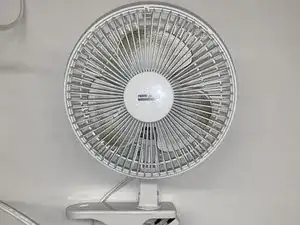
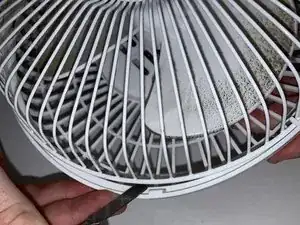
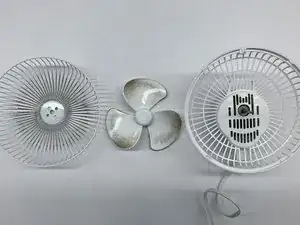
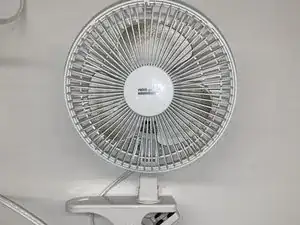
There are 5 main parts of the fan:
-
Fan blade (red circle)
-
Cage (blue arrow)
-
Clip (green arrow)
-
Fan Speed Switch (orange box)
-
Swivel Lock (pink circle)
-
-
-
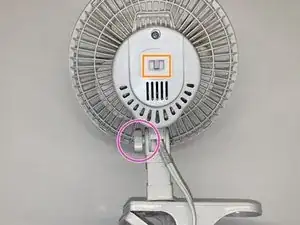
To begin, place the fan face down. Start loosening the swivel lock by rotating counter clockwise.
-
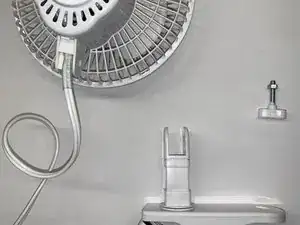
Once the swivel lock is fully separated from the clip and fan body, place the nut and the screw of the swivel lock to the side in a safe location.
-
-
-
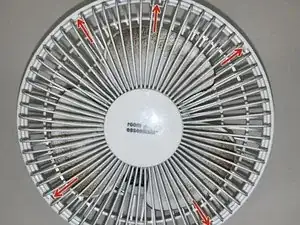
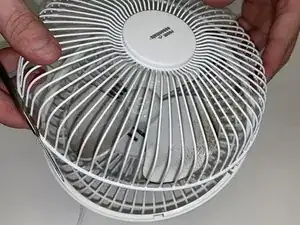
Locate the 5 plastic fasteners, indicated by the red arrows, which keep the cage connected to the fan body.
-
Unlatch each fastener by leveraging the metal spudger between the plastic casing and the cage. Stretch the plastic casing out until the fastener is pulled away from the cage, and pull the cage up and over the fastener.
-
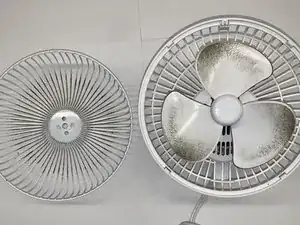
Once all 5 fasteners are unlatched, pull the cage off of the fan body.
-
-
-
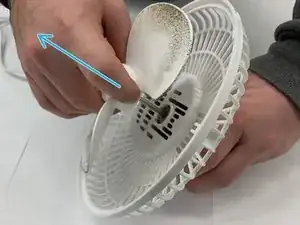
Grab the center of the fan blade and pull up from the body until it is separated. Once the blade is removed, it can be cleaned and maintained.
-
-
-
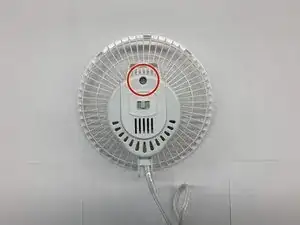
To begin, place the fan body face down and locate the Phillips #2 screw on the back plate (circled in red).
-
Unscrew using a Phillips #2 screwdriver and store the screw in a safe location.
-
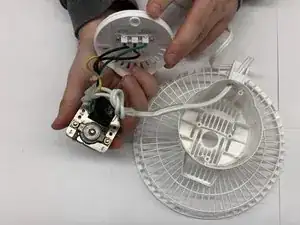
Pull the back plate casing up from the fan body to access the motor.
-
-
-
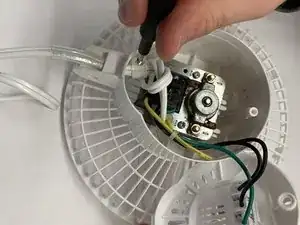
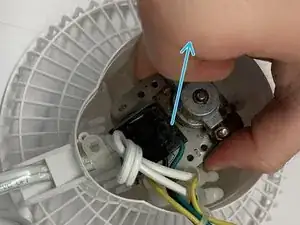
Locate the Phillips #2 screw within the motor casing that fastens the power cord.
-
Using a Phillips #2 screwdriver, unscrew and store the screw in a safe location.
-
-
-
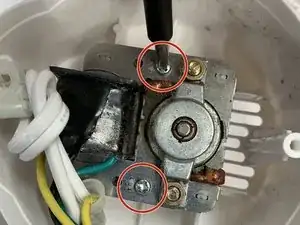
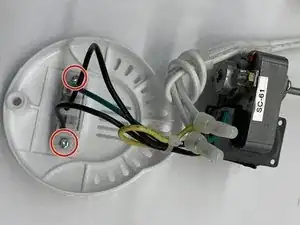
Next, locate the two Phillips #2 screws which secure the motor to the casing (circled in red).
-
Unscrew using a Phillips #2 screwdriver and store the screws in a safe location.
-
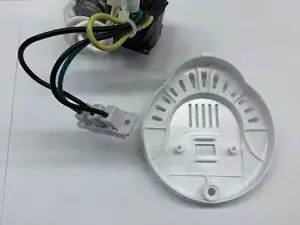
Grab the motor on each end and pull up and out of the casing. Note that the power cord will need to be pulled further through the casing hole in order to pull the motor completely out.
-
-
-
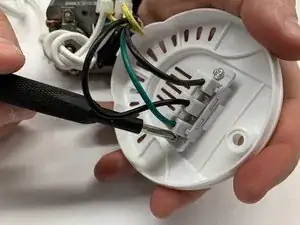
Next, locate the two Phillips #2 screws which fasten the switch to the back plate (circled in red).
-
Unscrew using a Phillips #2 screwdriver and store the screws in a safe location.
-
Pull the switch away from the back plate. Once the backplate is removed, maintenance and cleaning can take place.
-