Introduction
Parts
-
-
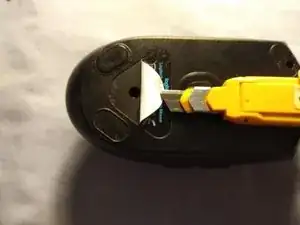
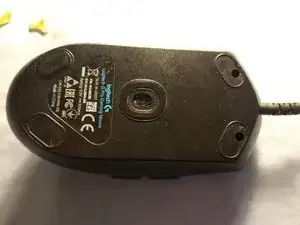
First you have take off the main screws. This are three Philips #0 . Two located in the front, one below the Logitech sticker as you can see in the image.
-
TIP: If you want to preserve the sticker you should use a thin blade to take it off. Personally I like to use Olfa black blade due to their great sharpness and stiffness.
-
-
-
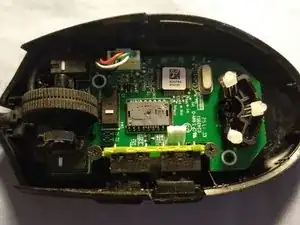
After taking off the three main screws you can take out easily the upper cap and access to the components of the mouse. All the screws are of the same kind but the two that appear in the photo are different. The have a bigger head to be able to capture the green PCB
-
-
-
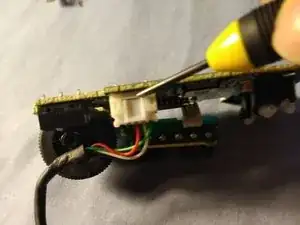
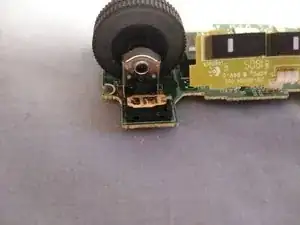
Once all the inner screws are removed is better to take out the entire PCB and unplug the main cord to handle the board easily.
-
Our main goal is to repair the double clicking issue that presents often after a couple of years or even months of hard usage of the mouse
-
-
-
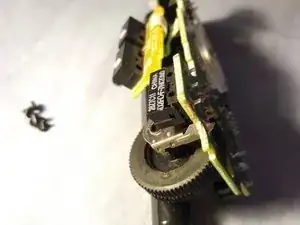
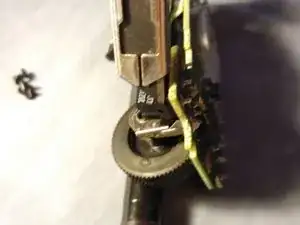
Now we focus on the malfunctioning button. Either the right or left click although the method works properly for any button which uses the same Omron switches
-
These have a plastic cap which covers the metal mechanical mechanism. We have to take it of and leave the bronze metal piece uncovered. I used a thin blade to perform the latter.
-
Be careful not to brake the plastic cap while doing this step and be aware of the small white piece which is vital to complete the clicking process.
-
-
-
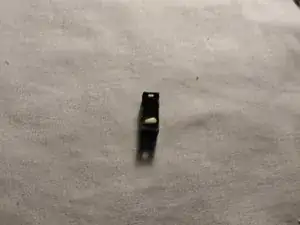
The issue is often caused due to having an overflattened metal plate. Push the small bending in the plate until you leave it as the one in the image.
-
Now we have to install back the metal plate. A small twissers become handy for this although you can do it without ones
-
-
-
Finally take the button back into shape and assemble in back covering the bronze plate. Now the button should work properly. The feelng of it may not feel the same as when the button was unopened but at least it will work now.
-
After performing this you can put back all the components just as you did to take the mouse apart.
-