Introduction

This guide is for educational purposes and should not be used as a repair guide.

  1. VJHCtYcNXpEJSBSf
    VJHCtYcNXpEJSBSf
    MISHSAIRahjEBhnA
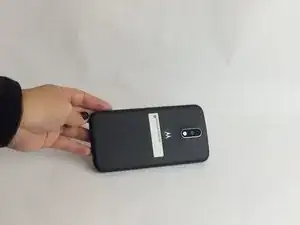
    • Place your thumb in the indent located at bottom left corner of the back cover.

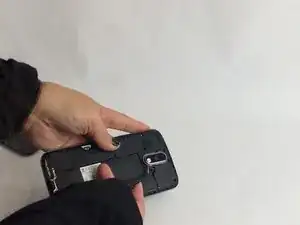
    • The cover will pop up and begin to lift.

    • Continue to slide your fingers up the sides to remove the back cover.

  2. OeTJSi5GZfWNcrXx
    OeTJSi5GZfWNcrXx
    E6srGJ5AiXSbNZCk
    • Using tweezers, remove the gray plastic surrounding the camera lens.

    • There will be a lot of glue and you may have to pull hard on the plastic piece.

    FYI: Step 2 and 3 are not required to remove the back cover… Not sure why they are even here…

    dlmellinger -

  3. kLpKBZlTkPCdxZBY
    kLpKBZlTkPCdxZBY
    FyXcTlFGdCtqotG2
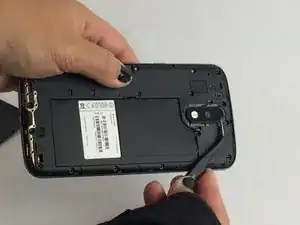
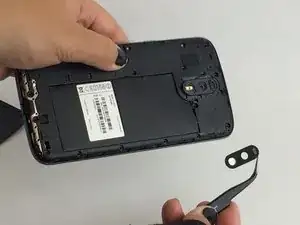
    • With tweezers, slide under all sides of the lens to loosen it.

    • Pulls the lens towards you to remove the lens.

    • There will be glue under the lens. You may have to pull hard to remove the lens.

    • Do not pull too hard on the lens. Pulling hard on it can result in breaking the lens.

  4. bZT4FYfaKNC5XXZO
    bZT4FYfaKNC5XXZO
    gieGlnxDaevY2gma
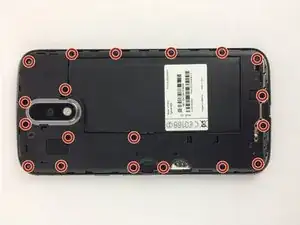
    • Using the screwdriver equipped with the T4 head drill bit, begin unscrewing the screws on the back panel.

    • Keep the screws on a magnetic board or strip to not lose any of them.

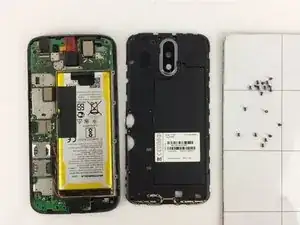
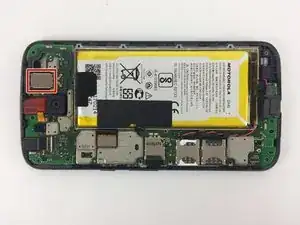
    • After all the screws are removed from the back panel, lift the back panel off.

    Just a little hint for anyone else pulling the back cover off: There’s a little rubber cover to the left of the camera lens that pops out. Remove that and pull up lightly on the connector you see underneath. This will disconnect the ribbon cable for the flash and light level sensor. Might save you a broken ribbon cable…

    dlmellinger -

  5. RqX1iVnxfXcNRb5A
    RqX1iVnxfXcNRb5A
    hJ1DHWgj5Dc6sCGS
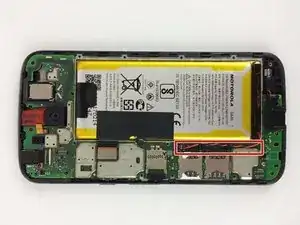
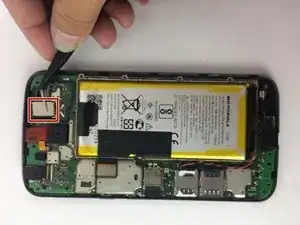
    • Using the tweezers, unhook the twisted red and black wire from under the black plastic pieces that are holding it down.

    • Using the tweezers, disconnect the wire from its connective port.

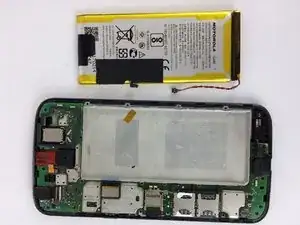
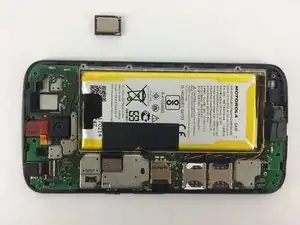
    • Use the spudger to lift the battery out.

    • The battery is glued down so you will have to use some force to pull it out.

    • Be careful not to pull it too hard it could bend the battery.

  6. LVgunsfRnDOna6et
    LVgunsfRnDOna6et
    CkoUS4WJjgjSL3Kd
    fWWiQ1BySiBogYHf
    • Using the tweezers, slide them under the speaker and pull the speaker out.

    • The back of the speaker is magnetic. Be careful to not touch it t other parts of the motherboard.

  7. VJqUkilWDMbufkwd
    VJqUkilWDMbufkwd
    6ZSPZEc4CPBeuFfs
    wqXujLDr1Fxtrvpy
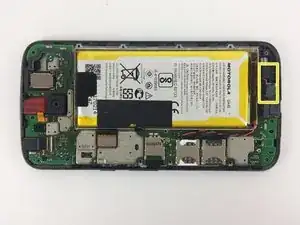
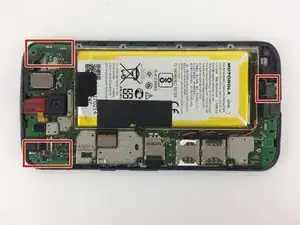
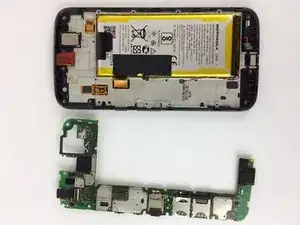
    • Using the tweezers, pull up on the clasp that is holding the motherboard down.

    • Using the tweezers, pull up on the clasp that is connecting the motherboard to the front-facing camera.

    • Using the tweezers, remove the red and black wiring from the bottom of the phone by the charging port.

  8. DfAw4oTLsOlZJtgc
    DfAw4oTLsOlZJtgc
    kRaYXkRKZucKRgHI
    • Using the tweezers pull up on the three corners of the motherboard until it comes out.

    The author also forgot to mention the removal of two screws on the motherboard. Both are nestled very close to the battery, one between the sim card slots and the other between the top sim card and the sd card slot. The screws have been missing in pictures since step 4 and have not been mentioned. As best I can tell, they are T5 Torx.

    dlmellinger -

Kierra Schau

Member since: 28/09/17

1511 Reputation

0 comments