Introduction

Palm's Tungsten W (i710) is a fine PDA, a good data communicator, and a handy Web device that can also be used as a phone. Unlike other recent convergence devices, it does the work of a PDA first, then focuses on voice communication.

  1. LLyfvFB1X4mOYFiO
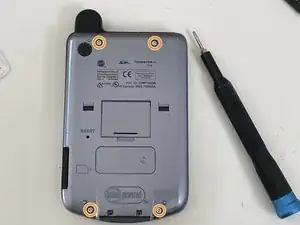
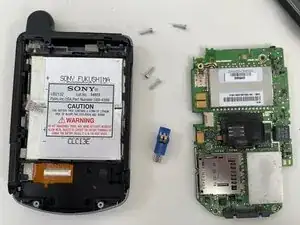
    • First, we unscrew the four T6 torx screws

  2. DwcKALxQcnGkiWNx
    DwcKALxQcnGkiWNx
    QwDIiuvAKZyBAbNJ
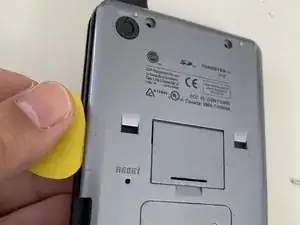
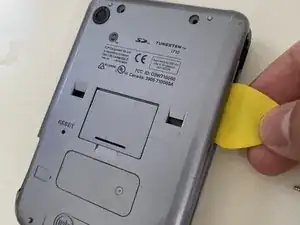
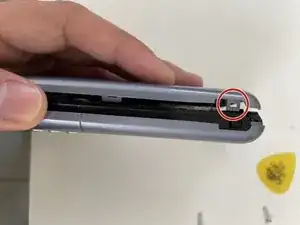
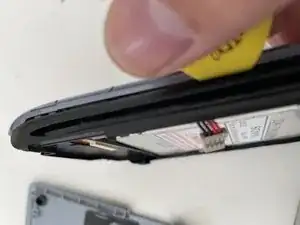
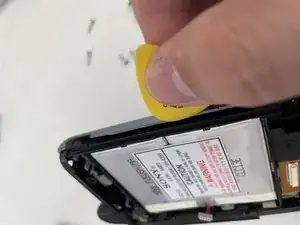
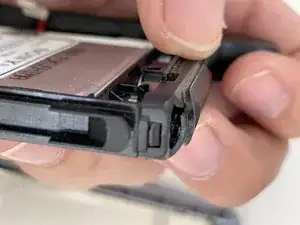
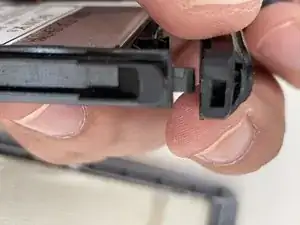
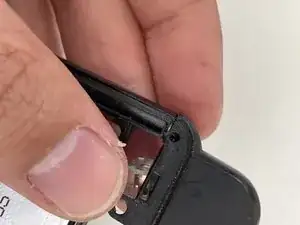
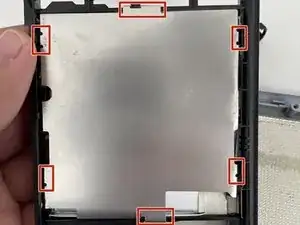
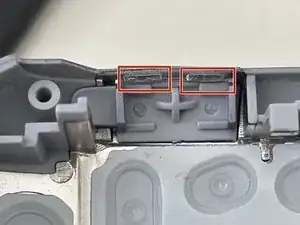
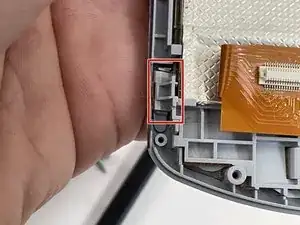
    • Using a pick, slide it carefully by the side where the SD card is inserted.

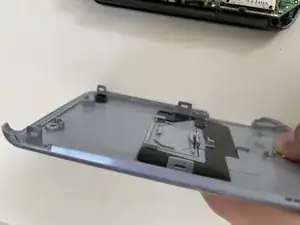
    • Check the last photo to locate where are the tabs.

  3. lWOXjLgLXMsOva2U
    lWOXjLgLXMsOva2U
    MFUQLd4wodfL1dTY
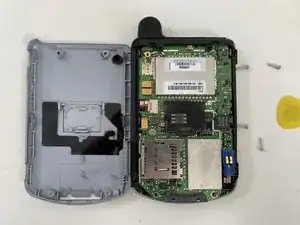
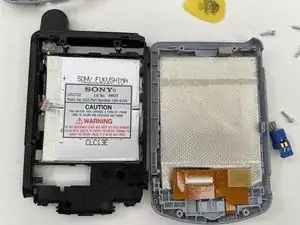
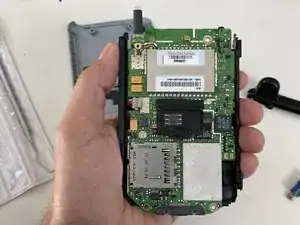
    • Now you can see the internals for the first time.

    • Be careful in this side, as the tabs are a little bit deep and is very tricky to pull them. The better is to push the pick and turn it.

    • Don't do like me, I broke one tab 🤦‍♂️

  4. gYS53VWOpfaOHqUj
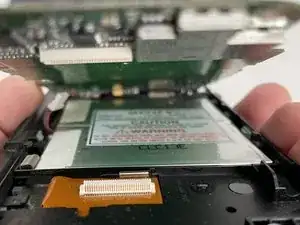
    • First sight on the internals.

  5. SPfKM4pYCejdNQ3R
    SPfKM4pYCejdNQ3R
    BkAyy1RQwsb4wv44
    glQXBH1e5plwUntZ
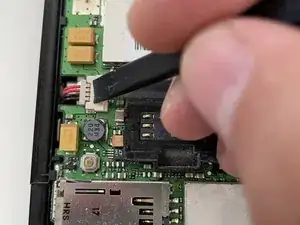
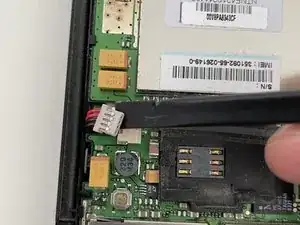
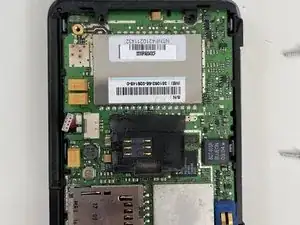
    • Carefully, disconnect the battery connector by pulling it back.

  6. 24fgILicq2VHaYFt
    24fgILicq2VHaYFt
    L1SqLkSxDPP6PMoV
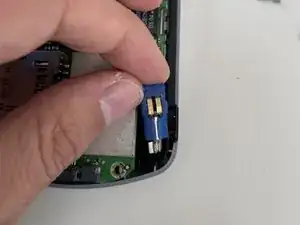
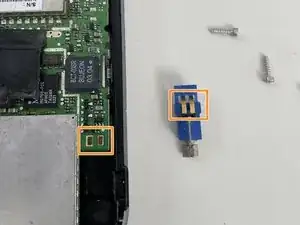
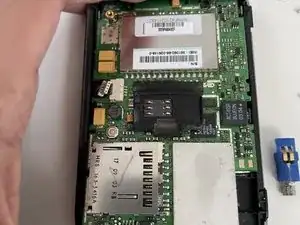
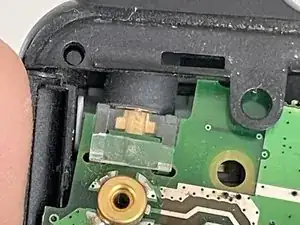
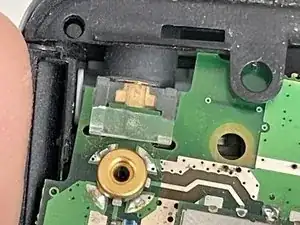
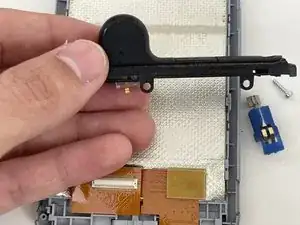
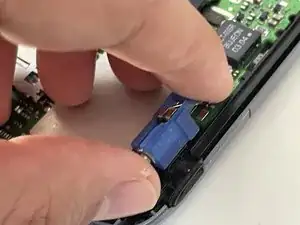
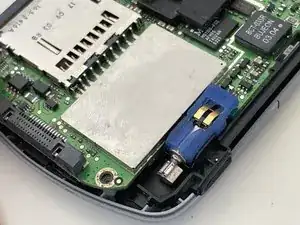
    • The vibrator is held by pressure.

    • To liberate it, just pull it.

    • You can see the details of the contacts.

  7. ZIWaOpgmfUlkuURa
    ZIWaOpgmfUlkuURa
    bQM4nJB3wBfBXN2f
    XddVTSXCjpdvWSgV
    • To take out the main board, we first need to liberate the side tabs.

    • Start to pull it from the bottom, but don't pull it completely. Let the upper side still sitting on the device.

    • Take care on the top, as the antenna is still attached. We will liberate it in the next step.

  8. qVVYoYULuEgWQjO4
    qVVYoYULuEgWQjO4
    BP4VQWL6Shm2AoHd
    JHExu1FWoBHPWHZZ
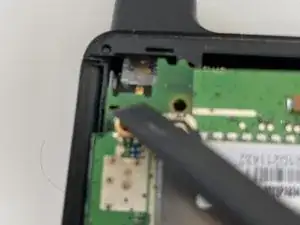
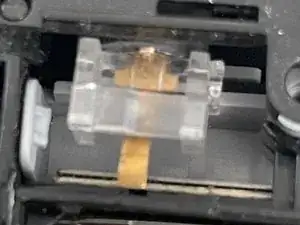
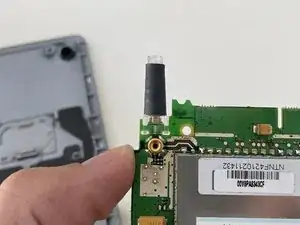
    • The antenna is held by a clear plastic piece.

    • To liberate the antenna, take a spudger and pull the plastic up.

    • You can disassembly the black plastic body without taking out the antenna at this step, and remove the antena afterwards (I didn't know it at the moment of this teardown).

  9. SQNwR5CeMqLln31j
    SQNwR5CeMqLln31j
    1rMLdrAUMayThZQV
    6VAXeMbuhdlSDw5V
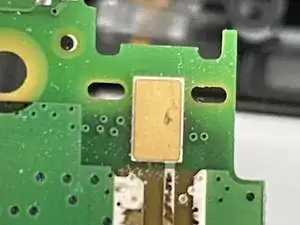
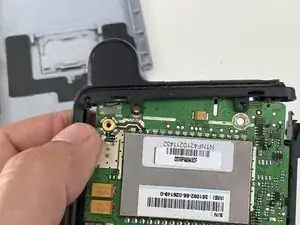
    • We can see the contact of the antena with the board.

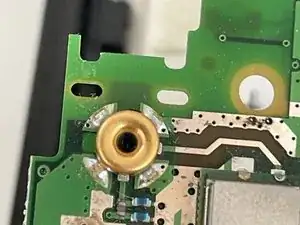
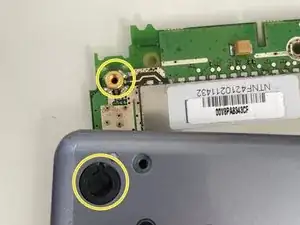
    • At the other side we can see a "normal" connector for an external antenna.

    • Now you can understand why that black plastic cover is in the back. You can take it out and connect a more powerful external antenna.

  10. kAepMBeoPvR23ZdC
    • The antenna connector is now liberated and you con take out completely the main board.

  11. LnGrL4xmyDaBiSQC
    LnGrL4xmyDaBiSQC
    woIMxMhlOk2gfT6v
    S6TKJpGOMjbkwQxp
    • Now we are going to take out the front cover.

    • As with the front cover, the side where the SD card is located is easier to take out. Be careful with the other side, which is more tricky.

  12. dvbIiOQebjZiYYJ3
    dvbIiOQebjZiYYJ3
    iLhUejmh1g4Zqg5l
    • We now liberate the upper black plastic piece of the.

    • The piece has two different sides like a "door". One is like a hinge, the other is like a latch.

    • We start by opening the "latch" side.

  13. afTAG5GG2g24WS2S
    afTAG5GG2g24WS2S
    onbWgSyQ3BhT5EpU
    wtHXcyMZ4EPhPBmx
    • Now with the hinge side.

    • I opted to take out both sides one by one.

    • Look at the plastic piece of the antenna still inside that bump.

    • You can also take out the antenna and put it aside.

  14. AwZTReDgWyVWG1WD
    AwZTReDgWyVWG1WD
    a4YCnIWfVIr4rKJt
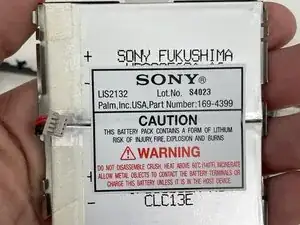
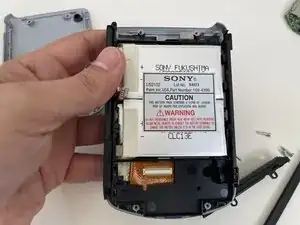
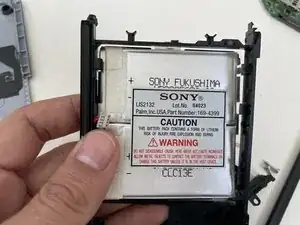
    • The battery is held by 6 tabs. To liberate it, bend them.

    • You can see now the two parallel batteries this Palm has in its internals.

  15. vSxb6PQeKfeycGDA
    vSxb6PQeKfeycGDA
    o2iaFLrB13thWUZJ
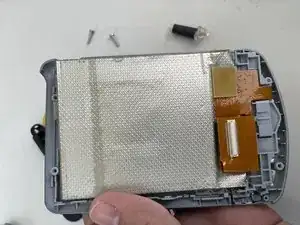
    • The screen is free to take it from the plastic front cover.

    • Take care not to loose the buttons.

  16. LwuBWvc1BSW4tHTx
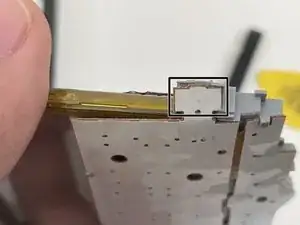
    • The screen cannot be detached from the keyboard (at least with high risks).

    • When reassembling the device, take special care with the plastic of the keyboard.

    • These tabs needs to "hug" the screen.

  17. hOJHwoQe4Qn1gIhF
    hOJHwoQe4Qn1gIhF
    hoNcovJdTiCqLqaF
    eKlEmWcKu5G5Ewwx
    • To reassemble the PDA, it is mainly a matter of reversing the previous steps, but with some precautions.

    • Put special care on the power on button. The tabs needs to be properly set.

  18. IbUF6IxcQOEuPYvA
    IbUF6IxcQOEuPYvA
    SnHGZV5YMGYROxta
    • For the battery, pay attention to the metal tabs.

  19. xRJiUvALyTBGiQC2
    xRJiUvALyTBGiQC2
    fApwmxVqPCAtPbVI
    oX5qHLKVCZWm3bil
    • Put the antenna in its place first, before doing any other assembly of the board.

    • Add the plastic enclosure to the board.

    • And finally add the upper plastic part.

  20. VwnAdQyiiqjjXBP2
    VwnAdQyiiqjjXBP2
    sY1imx4jYA6wUUMq
    • Now it is time of the vibrator.

    • From this point, no more precautions, just complete the assembly

Alvaro Gutierrez Romero

Member since: 25/03/12

712 Reputation

0 comments