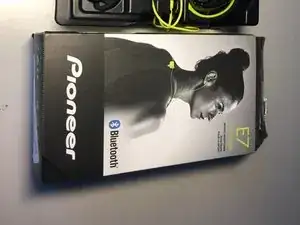
Introduction
Actually the most popular electronic brand don’t wanna that us repair our stuff, that’s no good, and that is the reason i decided to make this guide, fot to help other ppl to dissambly and why not]? to reapir their electronics without waste a lot of money.
Tools
-
-
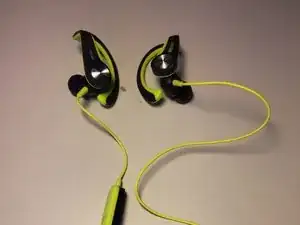
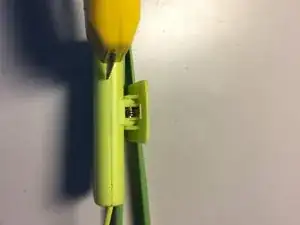
First of all know how to work your earphone, i recommend that u read the owners manual...
-
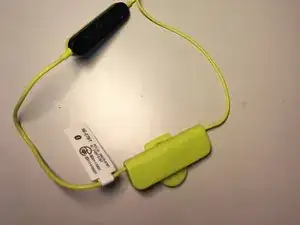
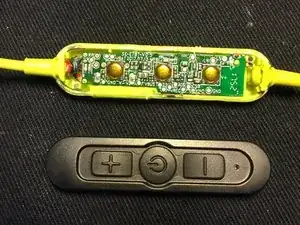
As u can see the green square is where is located the 125 mAh LiPo Battery and the buttons is where is located the PCB Main Board
-
-
-
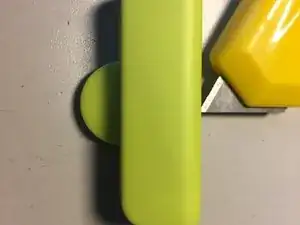
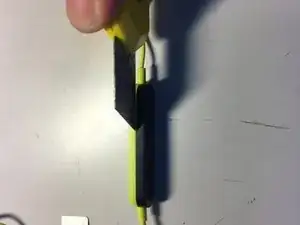
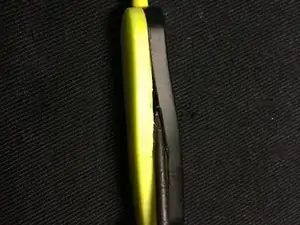
There's no screws to quit, so u can put it apart from that sandwich is with a cutter, xacto, or a ninja knive (remember kids don't try this at home)
-
you can star on the glued unions of the Plastic like i show u in the picture.
-
Please be really careful (dont cut a lot or u may detroy the battery, or your own face)
-
I strongly recommend do this with the battery full or almost fully discharged.
-
-
-
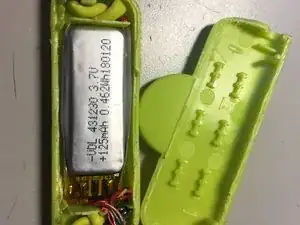
One you did it correctly, you can see the 125 mAh LiPo Battery in all its glory, how cute c:
-
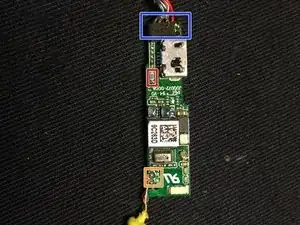
Chech the FUSE on the PCB for (open circuit or damage) with a multimeter.
-
The battery, is isn't charging after 10 minutes connected to a decent 5 V Power supply, remember that the minimun voltage is between 3.7 to 4.3 Volts at full charge.
-
-
-
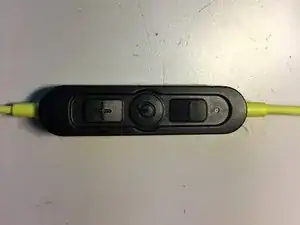
Now it's time to meet that brain that makes the magic.
-
Try the same process to dissasembly the PCB Main.
-
Tip: Cut in this way (with the knive in horizontal and alingned with the line of glue of the plastic).
-
Once you open a side a little bit you can continue taking apart that freaking plastic (please be patient doing this).
-
-
-
Once you make it correctly, you can the the pcb main in all it's glory.
-
If you not interest in only teardown, and you want to reapir them try to measure the voltage test ponts on the pcb to find out what is wrong, try to test the 5V USB, 3V3 form the Bluetooth IC, 1V8, and Vbatt (Battery voltage).
-
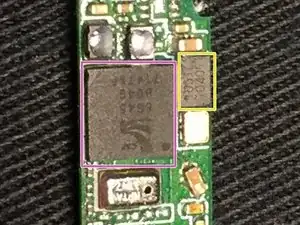
CSR 8645 Bluetooth IC
-
Those cables are connections to one RP (Positive Right channel) and RN(Negative Right channel) and the Black (GND of the Battery) and Red (Positive Battery) and blue one for the Fuse Sensor)
-
LP (Positive Left Channel) and LN (Negative Left Channel)
-
A SMD Fuse (Test it with a multimeter in Beep Mode to find out if it's good).
-
EEPROM Memory (in it's heart that saves many audio, words, and commands for the CSR IC, like "Tha bluetut device has cannected saccesfally".
-
As you can see there's no way back to Assembly this bluetooth earphone, but if you want: For Assembly this device follow the steps in reverse order.
-