Introduction
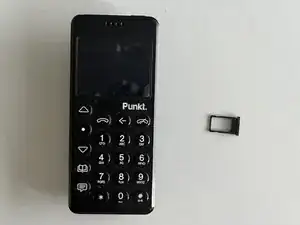
This is how I took apart my MP02, note that there might be better ways and you do it at your own risk (I broke the frame of the phone while taking it apart).
Also I might have missed to describe a step, screw or connector that needs to be removed, if you notice anything reach out or make the edit.
-
-
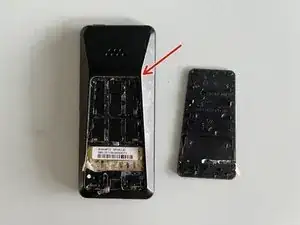
Using a knife start prying at the back in the top right corner. Then use a metal spudger to remove the back piece.
-
-
-
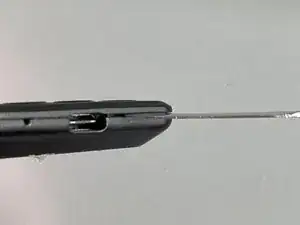
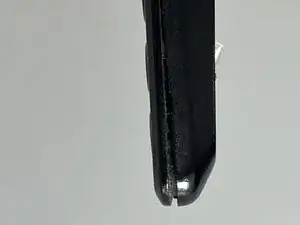
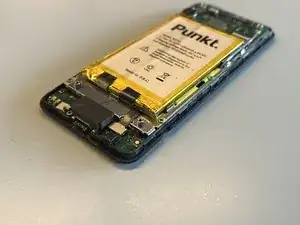
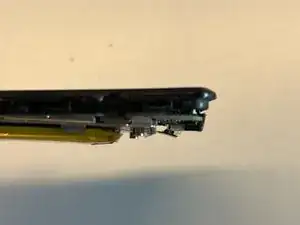
using a metal spudger I started separating the two halves of the phone shell on the right of the USB port.
-
by carefully inserting and twisting the spudger I could unclip the two halves to separate them
-
be careful not to insert the spudger too deep, you could damage the mainboard or battery
-
as I wasn't careful enough, the frame broke in two places
-
-
-
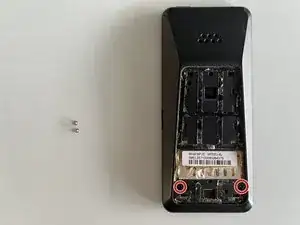
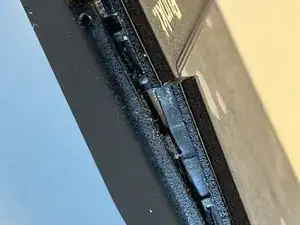
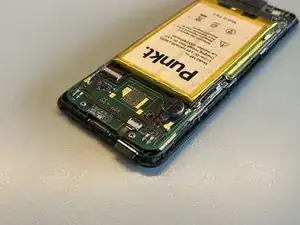
now remove the spongy piece that sits ontop of the USB port
-
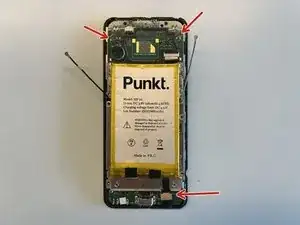
at this stage I noticed a screw falling on my table and the screw to the right of the USB port was missing
-
I also noticed the screw to the left being loose
-
-
-
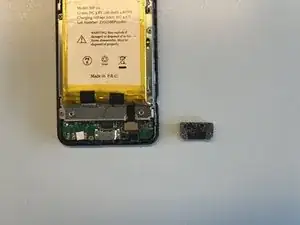
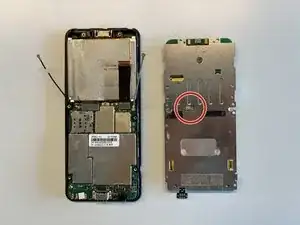
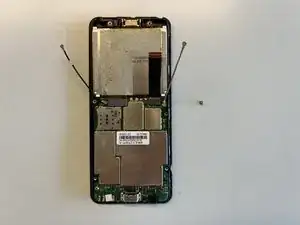
at this point the device felt loose and I didn't know how to continue - I noticed after beginning to pull on the battery pull tabs that the mainboard separated
-
-
-
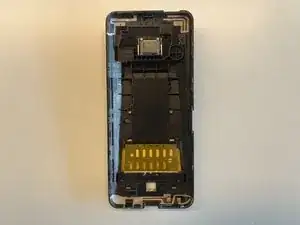
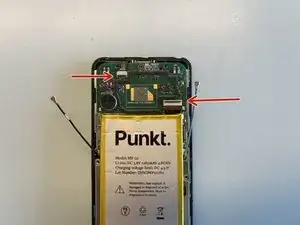
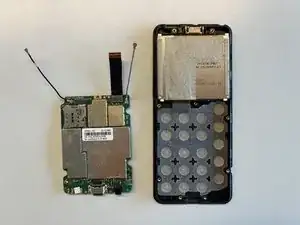
by gently moving the mainboard down (direction of USB port) the mainboard could be separated
-
notice the metal hook that prevents the device from being separated without downwards movement
-


2 comments
Thank you for posting this guide. It'll become more valuable as these devices age--I anticipate having to replace the battery sometime in the next two years.
thank you very much! I had water damage and could open and dry/clean the device before there was any irrevocable damage!