Introduction
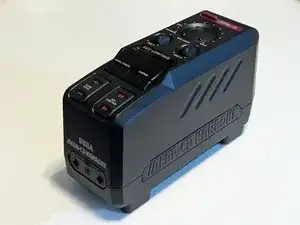
We are tearing down the Sega Mega-CD Karaoke, a Karaoke machine add-on for the Sega Mega-CD (Sega CD). We hope you plug in your mics and sing along as we pull this apart.
-
-
Flip the karaoke unit over, and remove the battery door.
-
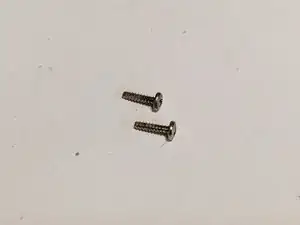
Use a 3.5in or 9cm long Philips #1 Screwdriver to remove the bottom screws.
-
This device takes four AM-2, SUM-2, LR14, or R14 batteries. Pair it with a Sega CDX for the ultimate Karaoke on the go!
-
-
-
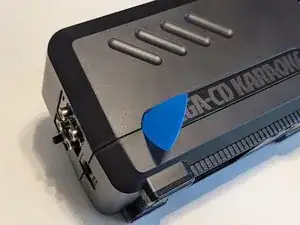
Insert an opening pick into one of the corners of the above the "Mega-CD Karaoke" as shown and push in to pop the shell open.
-
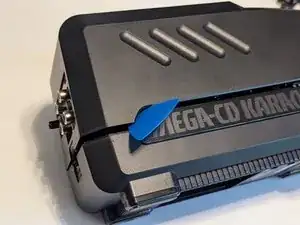
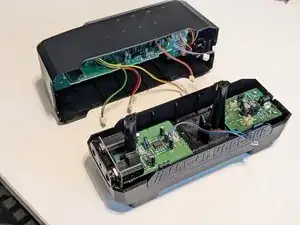
Repeat on the opposite face to separate the two halves
-
-
-
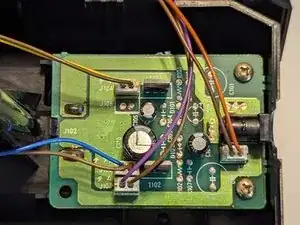
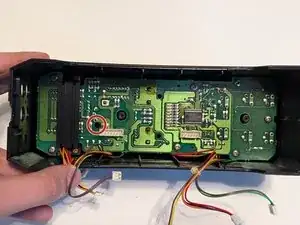
Unplug the wires from the microphone board. (DO NOT ATTEMPT TO REMOVE the blue and brown cable on this board, it is soldered)
-
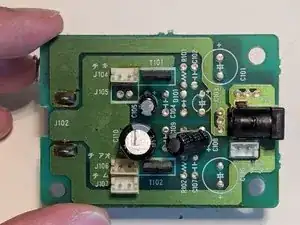
Unplug all wires from the power supply board.
-
-
-
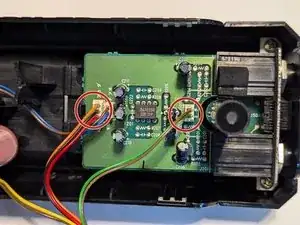
Remove the two screws securing the board.
-
Lightly pull back on the latch and tilt the board up over it. Pull the board back into the case and lift out.
-
This board features a BA10358 amplifier
-
-
-
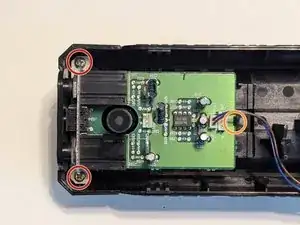
Remove the two screws securing the board.
-
Lightly pull back on the latch and lift the board out. The battery prongs attached to the board fit into slots in the shell. Lift the board straight up and out.
-
-
-
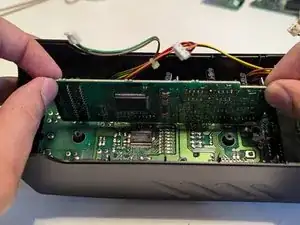
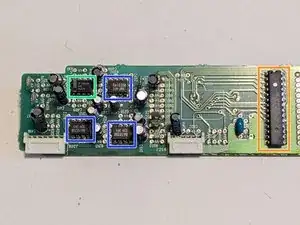
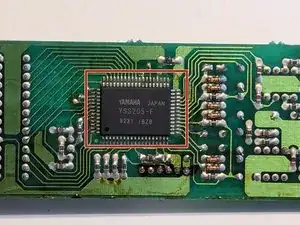
Grab the edges of the board, and pull straight up.
-
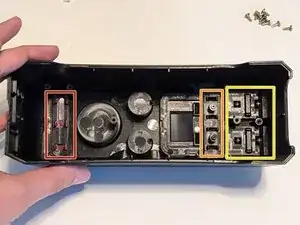
This board includes three BA10358 amplifier boards
-
A LMC 662CN CMOS Dual Operation Amplifier
-
A HM65256BLSP-12 Hitachi RAM IC
-
And a Yamaha YSS205-F Karaoke Processor
-
-
-
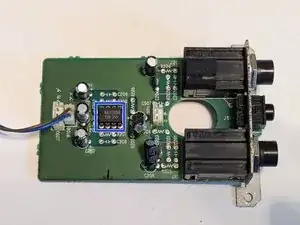
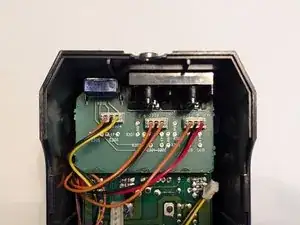
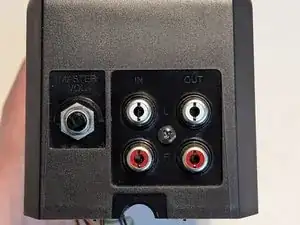
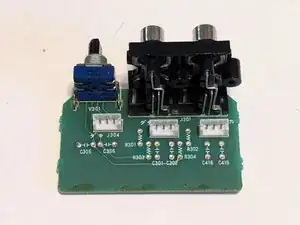
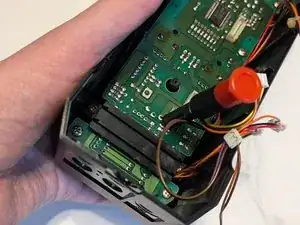
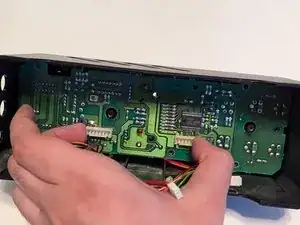
Remove the three cables connected to the audio input/output board on the back of the module.
-
Remove the screw and the nut on the back of the module.
-
Pull the board back into the case and lift out.
-
-
-
Using a small screwdriver, insert in the highlighted hole. Tilt the handle towards the front of the machine, and push to remove the "Mic 1" volume knob.
-
-
-
Using a small screwdriver, insert in the highlighted hole. Tilt the handle towards the front of the machine, and push to remove the "Mic 2" volume knob.
-
-
-
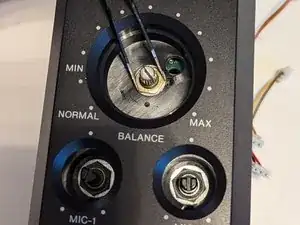
Rotate the knot all the way to the left until it clicks to "Normal". This knob is not keyed and will need to be reinstalled in the correct position.
-
Using a small screwdriver, insert in the highlighted hole. Tilt the handle towards the front of the machine, and push to remove the "Volume Balance" knob.
-
-
-
Using a set of pliers or tweezers, remove the nut and washer of each of the potentiometers on top of the device.
-
-
-
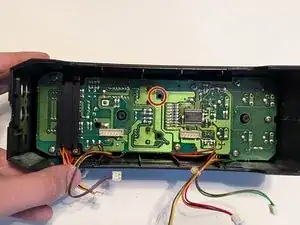
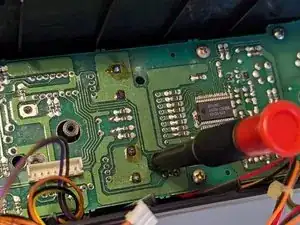
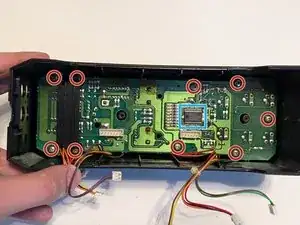
Remove the nine screws shown and the black brace near the back of the unit.
-
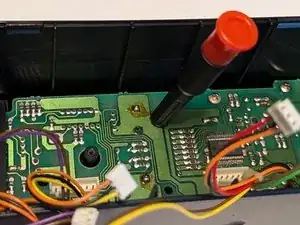
Either by turning the unit over or by grabbing the two connectors, remove the board from the shell.
-
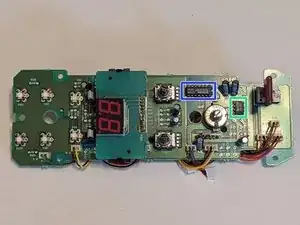
This board features an M50927-537FP microcontroller.
-
A BA10358 amplifier
-
And a Toshiba TC4066BP Quad Bilateral Switch IC
-
-
-
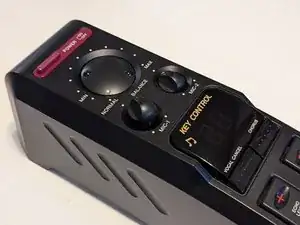
Remove the Power Button trim by pressing in the latching legs and pushing it out.
-
Remove the Vocal Cancel and Chorus buttons by pressing in the latching legs and pushing them out.
-
Remove the Echo Level and Key Control rockers by pressing in the latching legs and pushing them out.
-