Introduction
Replacing 2003 Toyota 4Runner hood struts is a relatively simple fix. It requires minimal tools and can be done in less than an hour. It can be quite frustrating trying to do regular maintenance, or even jump your car battery in a high-stress situation when you have to worry about holding the car hood open throughout the process. Rather than having to carry around a hood prop inside of your trunk for times of need, it is possible to fix the issue by replacing the hood struts. This is step-by-step guide detailing how to replace the hood struts in a cost efficient and environmentally conscious manner.
The assistance of a friend is recommended while you complete this guide for an additional fail-safe in support of the hood.
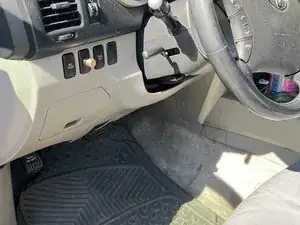
Before beginning this repair, power off the ignition, place your car in park, and engage the parking brake.
-
-
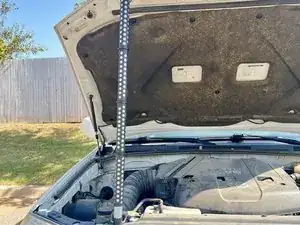
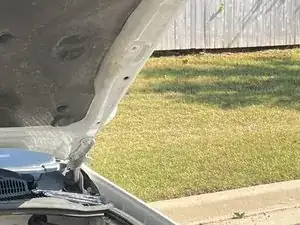
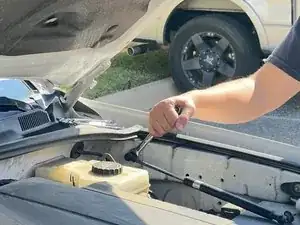
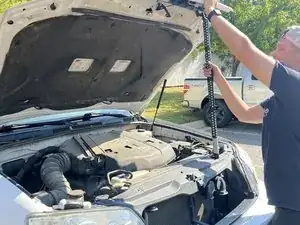
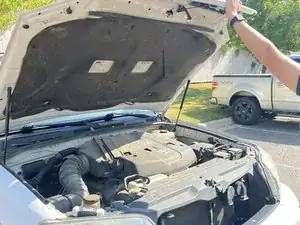
Lift the hood, then place the hood strut in a secure location and ensure it is holding the weight of the hood.
-
-
-
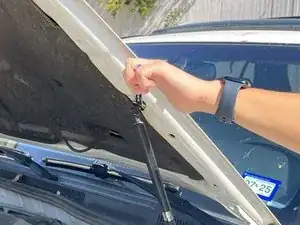
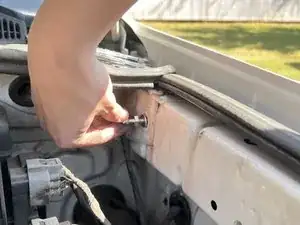
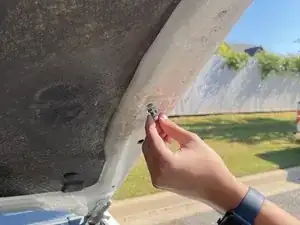
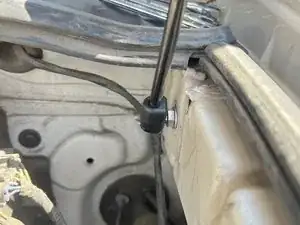
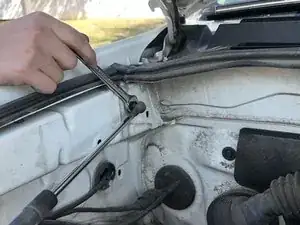
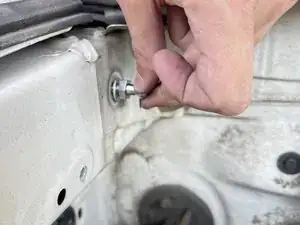
Using the 12mm wrench, unbolt the top of the hood strut by twisting the bolt counter-clockwise until it comes loose.
-
-
-
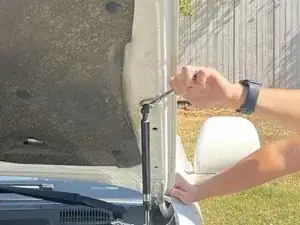
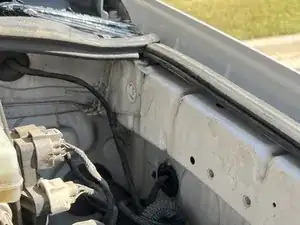
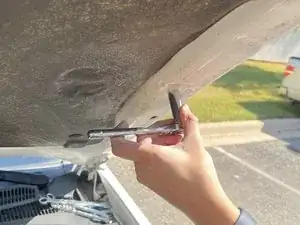
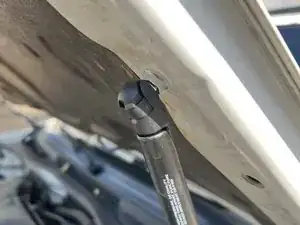
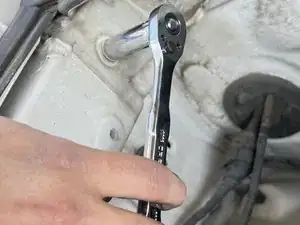
Remove the bottom bolt, turning counter clockwise, on the old hood strut using the 12mm wrench.
-
-
-
Get the new bolt and washer from the hood strut kit.
-
Place the washer on the bolt with the rough side toward the bolt and the smooth side toward the car.
-
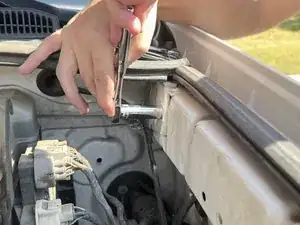
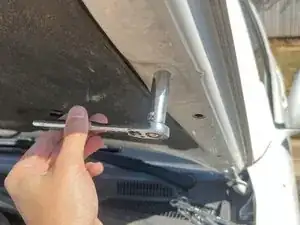
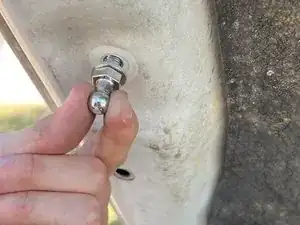
Use your hand to start turning the bolt into the threaded hole from the removal in Step 4, turning clockwise.
-
Once it is tight enough to stay on, use the 12mm socket wrench to turn the bolt until it is secure.
-
-
-
Get the new bolt and washer from the hood strut kit.
-
Place the washer on the bolt with the rough side toward the bolt and the smooth side toward the car.
-
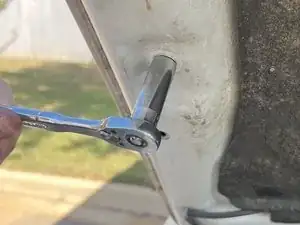
Use your hand to start screwing the bolt into the threaded hole from Step 3, turning clockwise.
-
Using the 12mm socket wrench, turn the bolt until it is secure.
-
-
-
Get the new hood prop from the kit.
-
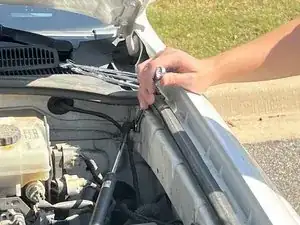
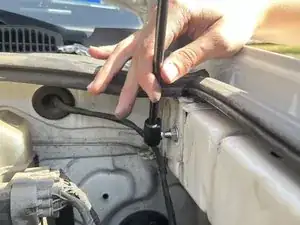
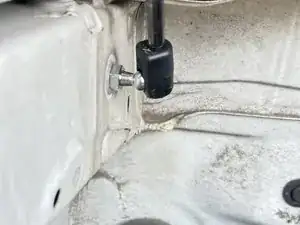
Press the extended end of the hood prop firmly onto the ball joint that you installed on Step 5.
-
-
-
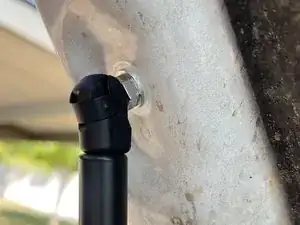
Similar to the previous step, line up the top of the hood prop with the bolt that you installed in Step 6.
-
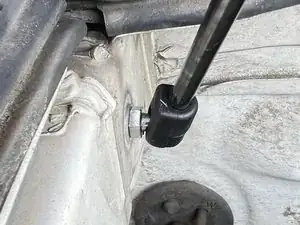
Press the other end of the hood prop firmly on to the ball joint.
-
It should snap into place with a little force.
-
-
-
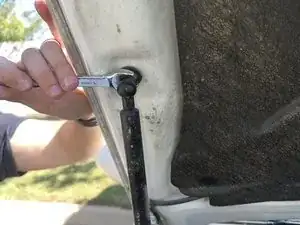
Unscrew the bottom bolt on the old hood strut using the 12mm wrench by turning it counter-clockwise.
-
-
-
Get the new bolt and washer from the hood strut kit.
-
Place the washer on the bolt with the rough side toward the bolt and the smooth side toward the car.
-
Use your hand to start screwing the bolt, clockwise, into the threaded hole from Step 10.
-
Once the bolt is tight enough to stay on, use the 12mm socket wrench turn the bolt until it is secure.
-
-
-
Get the new bolt and washer from the hood strut kit.
-
Place the washer on the bolt with the rough side toward the bolt and the smooth side toward the car.
-
Use your hand to start screwing the bolt clockwise into the threaded hole from Step 8.
-
Using the 12mm socket wrench, turn the bolt clockwise until it is secure.
-
-
-
Get the new hood prop from the kit.
-
Press the extended end of the hood prop firmly on to the ball joint that you installed during Step 11.
-
It should snap into place with a little force.
-
-
-
Similar to the previous step, line up the top of the hood prop with the ball joint that you installed during Step 12.
-
Press the other end of the hood prop firmly on to the ball joint.
-
It should snap into place with a little force.
-
-
-
Carefully remove the hood prop that you installed during Step 2 while holding the hood.
-
The weight of the hood should now be held by the new struts.
-
Close the hood, and now you have successfully replaced the hood struts on your Toyota 4Runner.
-

It can be quite frustrating trying to do regular maintenance or even jump your car battery in a high-stress situation when you have to worry about holding the car hood open throughout the process. You should not need to carry around a hood prop inside of your trunk for times of need, and your hood should now stay open on its own. With no ability to open the hood the vehicle becomes inoperable and unusable. This means that about 2 tons of metal is wasted, along with countless electronic components.
With this guide, these difficulties are no longer a problem, and proper care of the vehicle can be completed. This saves you the costs of paying a premium to a dealership for repairs. This repair also prevents spilling fluids during maintenance, due to the inconvenience of needing to support the hood, preventing environmental damage during repairs. By using this guide to repair the hood struts by yourself, you are both saving money and conserving the environment.