Introduction

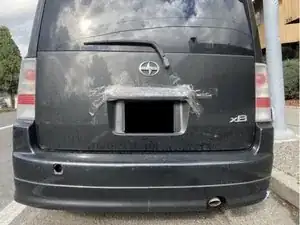
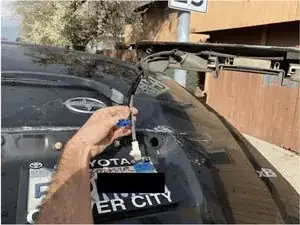
Hello! Our guide leads you through the steps required to disassemble and replace a broken Scion xB hatch handle. This specific hatch handle has had a history of being prone to breaking and leaves users unable to access their car trunk easily. We will show you how to replace your hatch handles to working order.

  1. rUsXpLruYeeLZhrO
    rUsXpLruYeeLZhrO
    V6uSLbeaeZPleZP5
    yPPLsCuhjIcOdCi6
    • Open the trunk of the car and locate the 13 clips holding the panel on.

  2. gXCFH55XraicqZ34
    gXCFH55XraicqZ34
    BUM4ueXN1D1dHEEt
    uJaCp2lnZFOFfwYY
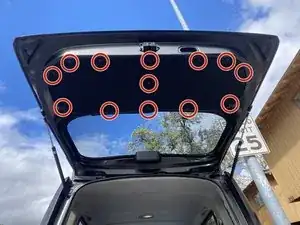
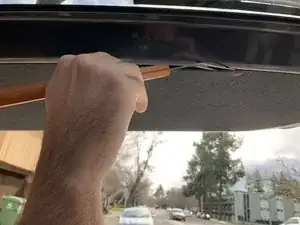
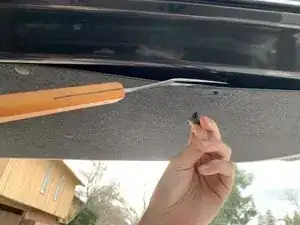
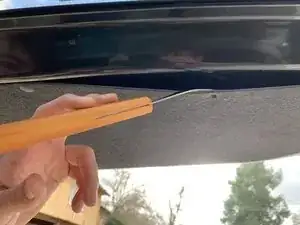
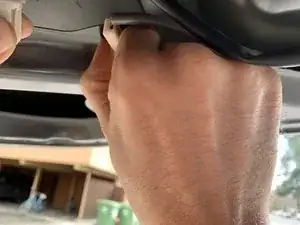
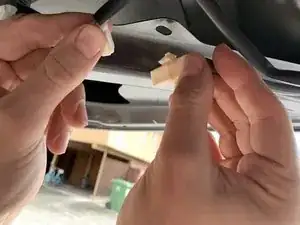
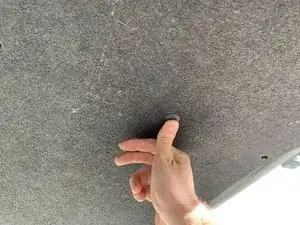
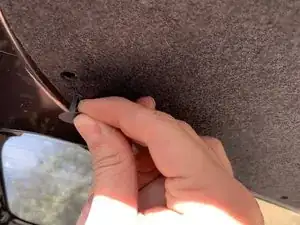
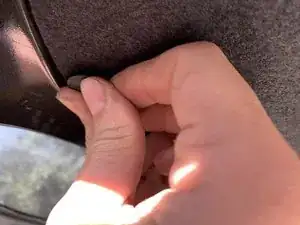
    • Push the clip remover under the panel and pry to remove them.

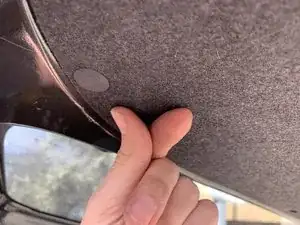
    • Repeat for all 13 locking caps.

  3. DtKAWmuOMHGCTvUJ
    DtKAWmuOMHGCTvUJ
    RTvw6IwlIRaACRGJ
    PebXcGUFWTT2lI2Z
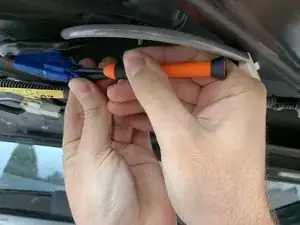
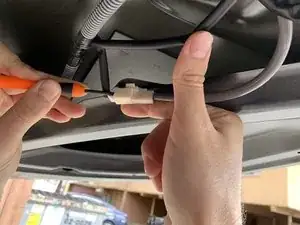
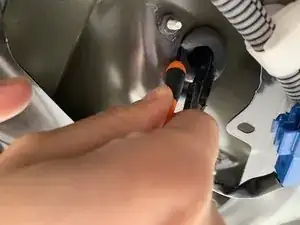
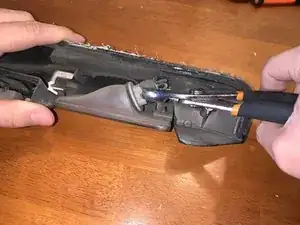
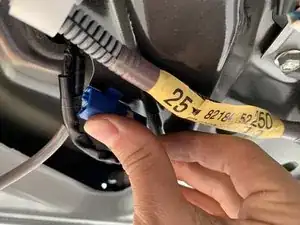
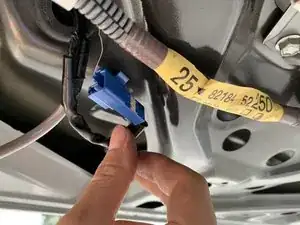
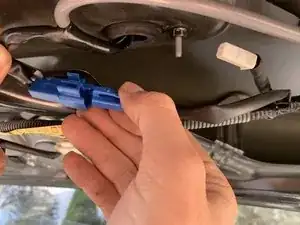
    • Use a small flathead screwdriver to depress and release the blue clip.

    • Grip the connector and pull the cable directly out of its port.

  4. Fb5e5ZsUOBXgRjqn
    Fb5e5ZsUOBXgRjqn
    qgwvoq1bEEMplAwP
    WyuBtANcVvulW3bg
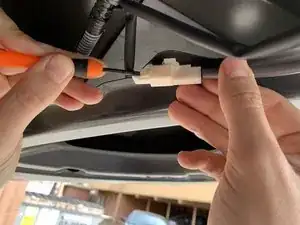
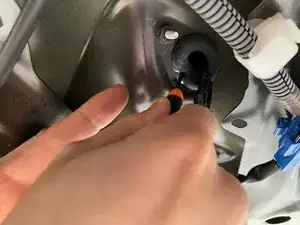
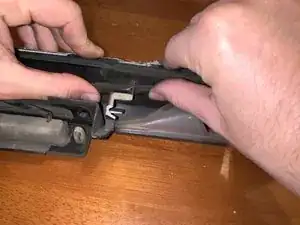
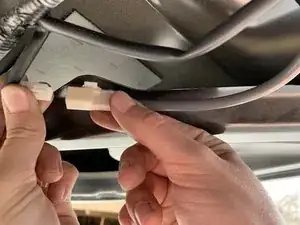
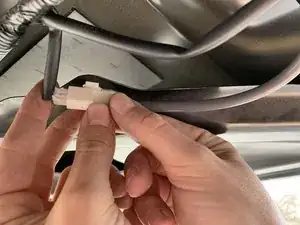
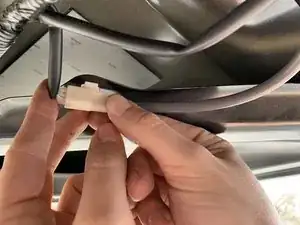
    • Use a small flathead screwdriver to depress and release the white clip.

    • Grip the connector and pull the cable directly out of its port.

  5. QVkFRNcYJM6I2LaY
    QVkFRNcYJM6I2LaY
    56wItPPCK4eCXuRT
    yehCQV6soecTHVdv
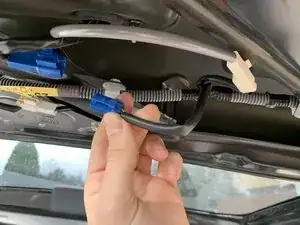
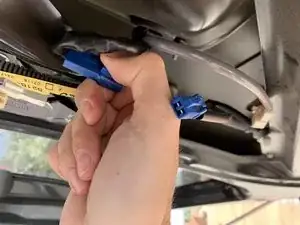
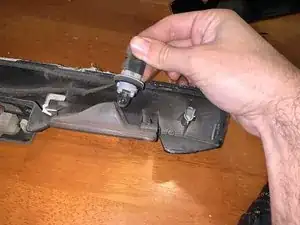
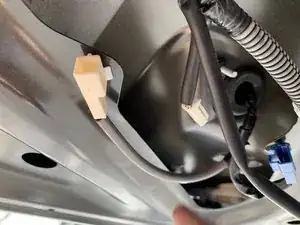
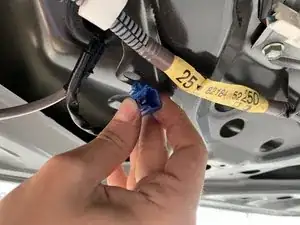
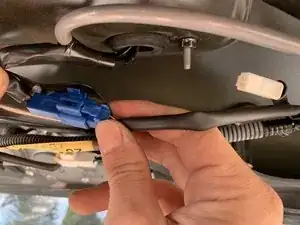
    • Grab onto the blue cable and twist 90 degrees counter clockwise.

    • Pull out to detach from holding.

  6. YckIZSF4totHc1KF
    YckIZSF4totHc1KF
    KOBlx6LrPyUHE3LK
    ESMe4V3LMTAlUdqD
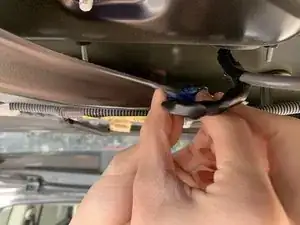
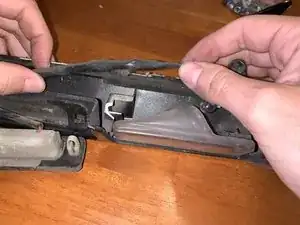
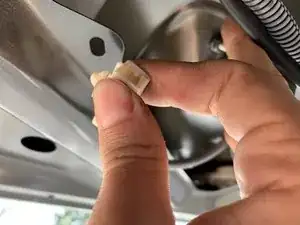
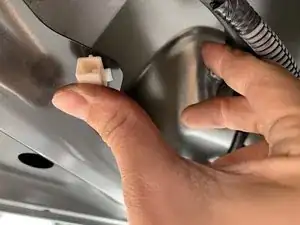
    • Grab onto the white cable and twist 90 degrees counter clockwise.

    • Pull out to detach from holding.

  7. tVXPD4UNR3wbZtwm
    tVXPD4UNR3wbZtwm
    FWC4bnr4AIqFGYZs
    gHNVK3AImdBYZLDT
    • Grip the nut with pliers.

    • Rotate the pliers counter clockwise until the nut is removed.

  8. adJU5PGnulY5WNph
    adJU5PGnulY5WNph
    FjTHFi4wkPdRCbJ3
    iTqMNgEC1kT43jf3
    • Repeat the previous step for the other nut.

  9. sjZayNlPXHYshmAg
    sjZayNlPXHYshmAg
    mjWBZeLEjcEVPgrY
    YIQNYPn2uPLZdy5r
    • Push the rubber seal through the hole to the other side using a plastic tool.

    • If using a metal tool, take care not to scratch the metal.

  10. VUAM5gtjCpJNqMim
    VUAM5gtjCpJNqMim
    sLwbQQSNiCkOj3hY
    poRuGHUTVDuSsqtK
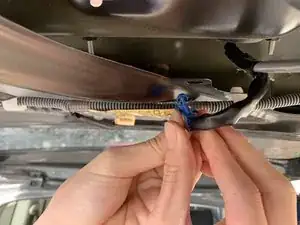
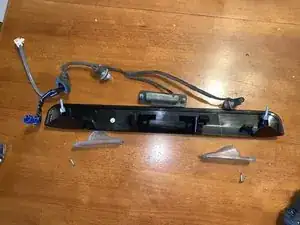
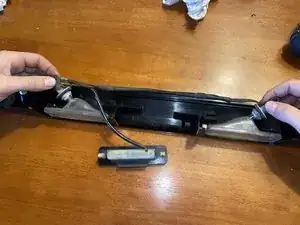
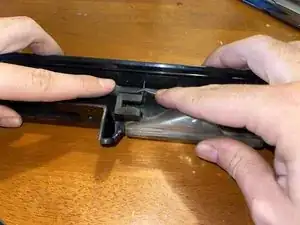
    • While holding on to the handle assembly, gently pull out the cables to attached to the handle.

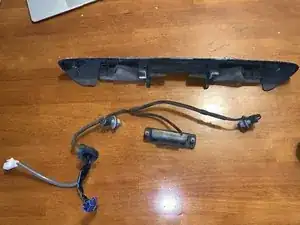
    • Remove the handle assembly.

  11. MXiPV5NwTBXGOMtW
    MXiPV5NwTBXGOMtW
    4rAHw1IOrZcTV2VR
    rE1gLwVdCYrYydQR
    • Remove the two Phillips screws using a screw gun or a screw driver.

  12. KmSVw2ng2XnsXClQ
    KmSVw2ng2XnsXClQ
    O1SIVOVipk6e2HCD
    DFHBlQSPBfttOPHb
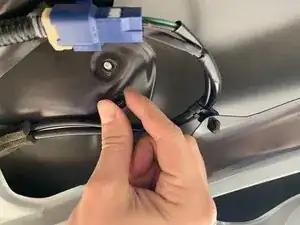
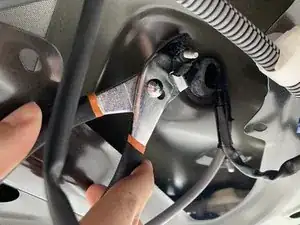
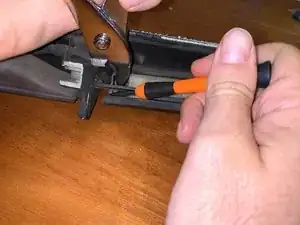
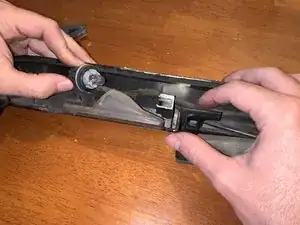
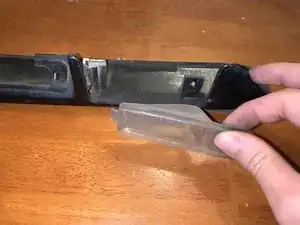
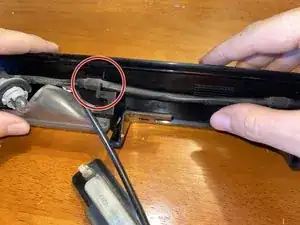
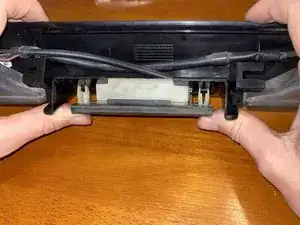
    • Use pliers to squeeze the two sides of the plastic clip together.

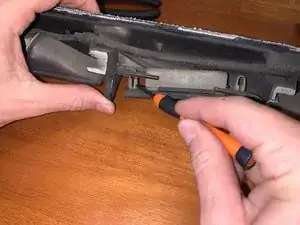
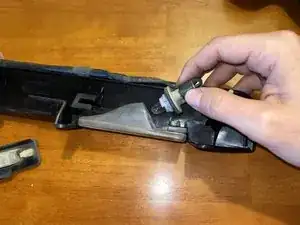
    • Use a pry tool to lever the tab out of its socket.

    • Repeat the previous two bullets on the right side to detach the button.

  13. Gtwl6nQYMnnMFTU1
    Gtwl6nQYMnnMFTU1
    5ORPJfohQnPEyhJT
    EsV2jKZRvYMR1OGH
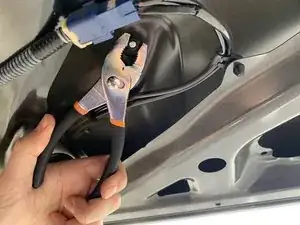
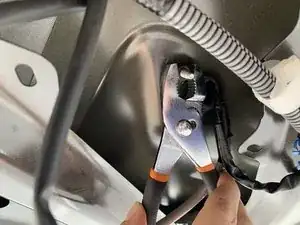
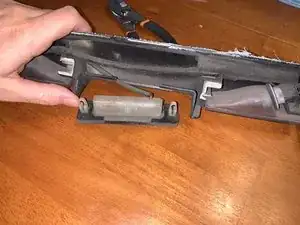
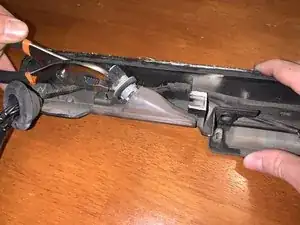
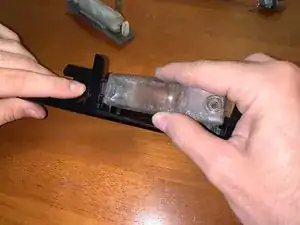
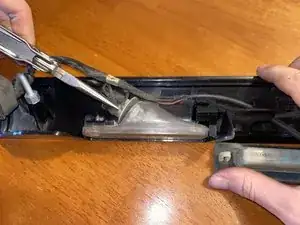
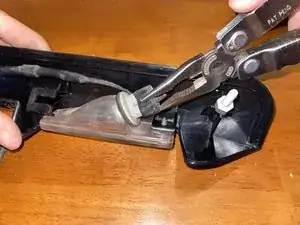
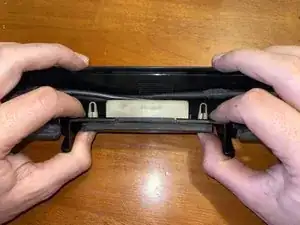
    • Gently clamp the pliers onto the lightbulb socket rubber, to the right of the button.

    • Rotate the pliers counterclockwise.

    • Wiggle the lightbulb socket out of its housing.

  14. nUyOgD43IWDhYq1n
    nUyOgD43IWDhYq1n
    FPCCN1oegCoaTQL3
    • Release the right bulb wiring from the channel it sits it.

    • This may require some force.

  15. pBCyMZahv4MssnoH
    pBCyMZahv4MssnoH
    NCXkNOxNBVISWLnM
    OV2xjk2uA5ASoFhA
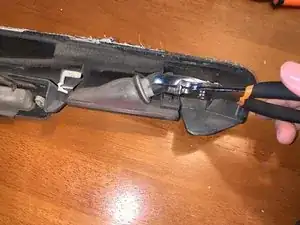
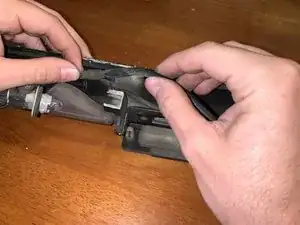
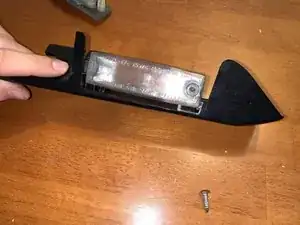
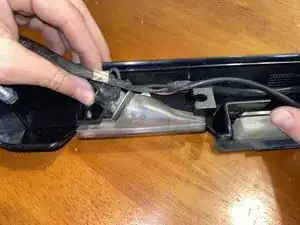
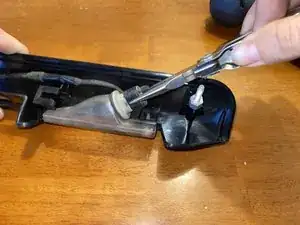
    • Gently clamp the pliers onto the lightbulb socket rubber, to the left of the button.

    • Rotate the pliers counterclockwise.

    • Wiggle the lightbulb socket out of its housing.

  16. 2w1Qxhj2PtR2XgNa
    2w1Qxhj2PtR2XgNa
    AwrRxPJDeEuUsrxj
    • Release the left bulb wiring from the channel it sits it.

    • This may require some force.

  17. NBrXp6HV31DPVr2p
    • Remove the button, the lightbulbs, and the wiring from the old hatch handle.

  18. SaMb4NWoPASkqSFt
    SaMb4NWoPASkqSFt
    UgGKnGUtqAAuJLMM
    WkMOUItcBaJFOudV
    • Use a Phillips head screwdriver to remove the screw on the light cap.

  19. NoxuewRYKNx6jOpL
    NoxuewRYKNx6jOpL
    xNpHKOEKdABjIDyY
    • Remove the lightbulb cap.

    • Repeat the previous step and then this step with the other cap.

  20. TWxPNR1LLNUnl6rF
    • All the attachments are removed from the old hatch handle, ready to reassemble onto the new hatch handle.

    • The rest of the guide demonstrates the reassembly procedure.

  21. Ju3VZ2PZnOD6VoQN
    Ju3VZ2PZnOD6VoQN
    bFIXTjrfBte6xDEd
    tHmMyVTuSm6xGZK3
    • Insert the lightbulb cap into place on the right side of the new hatch handle.

  22. TIu61PqoxrNUsfPf
    TIu61PqoxrNUsfPf
    NVDaGyVLZaMLDK1L
    dxCT1QLNB4RulYJR
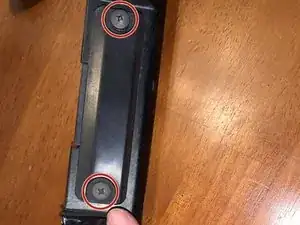
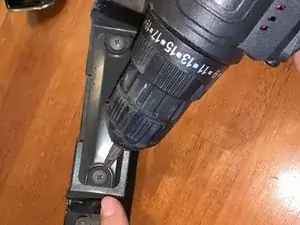
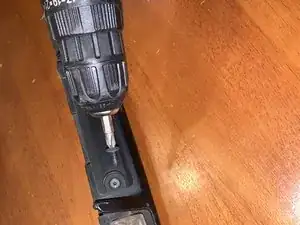
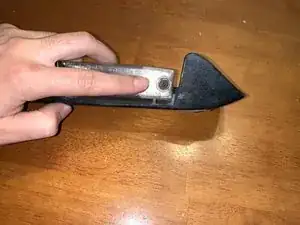
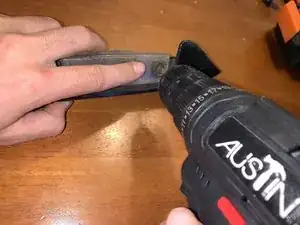
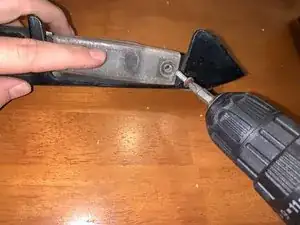
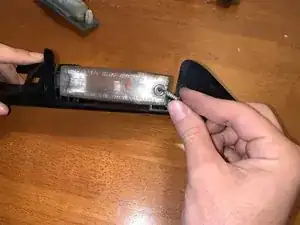
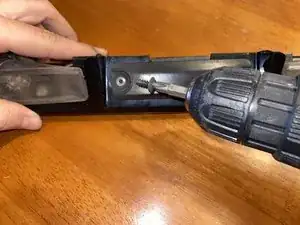
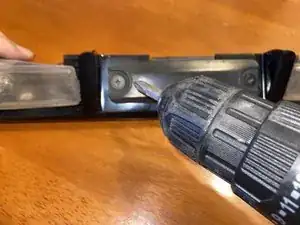
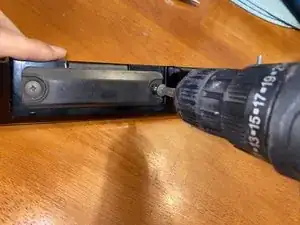
    • Screw in the Phillips screw with your screw gun.

    • Repeat the previous step and then this step for the left cap.

  23. vCUGOgR6lyL12Ygk
    • Align the button, the lightbulb, and the wiring attachment.

  24. PBNNeHkPNUsxGbJC
    PBNNeHkPNUsxGbJC
    gFNL6AdpmUSBvPCU
    EoAESRqTO1bQKNft
    • Insert the left lightbulb socket to the left of the button.

    • Use your pliers to gently rotate the lightbulb socket clockwise into place.

    • Ensure that the lightbulb is fitted into its housing.

  25. RmlxY5vKsOLGEVTG
    • Nest the wiring into the channel to the new hatch handle.

    • Ensure the wiring is fitted in place.

  26. DAGYpf3iOj3DTbC3
    DAGYpf3iOj3DTbC3
    4AFMLRxpIhMqBckA
    DJZbhmLarXB4UAK3
    • Insert the right light bulb into its housing.

    • Use your pliers to screw the lightbulb clockwise securing it into the new hatch handle.

  27. fnGu3DJwSSEfwJC6
    fnGu3DJwSSEfwJC6
    jnXJXufEQbnAUayl
    • Nest the right lightbulb wiring into the channel.

  28. 3oW6EuMwERwBSVqw
    3oW6EuMwERwBSVqw
    o3EGvluMcW1Hc6ei
    GxoJX6QKC2d3Jgnc
    • Lineup both of the tabs on the back of the button with square holes on the handle.

    • Push it in until the plastic 'U' shaped tabs are all the way through.

  29. YBOMFccNV2QbDavQ
    YBOMFccNV2QbDavQ
    1JmK4ElopJqLMDGT
    UoRMMlDMUhQC4sNJ
    • Refasten the two Phillips screws to secure the handle.

    • The handle assembly is now ready to be reinstalled on the vehicle.

  30. AjxlDCL1mPv3ApvA
    AjxlDCL1mPv3ApvA
    jlvTP4BOiN5xbVui
    ZtU2qoqKA5LC1ogH
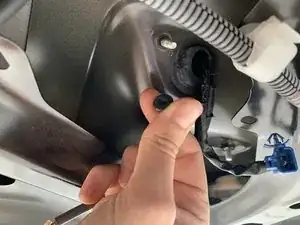
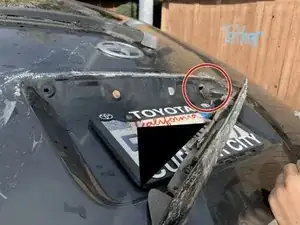
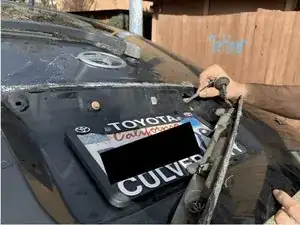
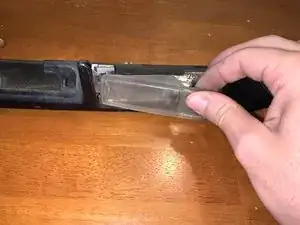
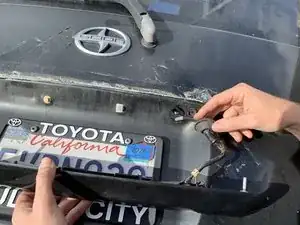
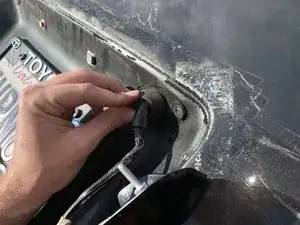
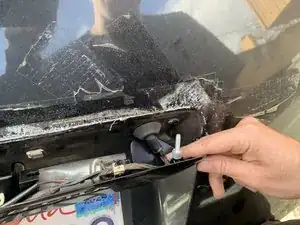
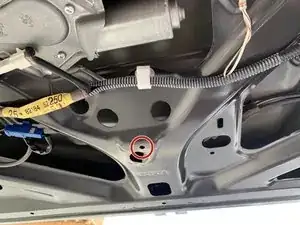
    • Thread the wiring through the large hole above the top right corner of the license plate.

    • Seal the wiring by squeezing it and pushing the front half of the rubber grommet through the hole.

  31. FDXxulBRoHAYtPRB
    FDXxulBRoHAYtPRB
    2JajWIBJ2cSDtnoa
    USnRTGUeoeqHgFs6
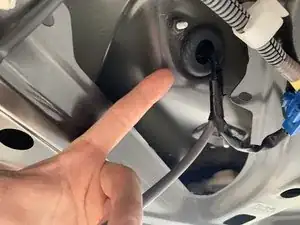
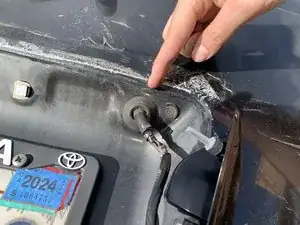
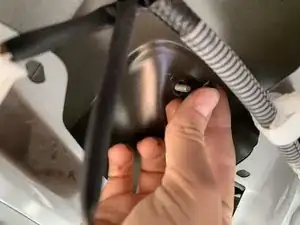
    • Place the loose wiring below the bolt.

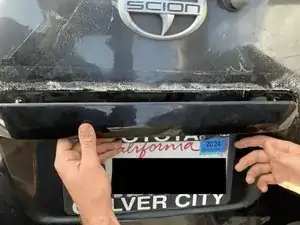
    • Line up the bolts on the handle with the proper holes on the hatch.

    • Push the hatch handle until the bolts are fully through.

  32. tQMtC3OWoowtyCSA
    tQMtC3OWoowtyCSA
    B3f4MPGOFCriJA2X
    ATVmqyf51wp2L5Gp
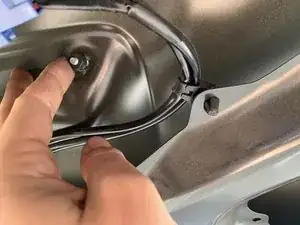
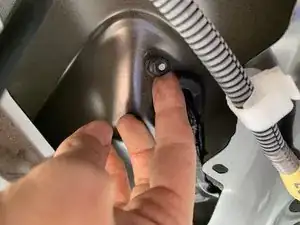
    • Screw the nut tightly around the bolt coming through from the hatch handle.

    • Tighten the nut with pliers as needed.

  33. pJJwk4ObALPktogE
    pJJwk4ObALPktogE
    oI3ggs6HgpZ1vQx2
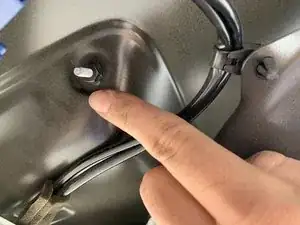
    • Screw the nut tightly around the bolt coming through from hatch handle.

    • Tighten the nut with pliers if needed.

  34. haGwQ5pEOhOsvinp
    haGwQ5pEOhOsvinp
    xDWDFjqopV6pX6mW
    r552IyksIkrXyuiI
    • Line up the white wire cap with the corresponding hole in the hatch.

    • Push and twist counter-clockwise until locked in position.

  35. XqqFpZkyxGvdRQJg
    XqqFpZkyxGvdRQJg
    41GZKKLalWEIHSnt
    bWhOgecqvqj2eYBF
    • Line up the blue wire cap with the corresponding hole in the hatch.

    • Push and twist counter-clockwise until locked in the correct position.

  36. BDUfMQZeax4Q1Q6e
    BDUfMQZeax4Q1Q6e
    EvgL5FvxMI23PGay
    Zu4myS1AKy1yBWtk
    • Reconnect the white cable until you hear a 'CLICK'.

  37. mEdyrGNhVrNsqok3
    mEdyrGNhVrNsqok3
    fBYFXVfRX1HdbnWw
    YTBF4gVNCCsZIAwq
    • Reconnect the blue cable until you hear a 'CLICK'.

  38. J2DCdpL3KdaGdgen
    J2DCdpL3KdaGdgen
    m2AZLNdXU1d3J2OD
    s544SW1rTAJRot5R
    • Line up the panel holes with the metal holes on the hatch.

    • Push center locking cap into the center hole until you hear a 'CLICK'.

  39. 4YDGxSEs2gjTFYYS
    4YDGxSEs2gjTFYYS
    mkDcaQkPQxDSgGTI
    emEUroC1wj4iAiyu
    • Push the locking cap through the panel hole until you hear a 'CLICK'

    • Repeat for all thirteen locking caps.

Conclusion

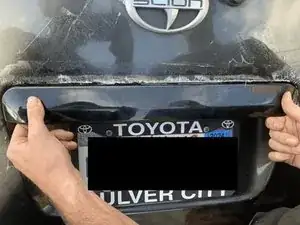
Your new hatch handle will be functional and good as new!

Dominic Chan

Member since: 22/01/24

529 Reputation

0 comments