Introduction
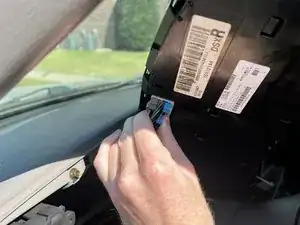
In this guide, you will learn how to replace the instrument cluster in a 2004 GMC Yukon, using only a 7mm socket wrench and a flathead screwdriver.
Faulty instrument clusters can lead to inaccurate readings of essential information, such as engine conditions and speed. This guide will teach you how to replace a faulty instrument cluster yourself, saving you the cost of a mechanic and helping you stay safer on the road.
Please exercise caution when following this guide, as some steps involve the risk of minor injuries, particularly when handling the flathead screwdriver. A slip could result in cuts or bruises so take care to protect yourself and avoid accidental damage to your vehicle.
Tools
Parts
-
-
Park the vehicle on a flat surface and set the parking brake by fully depressing the parking brake lever with your foot.
-
-
-
Pull the tilt adjustment lever on the side of the steering wheel towards you to adjust the steering wheel height to the lowest position.
-
-
-
Carefully use the flathead screwdriver to gently pry between the trim panel and the dash, disconnecting the plastic tabs that secure the panel in place.
-
Once the trim panel is disconnected from the dash, remove the trim panel and store it in a safe place.
-
-
-
Locate the four 7mm screws near the corners of the instrument cluster.
-
Turn the 7mm socket wrench counterclockwise to remove each screw.
-
-
-
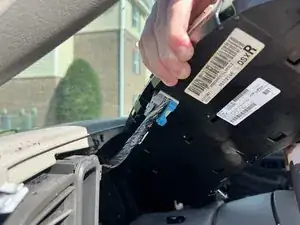
Grab the instrument cluster and pull it away from the dash.
-
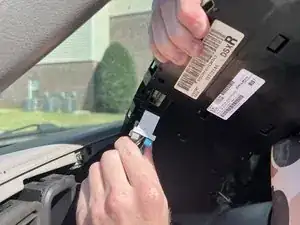
To disconnect the instrument cluster wiring harness, squeeze the grey and blue plastic tabs on the back of the instrument cluster together and gently pull the connector free.
-
-
-
After unplugging the old instrument cluster, grab your new instrument cluster.
-
Plug the instrument cluster wiring harness into the back of the new instrument cluster.
-
-
-
Carefully place the new instrument cluster back into the dash.
-
Grab the four 7mm screws that were removed in Step 6.
-
Use the 7mm socket wrench to tighten the screws into the four screw-holes located at each corner of the instrument cluster.
-
-
-
Grab the trim panel and lower it back into its original position.
-
Align the plastic tabs on the trim panel with the holes in the dash and press firmly to snap the trim panel back into place.
-
-
-
Use the tilt adjustment lever to adjust the steering wheel back to its original height.
-
Pull the gear selector up to shift from 1st gear back into Park.
-
-
-
Carefully release the parking brake using the handle at the very bottom of your dash.
-
Drive safely.
-
This guide provides an easy, cost-effective method for replacing the instrument cluster in your 2004 GMC Yukon. Completing this repair yourself not only enhances your safety on the road but also helps protect those around you.
