Introduction

Replacing the door checker on the passenger side of a 2006 Infiniti G35 Coupe is a necessary repair when your door no longer stays open or begins making loud, popping noises. This guide will walk you through the process step-by-step, ensuring a smooth and efficient replacement. Whether you’re a beginner or have some experience with car repairs, you’ll find that following along with detailed visuals and clear instructions makes this repair manageable. Using the right tools and a careful approach, you’ll have your door functioning correctly again in no time.

  1. tgTTGDSuK62bn1Xy
    tgTTGDSuK62bn1Xy
    GAS56EXDOt5QVWfE
    • Use a Phillips screwdriver to remove the screw from the interior door handle.

    • Caution: Avoid applying excessive force to prevent stripping the screw head.

  2. aJe5QaE2VQQFaitO
    aJe5QaE2VQQFaitO
    1viNwFKNi4HVXMQR
    yoFnv3iLYNi2UfAQ
    • Use a trim removal tool to pry off the trim piece on the armrest.

    • Caution: Insert the tool carefully to avoid damaging anything

    • Work slowly along the edges to release each clip evenly.

  3. KOE4Wg5v5Hti5633
    KOE4Wg5v5Hti5633
    oCvlHBYWKv4uXlxE
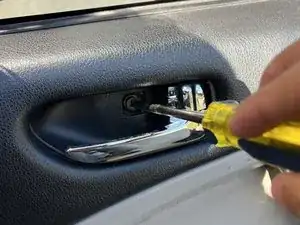
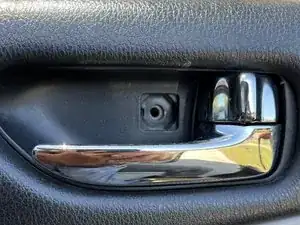
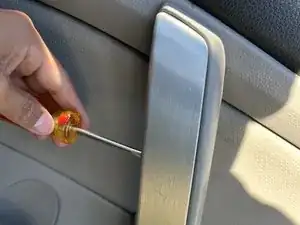
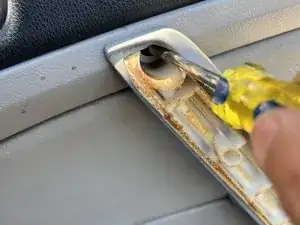
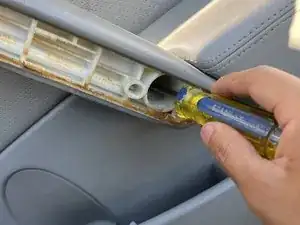
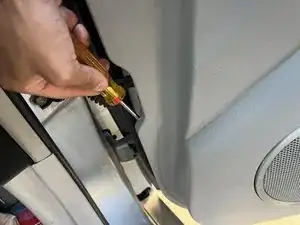
    • Use a Phillips screwdriver to remove the screws hidden under the armrest trim and at the bottom edge of the door panel.

    • Take note of the screw lengths to ensure proper placement during reassembly.

  4. CMbwpeEb2avaGIsM
    CMbwpeEb2avaGIsM
    UFLXmGu2HUyeaDpj
    ZG6kWohu1axhEIlC
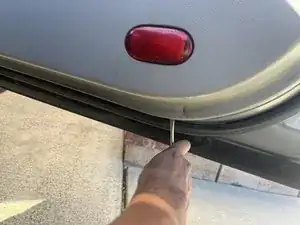
    • Carefully pull the door panel away from the door frame to release the clips. Start from the bottom and work your way around the edges.

    • Caution: Do not pull too hard to avoid breaking the plastic clips.

    • Listen for the sound of clips releasing to ensure all are detached.

  5. dF6vUTcMgFoylTbf
    dF6vUTcMgFoylTbf
    w6rOTdIWWO11dSJN
    • Carefully disconnect the door from the interior mechanism.

    • Label the connectors if necessary to avoid confusion during reassembly.

  6. L2O4XaWvTQRwhLbH
    L2O4XaWvTQRwhLbH
    N6d45BZeOGR61EPE
    iEf4dB135vf5E1qy
    • Disconnect the lock cable carefully from the interior mechanism.

    • Label the connectors if necessary to avoid confusion during reassembly.

  7. AIsFSycLO5bZGf1X
    AIsFSycLO5bZGf1X
    er65vLAtTRULg54X
    ppK1Kr5piirYiSMY
    • Gently unplug all electrical connectors, including those for the window and locking controls

    • Caution: Avoid pulling on the wires directly; press the release tabs on the connectors.

    • Label the connectors if necessary to avoid confusion during reassembly.

  8. UfOXoWe1ZPXa6RQt
    UfOXoWe1ZPXa6RQt
    OUUtZ2NcPZAnLwZW
    sXQMdTG4jKAEkI2a
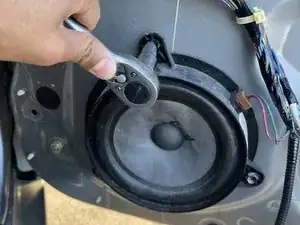
    • Use a ratchet to remove the screws securing the speaker to the door frame and carefully disconnect the speaker and set it aside.

    • Handle the speaker gently to avoid damaging its delicate components.

    • There is no need to disconnect the speaker; it can be placed carefully to the side.

  9. fbGkVy6KpfhabbLl
    fbGkVy6KpfhabbLl
    E4mDJXGPZ5tGM1Wf
    K44Kh5i3K34DBhU2
    • Use a 10mm socket wrench to unbolt the door checker from the car door frame.

    • Support the door while unbolting to prevent it from shifting or sagging.

    • Keep the bolts with the old door checker for reference during installation.

  10. NEZXM1OykMRIPhN6
    NEZXM1OykMRIPhN6
    KG4vJUtWUWfWI6yH
    5BEEXrIBaO4dlG1p
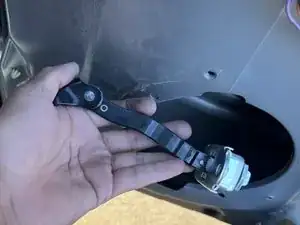
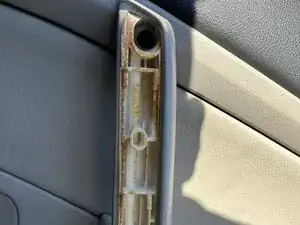
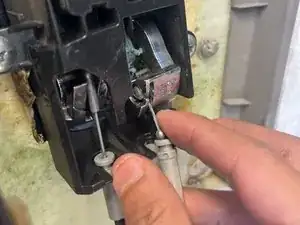
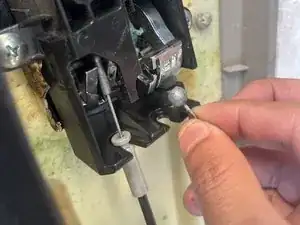
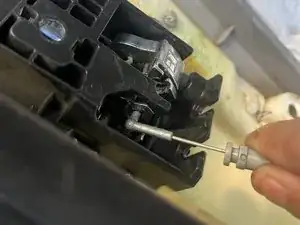
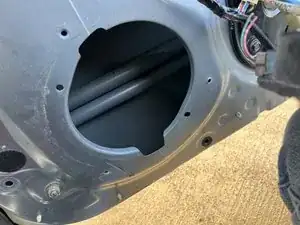
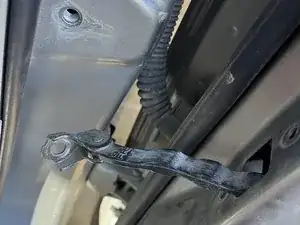
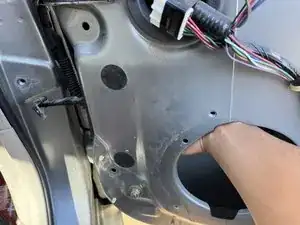
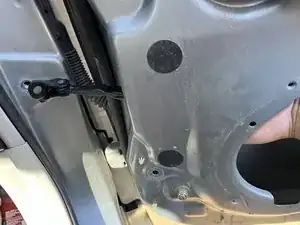
    • Reach into the access hole in the door panel to grip the door checker. Carefully slide it out through the hole.

    • Caution: Be mindful of sharp edges inside the door panel to avoid injury.

  11. ptWOClf4XkWaddUM
    ptWOClf4XkWaddUM
    QlDOffalTL2LBjHO
    H5SknTVeTYCpclIi
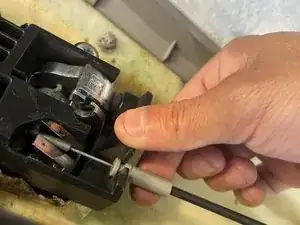
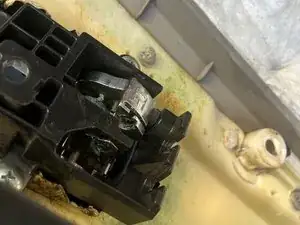
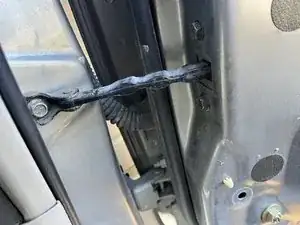
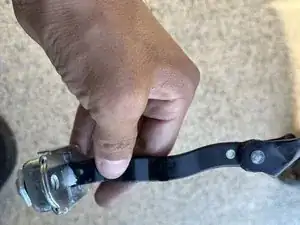
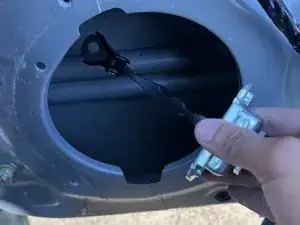
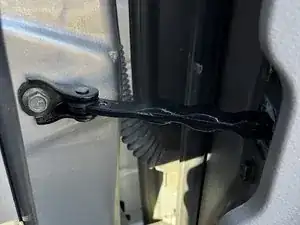
    • Align the new door checker with the mounting holes inside the door frame. Carefully insert it through the access hole and ensure proper positioning.

    • Double-check the alignment of the door checker before bolting it in place.

  12. lwqqoOfAmpdSgj2I
    lwqqoOfAmpdSgj2I
    JdhIWNkLZ2aVqo6I
    pXXcZWJTohZEPc5R
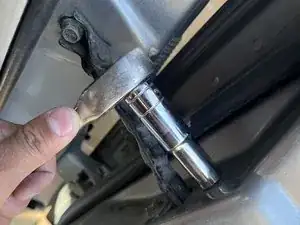
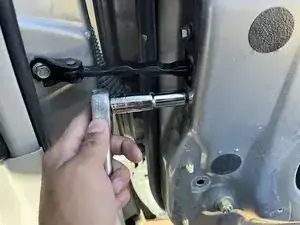
    • Align the bolts in the holes, then use the 10mm socket wrench to bolt the new door checker securely to the frame.

    • Caution: Do not overtighten the bolts to avoid damaging the door checker or its mounting points.

    • Test the door at different angles to verify it holds open properly without popping noises.

Conclusion

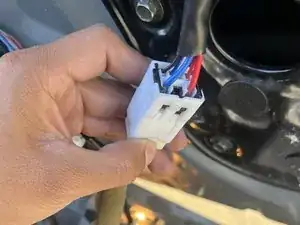
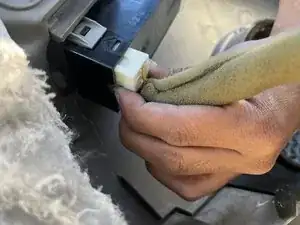
To reassemble your device, follow these instructions in reverse order. Make sure all electrical connections are securely reattached, and the door panel is properly aligned and fastened to avoid any loose components. Once completed, test the door to ensure the new door checker operates smoothly and holds the door in place without any issues. Congratulations on successfully replacing the door checker—your Infiniti G35 Coupe's door should now function perfectly!

Derreck Soriano

Member since: 23/10/24

205 Reputation

0 comments