Introduction
In this guide will be be replacing a windshield wiper motor on a 2010 Ford Mustang. This repair might be necessary if your windshield wipers are randomly turning on when you haven't turned them on. Eventually, if that's what they are doing the motor will completely burn out. At that point, you won't have functioning wipers at all.
The wiper motor is under the cowl, fairly close to a drain plug that can get easily clogged causing a large pool of water in that area. So, if you take your car through the car wash a lot, and don't park under covered parking regularly, this repair might be necessary every couple of years due to bad placement of the wiper motor. Trying to limit how wet your car gets will extend the life of the wiper motor.
Before you begin, if you have anything you need in the trunk of the car, get it out before you begin the repair. You will be disconnecting the battery at Step 3 and once the battery is disconnected you won't be able to unlock the trunk.
-
-
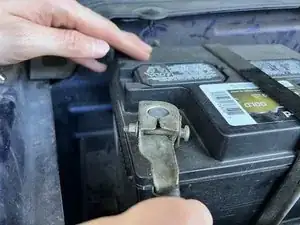
Use an 8 mm socket to loosen the bolt on the battery terminal.
-
Pull off the negative(black) terminal first.
-
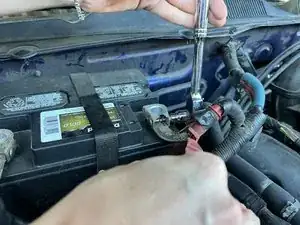
Repeat the process for the positive(red) terminal.
-
-
-
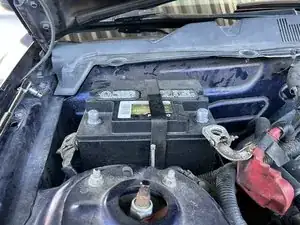
Put the hood back down.
-
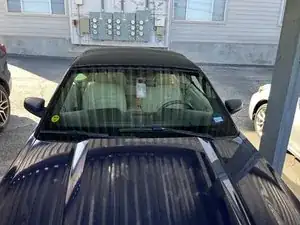
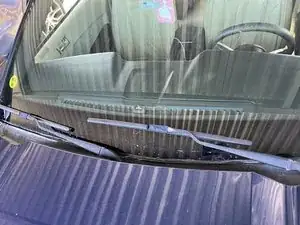
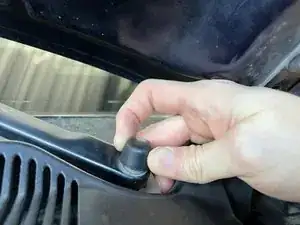
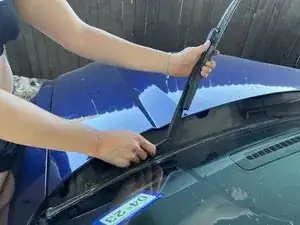
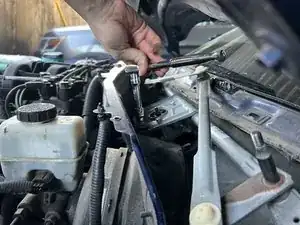
With both hands, wiggle the wiper arm and pull up in the direction of the bolt thread to remove it from the car. Repeat the process on the other side.
-
-
-
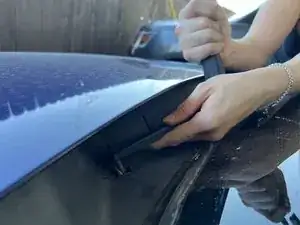
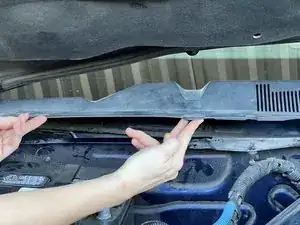
There are four clips that connect the cowl to the car. Use a flathead screwdriver to push the bottom of the pin in the middle of the clip up.
-
Grab it with your fingers once it starts to come up and pull it out.
-
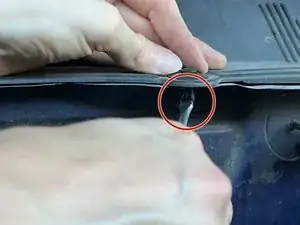
Pinch the sides of the clip and push it up out of its hole.
-
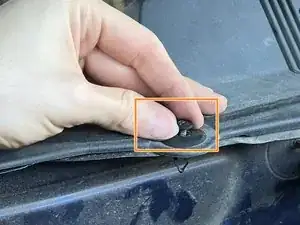
Remove all four of the clips and set them aside.
-
-
-
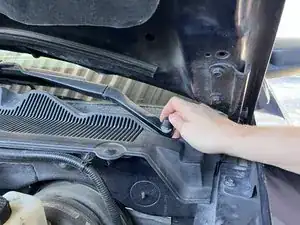
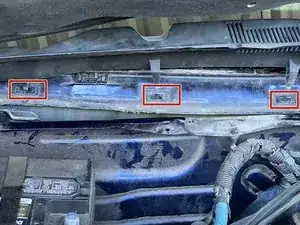
Begin to pull up on the side of the cowl that is closest to the engine.
-
Release the plastic hooks by pulling up on the cowl.
-
-
-
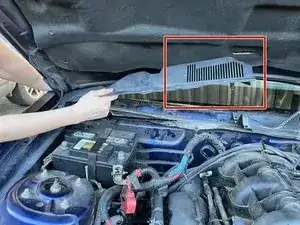
To remove the cowl completely, start on the passenger side and lift it up towards the hood of the car. The side that lifts from the middle seam of the cowl is the part to lift up.
-
With the cowl up near the hood, begin to turn it in a clock wise motion. This will allow the end of the cowl that is by the fender to slip out from under the edge of the hood.
-
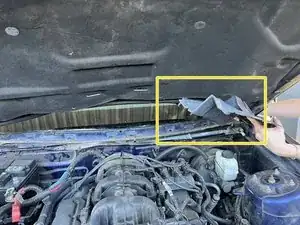
Repeat the same process for the driver side. This time when the edge is lifted up towards the hood turn it counterclockwise to slip it out from under the edge of the hood.
-
-
-
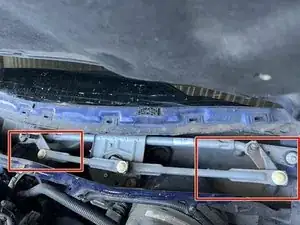
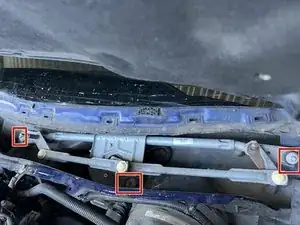
Take a reference photo of what the assembly looks like right before you take it apart. It will be helpful for reassembly to know the way the arms are pointed.
-
-
-
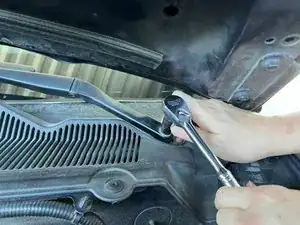
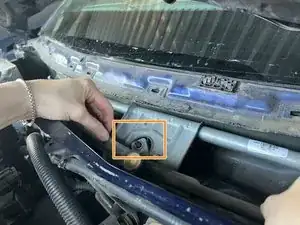
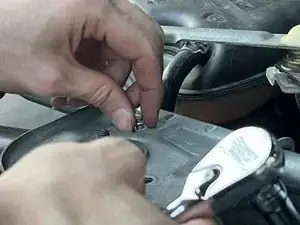
With a 13 mm wrench take the bolt off that is on top of the windshield wiper motor.
-
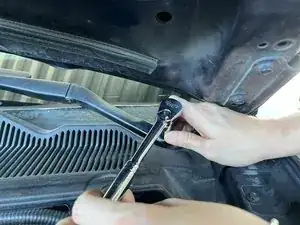
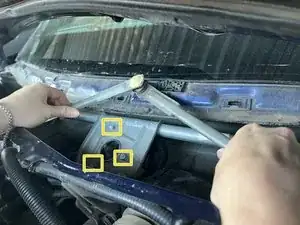
Use both hands and a bit of force to get the arm that was under the bolt to move from the bolt thread.
-
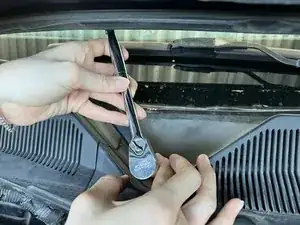
Move the joints of the assembly out of the way to reveal all three bolts that mount the wiper motor.
-
-
-
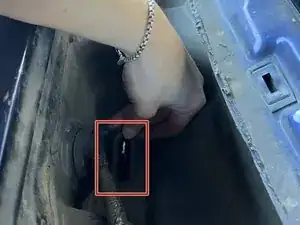
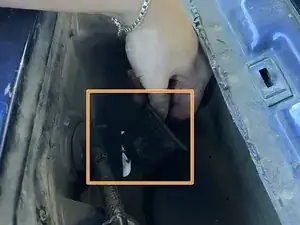
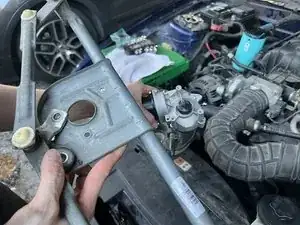
The assembly that holds the wiper motor should lift out now. Turn it over and you will see the wiper motor.
-
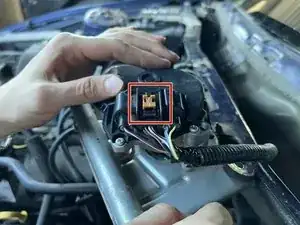
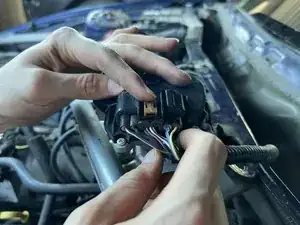
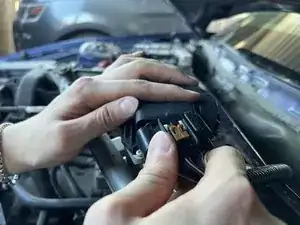
Push the tab on the electrical connector towards the exposed wires and you should be able to pull the connector off the wiper motor.
-
Pull the assembly out of the car. Set it to the side for now.
-
-
-
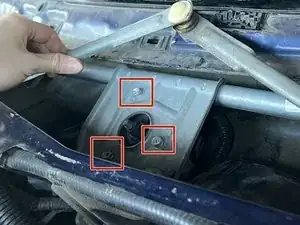
Set the wiper assembly down on something sturdy and flat. Use a 10 mm socket, and remove each of the three bolts.
-
Once the bolt is loose enough you can back it all the way out with your hand.
-


To reassemble your device, follow these instructions in reverse order.
Another option to remember wiper placement is to put some masking tape or duct tape on the windscreen lengthwise along each wiper when they in their resting position.
Lou -