Introduction
Replacing the low-beam headlight lightbulb on a 2018 Hyundai Tucson is a simple yet important task that every car owner can handle. Headlights are crucial for safety, and when a bulb goes out, it often requires quick attention. While many drivers might instinctively turn to a mechanic, this guide provides clear, easy-to-follow steps that will empower you to tackle the job yourself. With the right instructions, you'll save time and money while enhancing your vehicle maintenance skills.
To ensure even illumination, vehicle mechanics suggest replacing both low-beam headlight lightbulbs at the same time.
Before beginning this procedure, place your car in park, engage the parking brake, and power off the ignition.
-
-
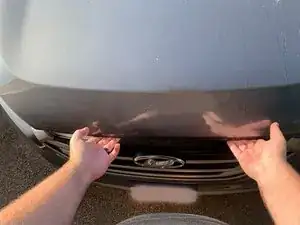
Inside the driver’s side of the vehicle, pull the hood latch to unlock the hood.
-
Open the hood.
-
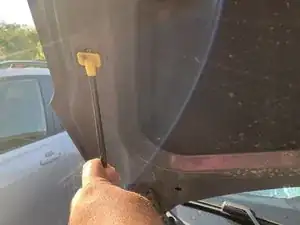
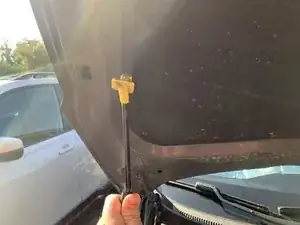
Secure the hood using the hood support rod.
-
-
-
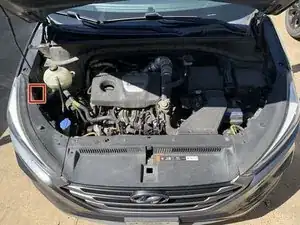
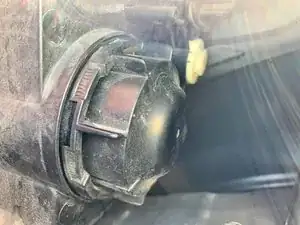
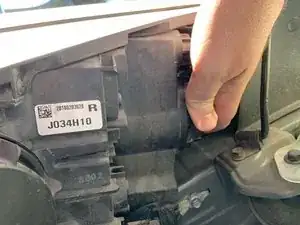
On the low-beam headlight assembly, unscrew the assembly cap.
-
Remove the assembly cap, and then set it aside.
-
-
-
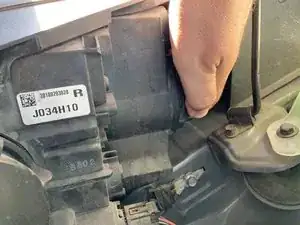
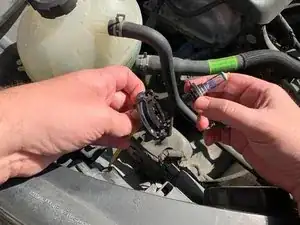
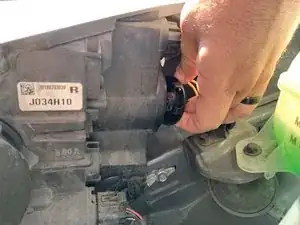
Reach into the low-beam headlight assembly, and then grab the headlight housing.
-
Twist the headlight housing counterclockwise to unlock it.
-
-
-
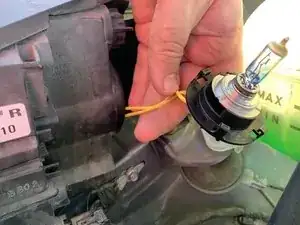
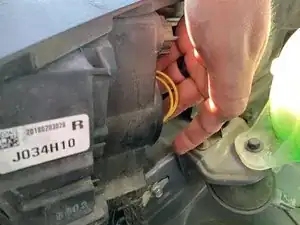
Pull out the headlight housing from the headlight assembly.
-
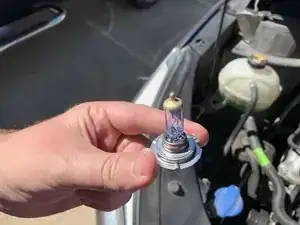
Grab the lightbulb and then pull it out from the headlight housing.
-
-
-
Open the package of the new lightbulb.
-
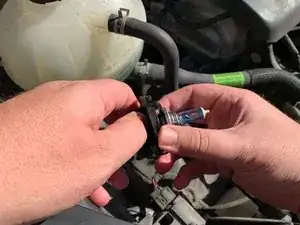
Grab the lightbulb by the base.
-
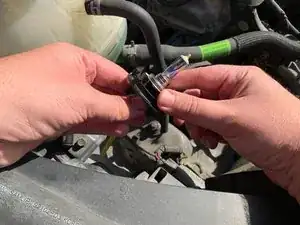
Attach the new lightbulb to the headlight housing.
-
-
-
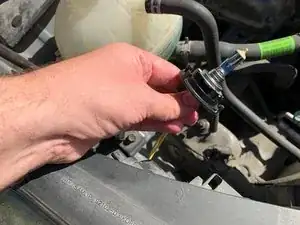
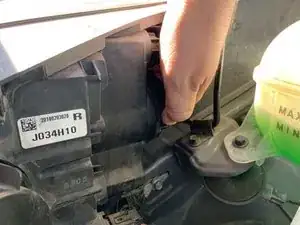
Place the headlight housing into the headlight assembly.
-
Twist the headlight housing clockwise to lock it.
-
-
-
Turn on your vehicle.
-
Turn on your lights.
-
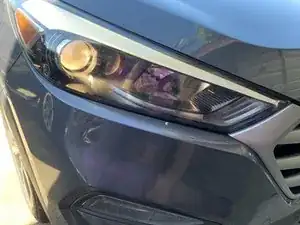
Move to the front of the vehicle, and then visually verify that the new low-beam lightbulb works.
-
Turn off your vehicle.
-