Introduction
The Printed Circuit Board (PCB) is a critical part of the keyboard, responsible for registering key presses and controlling LED functionality. Replacing the PCB may be necessary if there are issues with key registration or other electrical problems. Follow this guide to safely replace the PCB in your Epomaker Shadow-X.
-
-
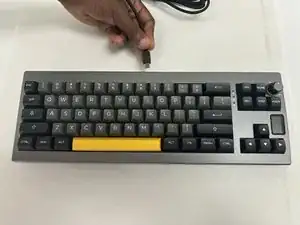
Power off the keyboard and unplug any attached cables.
-
Place the keyboard on a clean, static-free workspace and wear an anti-static wrist strap if available.
-
-
-
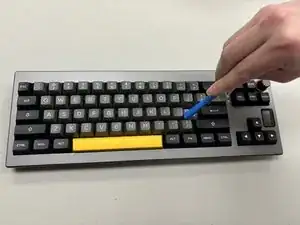
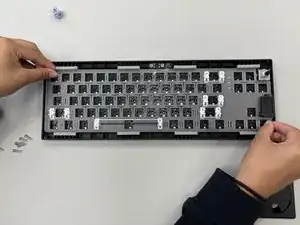
Use a keycap puller to remove all keycaps from the keyboard.
-
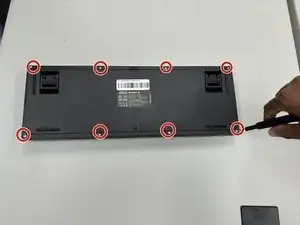
Remove all eight of the hex screws that secure the lower case.
-
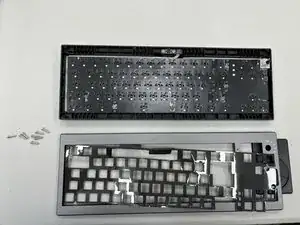
Remove the lower case.
-
-
-
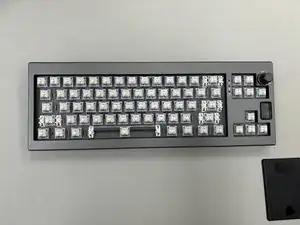
Locate the PCB, which is mounted below the switch plate.
-
Disconnect any cables or connectors between the PCB and other components
-
Remove any screws or clips securing the PCB to the keyboard case. Carefully lift the PCB out of the case.
-
To reassemble your device, follow the above steps in reverse order.
Take your e-waste to an R2 or e-Stewards certified recycler.
Repair didn’t go as planned? Try some basic troubleshooting or ask our Answers community for help.