Introduction
A misaligned switch plate can cause switches to feel inconsistent and may result in uneven key placement. Realigning the switch plate can improve the typing feel and overall functionality of the keyboard. Follow this guide to carefully realign the switch plate on your Epomaker Shadow-X.
-
-
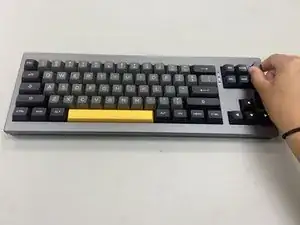
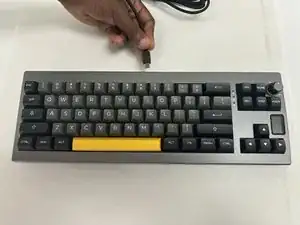
Power off the keyboard and disconnect any USB cable.
-
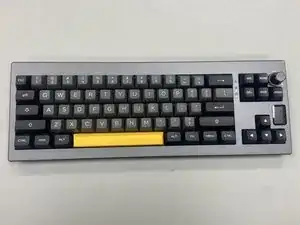
Place the keyboard on a clean, static-free workspace.
-
-
-
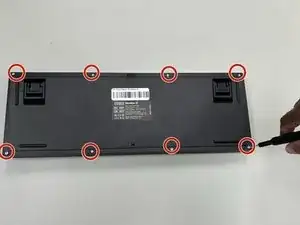
Remove the screws on the back of the keyboard with a hex screwdriver.
-
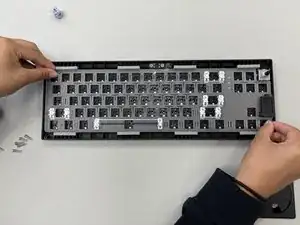
Carefully pry open the case using a plastic opening tool or spudger, and separate the top and bottom halves.
-
-
-
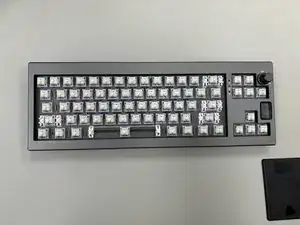
Locate the switch plate, which sits between the key switches and the PCB.
-
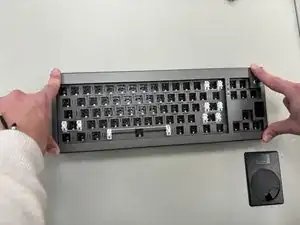
Ensure that each switch slot in the plate lines up with the PCB holes below it.
-
-
-
If the plate has screws or clips, check that each one is correctly fastened to prevent future misalignment.
-
Gently press on different sections of the plate to verify that it’s stable and correctly positioned over the PCB.
-
-
-
Reinsert each switch, ensuring that they align with both the switch plate and the PCB.
-
Snap the top and bottom halves of the case back together. Replace and tighten all screws.
-
Reinstall all keycaps and check that they are aligned and consistent in height.
-


You have successfully realigned the switch plate on your Epomaker Shadow-X keyboard! This adjustment improves switch stability and typing consistency. Check each key to confirm the alignment, and enjoy smoother, more consistent typing.