Introduction
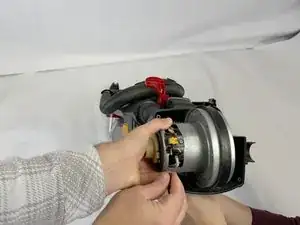
The drive motor of the Eureka SuctionSeal Pet is where all of the power comes from. This component is responsible for both creating the suction for the vacuum as well as generating the power that spins the brush roller via the drive shaft attached to the motor. When the motor fails due to age or electrical or mechanical failure it can result in the vacuum no longer working as intended. Following this guide will help you in replacing your no longer functioning motor with a new one.
Tools
-
-
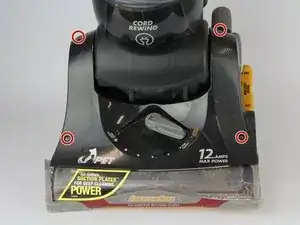
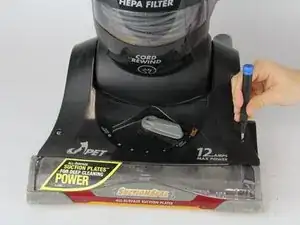
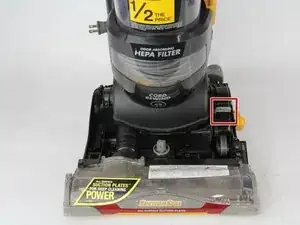
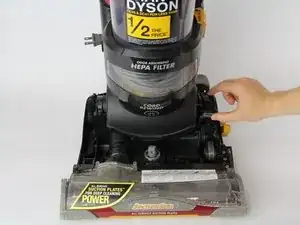
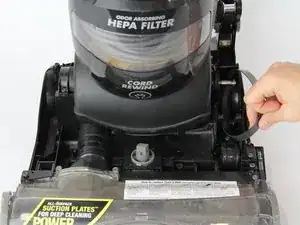
Remove the four 19 mm screws using a Phillips #2 screwdriver.
-
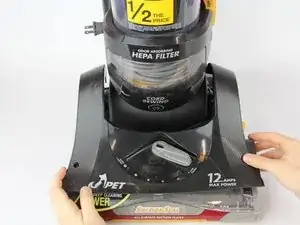
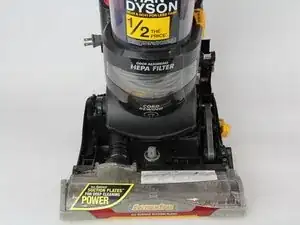
Remove the vacuum head cover by lifting away from the vacuum head.
-
-
-
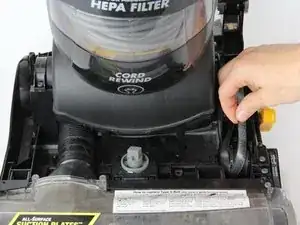
Starting from the bottom of the S belt, rotate the S belt away from the wheel.
-
Lift the S belt away from the bottom roller and remove from the motor shaft by sliding the S belt between the motor shaft and the vacuum head wall.
-
-
-
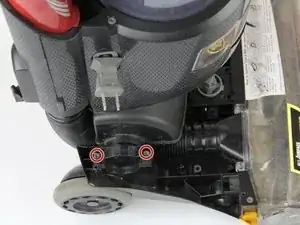
Remove two 19 mm screws using a Torx T20 screwdriver.
-
Remove the vacuum head retaining bracket.
-
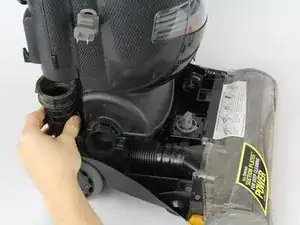
Pull down on the vacuum hose to remove the hose from the body.
-
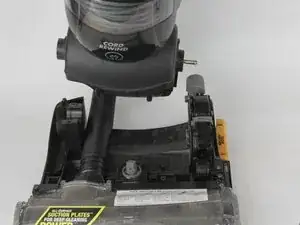
Lift the vacuum body away from the vacuum head to separate.
-
-
-
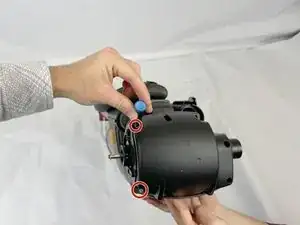
Remove two 28 mm screws holding the motor cover retaining bracket using a Torx T20 screwdriver.
-
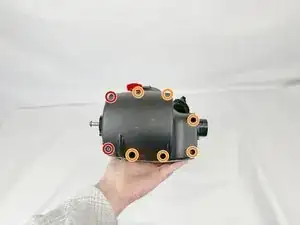
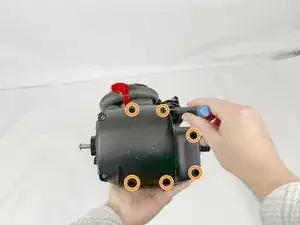
Remove the remaining six 19 mm screws using a Torx T20 screwdriver.
-
-
-
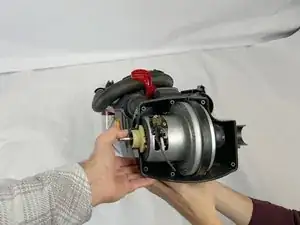
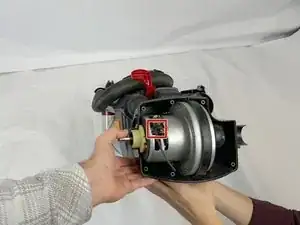
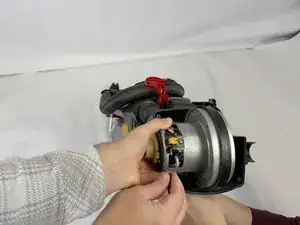
Remove the electric clip attaching the power to the motor.
-
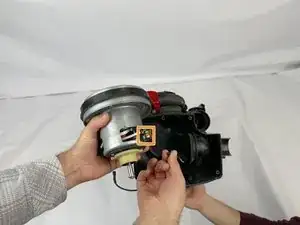
Remove a second identical electric clip from the motor on the back side of the motor.
-
To reassemble your device, follow these instructions in reverse order.
