Introduction

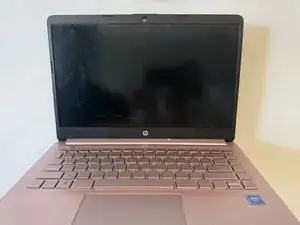
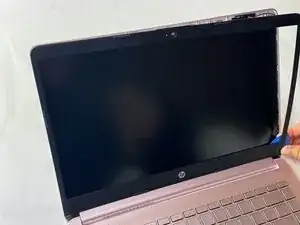
Use this guide to replace the LCD screen of your HP Stream 14-cf2112wm. If you are replacing the screen because you are having graphics issues, take a look at this troubleshooting guide first.

When replacing your screen, place your laptop on a soft cloth or towel to protect it from scratches.

Before you begin this repair, be sure to power off your laptop and unplug it from the charger.

  1. kVRmbuUNuQVcnFCH
    • Ensure the laptop is fully turned off and disconnected from the charger and peripherals.

    • Open the laptop so the screen is facing you.

  2. WEBcJfISoqWAdZR1
    WEBcJfISoqWAdZR1
    FFSYn3XQ1w31ZNHW
    2GHnYSBd3CifZVDX
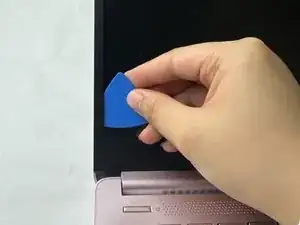
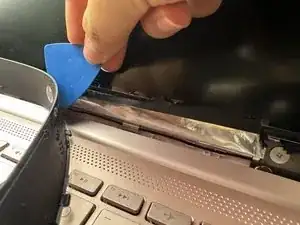
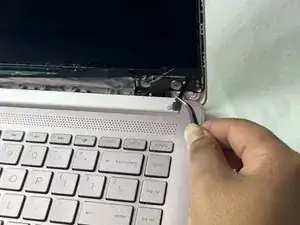
    • Use an opening pick to release the tabs and glue securing the bezel.

    • Gently work your way around the bezel with the pick and remove it from the screen.

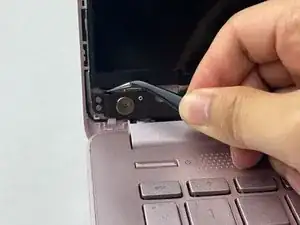
    • Use the plastic pick to pry off the hinge cover and remove it.

    • Using both hands, gently pull the bezel away from the screen, unsnapping the tabs underneath as you go.

    • The bottom may be harder to remove, and you may need to use a bit more force.

  3. HiGYNXic6Qy2cX3O
    HiGYNXic6Qy2cX3O
    JP2MPvHxxe4kEaBC
    j33rTuKrDZQppEm5
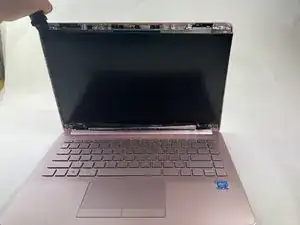
    • Use tweezers to pick the loose tab in the bottom left corner of the screen and gently pull out the adhesive strip.

    • Do the same on the right side.

    • The strips may snap if you pull them too hard or quickly. This is okay because, although you may not get all of it in one pull, you can pick the rest out around the screen using a spudger and the tweezers.

    • You will need new adhesive strips when placing the new screen.

  4. rHl6oG3JRtdL1osG
    • Use the Jimmy to pry the screen from the top case if it is stuck.

    • Be careful with your fingers as the screen is sharp.

    • Don't pull the screen completely off the laptop or it will break the device. It is still connected by the display cable connector.

  5. idX3o6XXvPSQOSwM
    • Take the screen off and set it face down on the keyboard.

  6. rWyewnOOvR4F1by1
    rWyewnOOvR4F1by1
    k5qAEUBZ3XKTkVJL
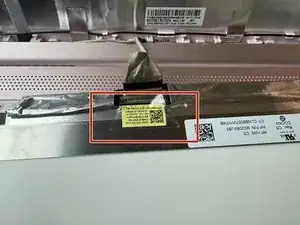
    • Peel off the clear tape from the connector.

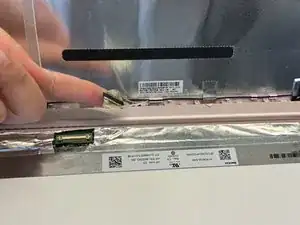
    • Gently push the tip of a spudger under the metal buckle to unclip it, then swing it over the socket.

    • Hold the buckle and cable together and gently pull the connector straight out of its socket.

    • To reconnect:

    • Grip the cable and buckle together and insert the connector fully into its socket.

    • Aligning the connector can be tricky. Reposition it as necessary and don't try to force it into the socket, or you may damage both the connector and its socket.

    • Flip the buckle over the socket and use a spudger to press the buckle down until it clicks into place. Replace the tape to secure the connector.

    • When replacing the screen, be sure to line up the cable with the display connector socket.

Conclusion

To reassemble your device, follow these instructions in reverse order. Take your e-waste to an R2 or e-Stewards certified recycler.

Shishi Hu

Member since: 18/03/24

763 Reputation

0 comments