Introduction

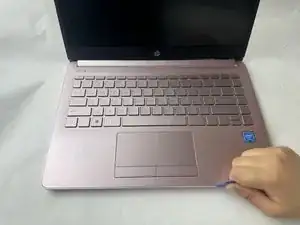
If your HP 14-cf2112wm isn't producing audio through the speakers or the speakers are distorted and you've concluded they have failed, use this guide to replace the speakers. However, first you should try troubleshooting any audio problems you might have using this guide.

When replacing the speaker, take note of the power rating so you can get the same speakers. Although you can try to upgrade your speakers, it is easier to stick with the same ones since new ones might not fit in your case or have the same connectors.

Before you begin this repair, be sure to power off your laptop and unplug it from the charger.

  1. YsHNTVITYDQnVgCV
    • Before you begin, shut down your laptop and disconnect all cables.

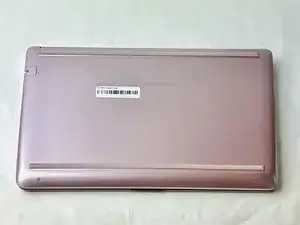
    • Turn the laptop over so the bottom case is facing up.

  2. f6YQQiKqyPlv3fAZ
    f6YQQiKqyPlv3fAZ
    oW6dmtoxKtpeMH16
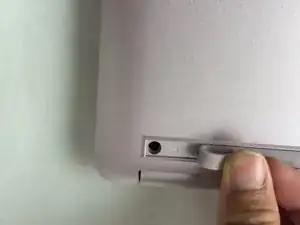
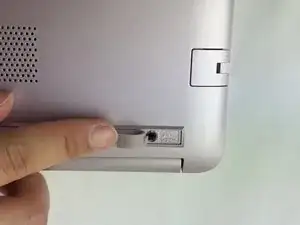
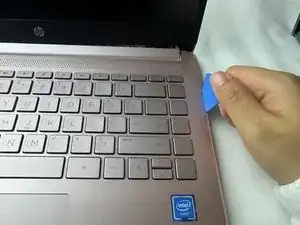
    • Use a spudger to pry under the end of the screw cover.

    • When the edge is lifted up, use your fingers to pull the rest of the strip off.

    • Try to keep the strip intact so you can replace it at reassembly.

  3. hMQB5YLBPn1AxbLf
    hMQB5YLBPn1AxbLf
    HfbDJySgDEPsbtRb
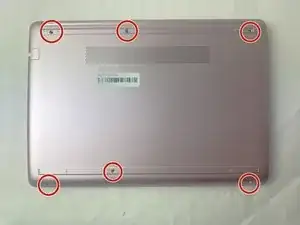
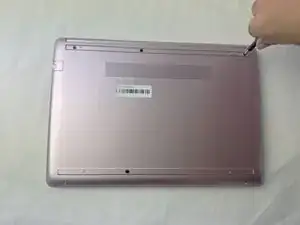
    • Use a Phillips #1 screwdriver to remove six 6 mm screws from the back case.

  4. WOljLO2kx4DD2pIj
    WOljLO2kx4DD2pIj
    6CK23nBhibQJrQLT
    PX2u6nyVO1uRNT4K
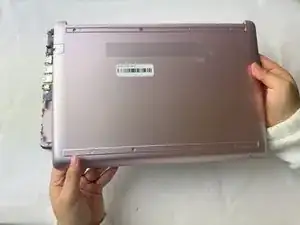
    • Use a pick or opening tool to pry along the edges of the back cover from the keyboard side of the laptop.

    • Be careful as the case edges are sharp.

  5. XqK4eUpx2urwWc3r
    • Lift the back cover off the laptop.

  6. vNwxCKctElLUcNdo
    vNwxCKctElLUcNdo
    YwvriHIIXZJSYilB
    uQtVHtNuiJtSDLuB
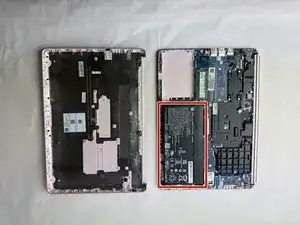
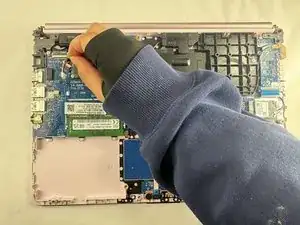
    • Place your opened laptop on a flat surface.

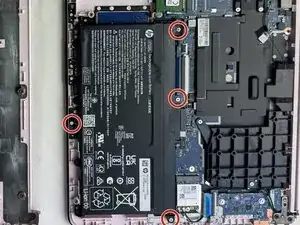
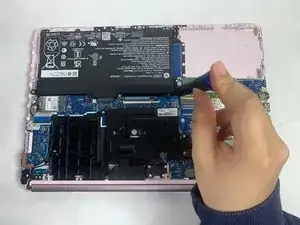
    • Use a Phillips #1 screwdriver to remove the four Phillips 3.0 mm screws securing the battery.

  7. KkWRfRm5DZSrB4bt
    KkWRfRm5DZSrB4bt
    cKenGMQeKpxLxYDd
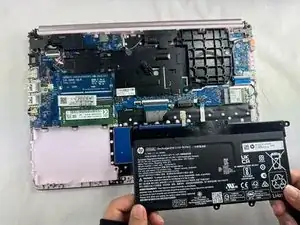
    • Slide the battery out from the connector on the motherboard.

  8. d5BLhLTJ2rNCxeA3
    d5BLhLTJ2rNCxeA3
    bn1r5LQOS12ZS2at
    RRdcDOUd4pvOdLbk
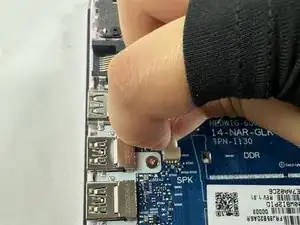
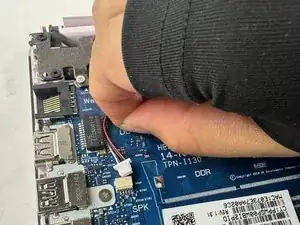
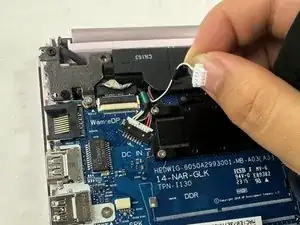
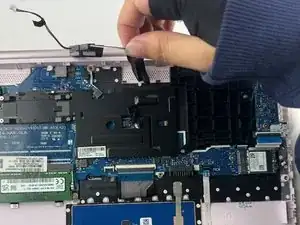
    • Use your fingers or tweezers to pull out the speaker cable from the slide connector socket on the motherboard.

    • Don't pull on the wires as it may damage the connector or cable.

    • If that doesn't work, use the point of a spudger to push on alternating sides of the connector to "walk" it out of its socket.

    • It may take a lot of alternating before the connector comes out.

    • To reconnect the cable, align the connector and use a spudger or clean fingernail to push it fully into the socket.

    • Don't push on the cables themselves, or you may damage the connector.

  9. KJ4Jr2QOABUrksHV
    KJ4Jr2QOABUrksHV
    4cFAOvkAEbODoAG6
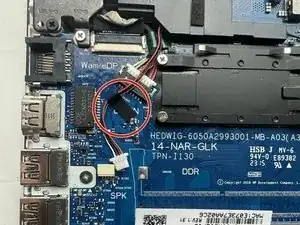
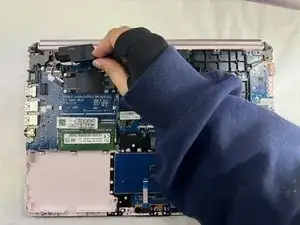
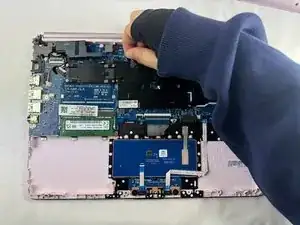
    • Remove the tape holding the cables to the motherboard.

  10. EGpCrLkUgxXYK6OP
    EGpCrLkUgxXYK6OP
    KlVCiXHYjqpv3Jad
    ZIW2grv1kdE1C1hf
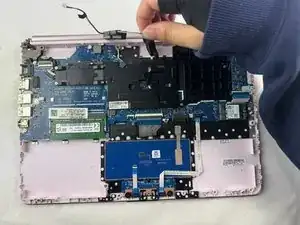
    • Remove the speakers.

    • A loose plastic piece may or may not fall out during this step, but you can press it back in place between the speaker and the motherboard.

Conclusion

To reassemble your device, follow these instructions in reverse order. Take your e-waste to an R2 or e-Stewards certified recycler.
Shishi Hu

Member since: 18/03/24

763 Reputation

0 comments