Introduction
The telescoping handle is a crucial component of any wheeled luggage. When it gets bent or worn out, it can stop moving smoothly or get stuck altogether, which can be quite frustrating.
This guide will demonstrate how to replace the handle of a Patagonia Black Hole® Wheeled Duffel.
Replacement parts are currently unavailable. To get your luggage fixed, take it in to a local Patagonia retail store for repair evaluation or send it in to Patagonia through their mail-in repair service.
Related Tutorials
Tools
Parts
-
-
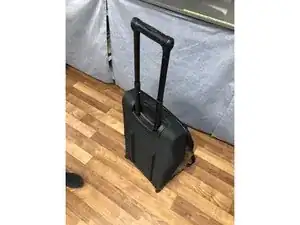
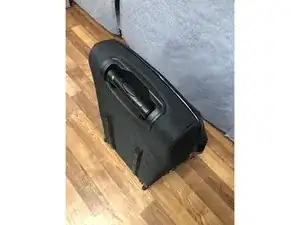
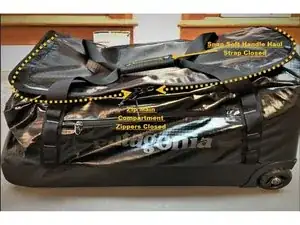
Starting with an empty duffel, unzip and open the main zipper compartment.
-
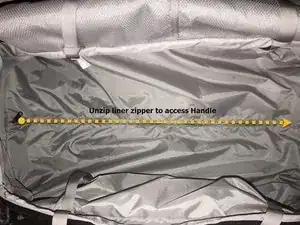
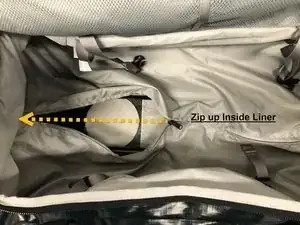
Then unzip the zipper on the inside liner to access the handle assembly.
-
-
-
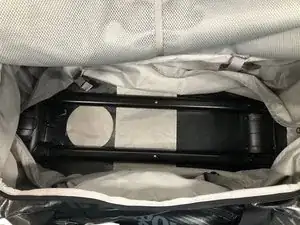
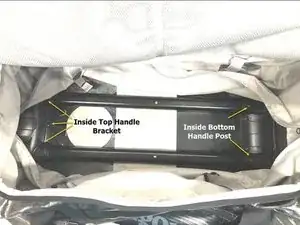
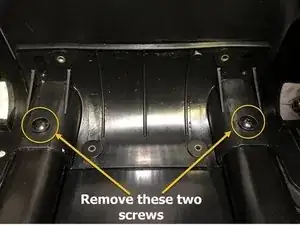
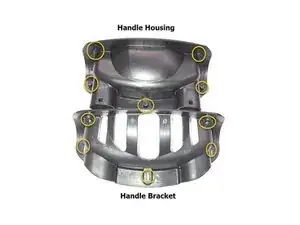
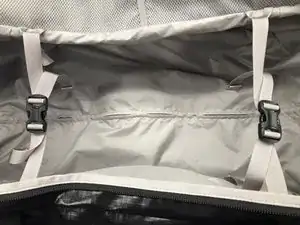
Locate the top and bottom handle brackets.
-
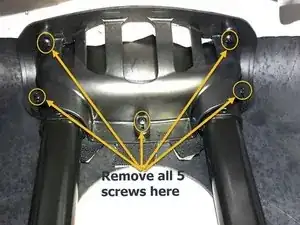
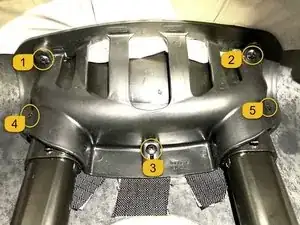
Use a Phillips PH2 screwdriver to remove the seven screws securing the handle brackets:
-
Five screws from the top handle bracket
-
Two screws from the bottom handle bracket
-
-
-
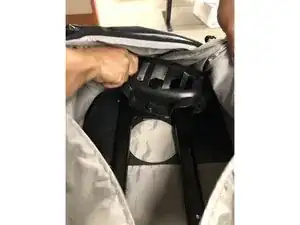
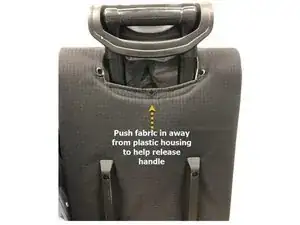
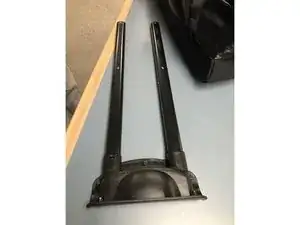
Remove the handle from the duffel by pulling the entire handle assembly (including the plastic housing) away from the duffel body.
-
Once the plastic housing is detached from the duffel, the handle can be pulled out completely.
-
Discard the damaged handle responsibly.
-
-
-
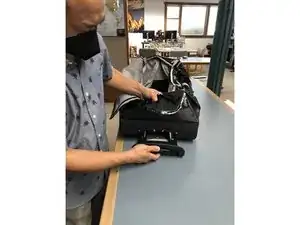
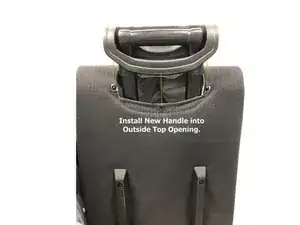
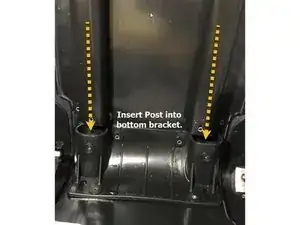
Insert the new handle into the duffel. Both posts of the handle should slide securely into the bottom handle bracket.
-
Align the screw posts on the plastic housing with the holes at the top of the duffel.
-
-
-
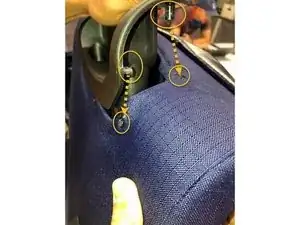
Once the new handle is in place, return to the inside of the duffel and reinstall the screws into the bottom handle bracket.
-
-
-
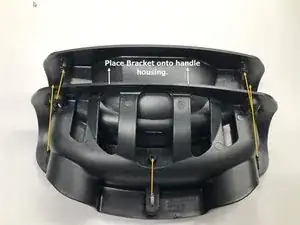
Place the top handle bracket back into place on top of the handle housing and ensure that the screw holes of the handle bracket align with the screw posts of the handle housing.
-
Use a Phillips PH2 screwdriver to install the five screws securing the top handle bracket while holding the bracket in place.
-
Lift the handle bracket at each screw location to ensure it's securely in place.
-
-
-
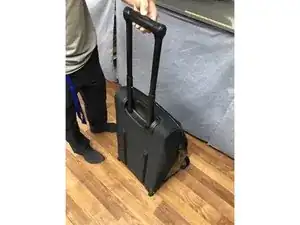
Test that the handle works properly. Move the handle into all positions and ensure it locks securely at each position:
-
Fully extended
-
Middle position (medium and small duffels only)
-
Fully collapsed into the handle housing
-