
Introduction
In this guide we will show you how to take apart the mouse carefully and how to readjust a deformed microswitch contact plate in order to get some more life out of the component. We will then demonstrate how to switch the contact plate from the right to the left, as the right one is generally used much less and will therefore likely have a longer lifespan before needing full replacement.
This guide can also be used as a basic disassembly guide in order to access the clicker for a full microswitch replacement. Follow this guide to fix a common double clicking issue for the Roccat Kova gaming mouse. In order for the mouse to function properly this fix is fundamental and pivotal for the longevity of the mouse.
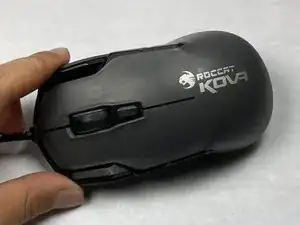
This guide applies only to the Roccat Kova gaming mouse, but should work for many different mice.
-
-
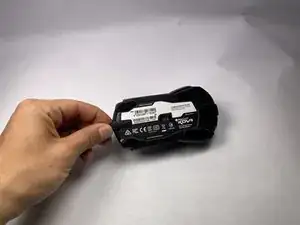
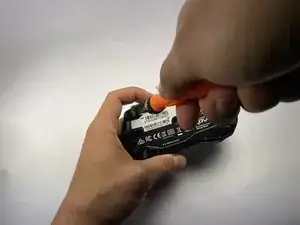
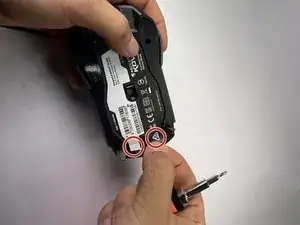
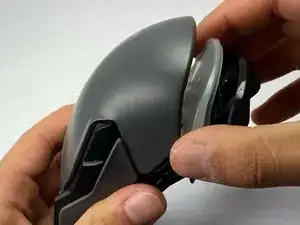
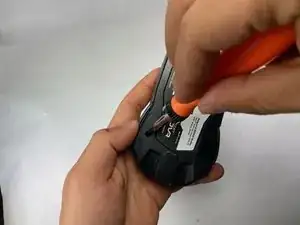
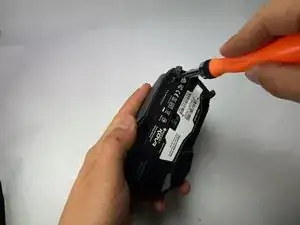
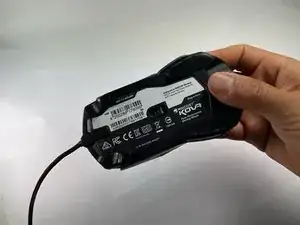
Slightly peel back the front edge of the plastic label, nearest to the wire coming out of the front of the mouse, until you see two screw holes.
-
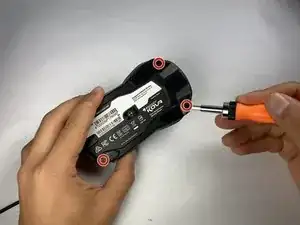
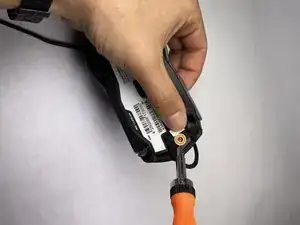
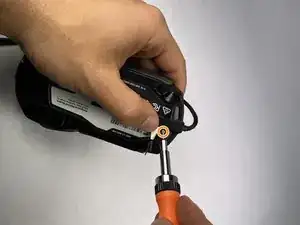
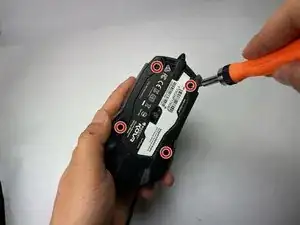
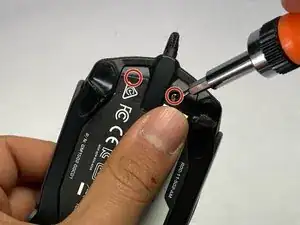
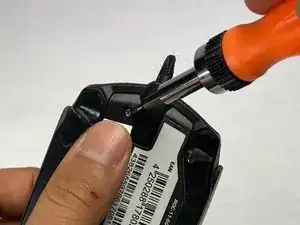
Use a Phillips #00 screwdriver to remove the two screws.
-
-
-
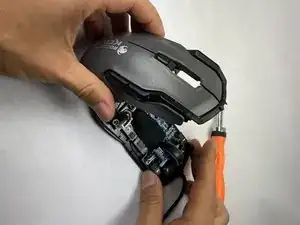
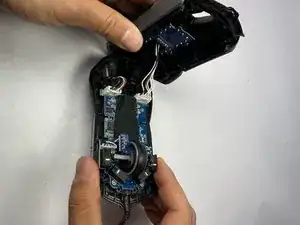
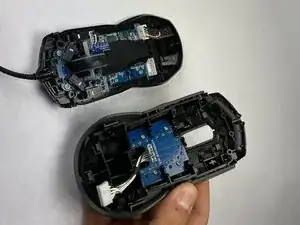
Gently tilt the top case, from the front to the back, until you see white wires that connects the top case of the mouse to the bottom housing.
-
Set the top of the mouse on your worksurface, with care not to strain the connections.
-
-
-
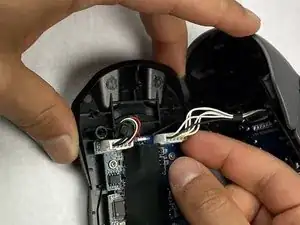
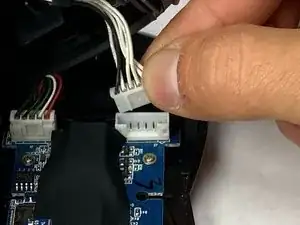
To detach the wires from the bottom part of the mouse, grab the white plastic connector and pull it directly up and out of its port.
-
-
-
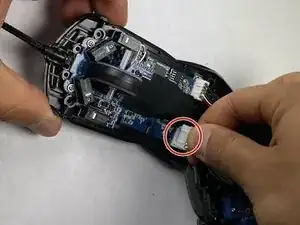
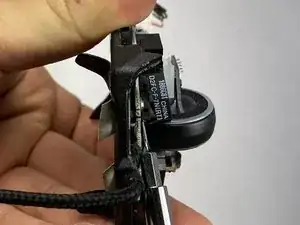
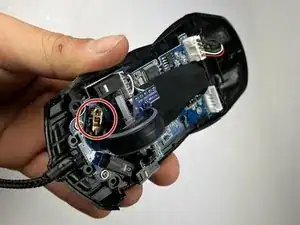
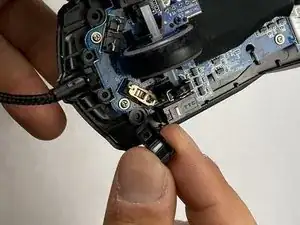
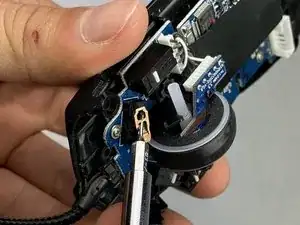
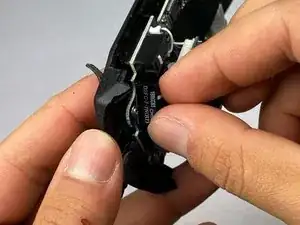
Locate the four microswitches boxes at the front edge of the mouse.
-
Each have a little white dash (clicking dash) in the middle.
-
Focus on the middle two front clicking boxes, and determine the faulty clicker.
-
-
-
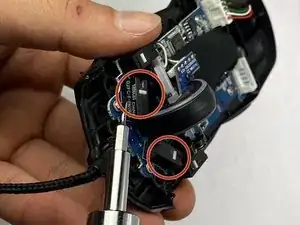
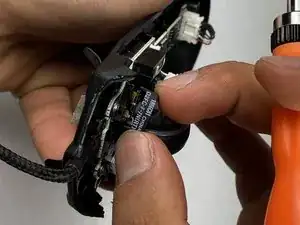
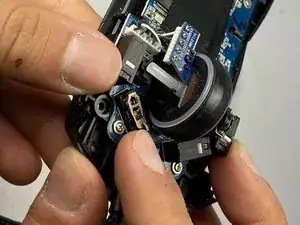
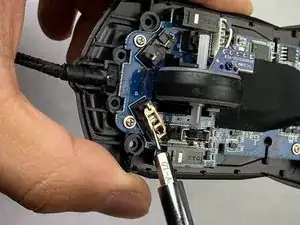
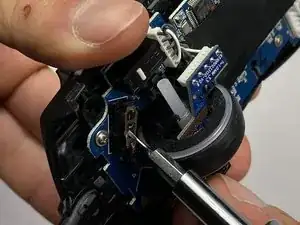
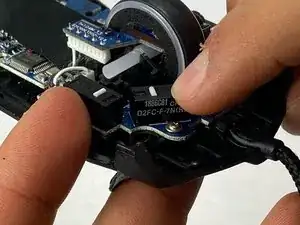
Locate and start taking off the normally functioning clicker's microswitch first.
-
Unclip the two edges of the box, using a thin flat head (1.0 mm). Gently push the flat head in the crack from the sides of the black box.
-
-
-
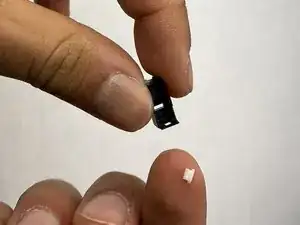
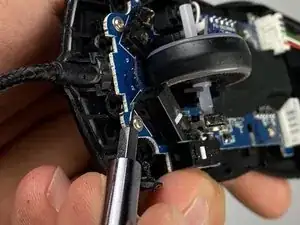
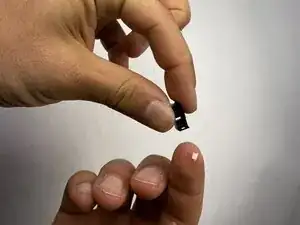
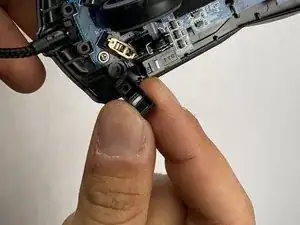
Gently remove the box while tilting the mouse (45-90 degrees) to avoid losing the small white piece of plastic.
-
-
-
Use a flat head (1.0 mm) to carefully move it to the sides back and forth to take it out of place.
-
-
-
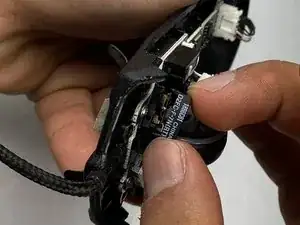
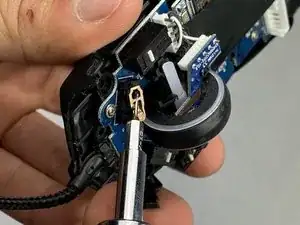
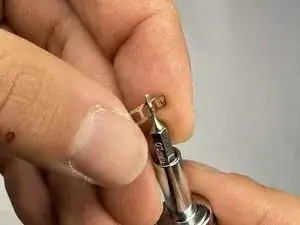
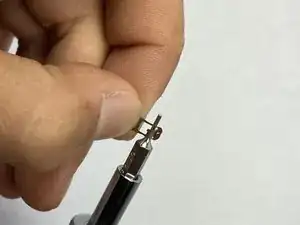
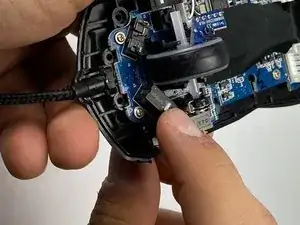
Grab the deformed contact plate.
-
Insert a thin flat headed (1.0 mm) screwdriver in the arched metal area, and give it a little push as if you are trying to open that arched door.
-
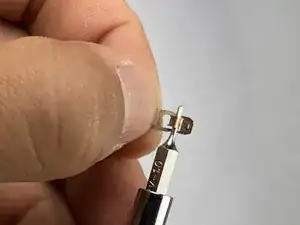
Gently, push the arched area to an angle of 45-80 degrees to try to reinstall its integrity of functioning.
-
-
-
Tilt the bottom half of the mouse to 45-90 degrees to avoid the spill of the white piece.
-
Position the cover so that its aligned with its initial position.
-
Push the cover into the mouse until you feel it clicking in place, and double check the clips are in place.
-
-
-
Screw back the four long screws to each corner by rotating each screw clockwise direction (Righty tidy) until it is tight enough.
-
-
-
Screw back the two small screws under the front potion of the sticker by turning them clock wise direction.
-


And now you have a fixed mouse that can last for long time. Please, let us know if you have any questions and if there are any suggestions and/or feedback.

2 comments
Excellent, thank you very much! This helped me open the mouse. Didn't realize there are two more screws under the sticker.
However, I replaced the switches. There are ones that are 50M rated. They should last much longer that the 5M ones the mouse came with.
Looking to do the same to my Kova, may I ask where you acquired the 50M rated switches from?
GamerGuy -