Introduction

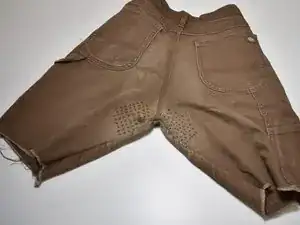
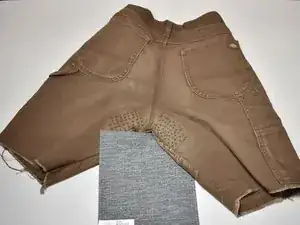
Sashiko Stitching is a Japanese embroidery technique, which is commonly used to make different types of geometric patterns and to reinforce clothing. It once originated a long time ago in rural areas of Japan, for mending and repurposing clothes instead of throwing them away. Today, people still use Sashiko Stitching to repair damaged clothing.

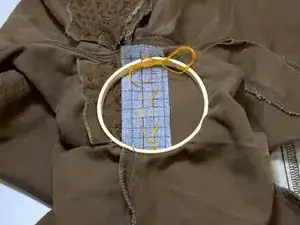
It can also be used for decorative purposes, with various different combinations of colours and patterns. Today, we are using an X or cross styled pattern.

  1. 3p3jbLNJx6svo1q1
    • Find the area of the pants that needs to be reinforced or mended.

  2. aZrUhw6YhuoF1qtC
    • Find a piece of cloth that you would like to use as the backing.

    • This will be placed inside for a more seamless look.

  3. NECe3sQq1RQKnbag
    NECe3sQq1RQKnbag
    tJCNCmFUmGLcVXgk
    • Using scissors and a ruler as a guide, cut the cloth to size.

    • Make sure it's bigger than the hole to attach as a sturdy base.

  4. UYWSnrHGxQHNOefx
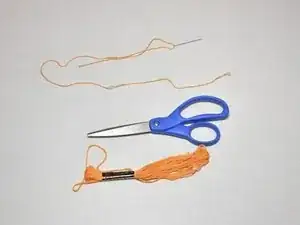
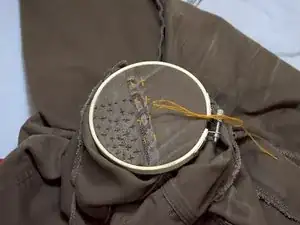
    • Find some floss or thread of the color of your choice, cut it, and thread it through your needle.

  5. HIMUHorOgMnhWvBG
    HIMUHorOgMnhWvBG
    LAEVfRHJWg1TyGBB
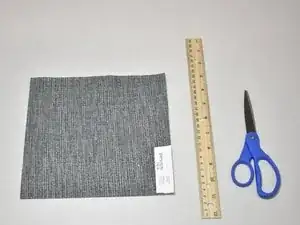
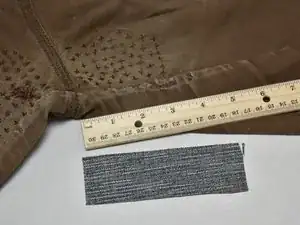
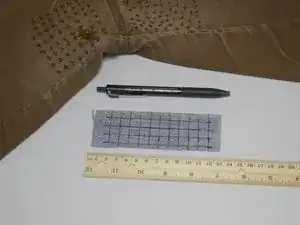
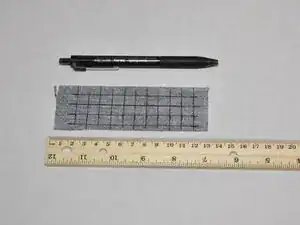
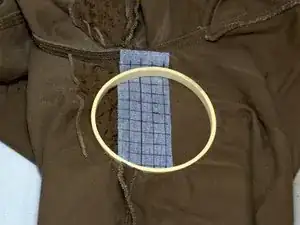
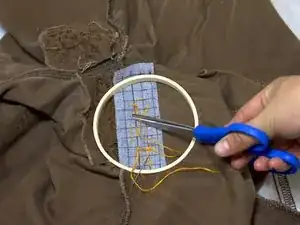
    • Mark lines of equal distance between each line using a ruler and a pen. For this, we will use a 1 cm distance.

    • Mark them horizontally and vertically in a crisscross pattern.

  6. Y1d2vHKtIlrpbEUS
    Y1d2vHKtIlrpbEUS
    ocAPnNrlwecXNBct
    • Use the embroidery hoop and secure your piece of cloth to the pants.

  7. QiSNyGGtiVS21mup
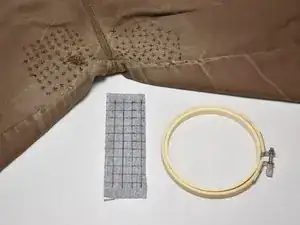
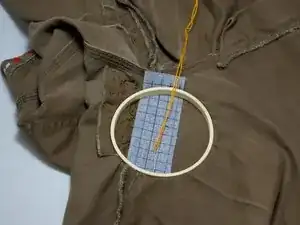
    • Choose your starting point with the needle at one end of the cloth.

    • Make sure you start at a spot with contact between both fabrics and where there is no hole yet.

    • Tie off your needle and thread.

  8. KpwYYKJgsTuDhSqm
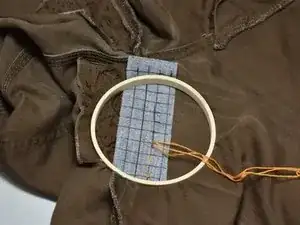
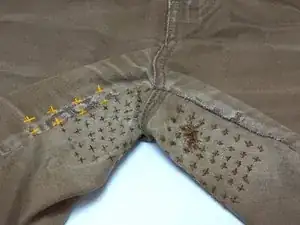
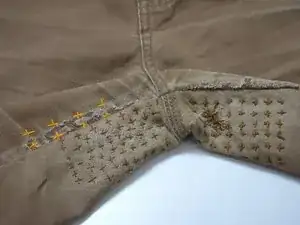
    • Run your needle through the lines, following an up-and-down motion with your pattern through the cloth vertically.

    • Pull to make your stitches tight and even.

  9. saGim2aKmYnV2jRa
    saGim2aKmYnV2jRa
    pTvpij1flInytmiU
    • Stitch horizontally, following the same motion and pattern.

    • We will be creating an "X" pattern through this.

    • The inside will look something like this.

    • The outside should look something like this.

  10. uvhd2oBmAxKSKfJi
    uvhd2oBmAxKSKfJi
    CPJ4HjbHPrKTdF2O
    • When done, secure your stitching with a good knot, tie off, and cut the excess thread.

    • The final result for this example is shown in the orange floss. The size of the “X” marks can be adjusted to your preference and distance, which is shown in the brown floss next to it.

  11. NIA3xQ5PuYoxwe6o
    • You have now completed the mending!

Helen Cordova Mendez

Member since: 05/11/24

193 Reputation

0 comments