Introduction
Shoes are a daily necessity; therefore, they must wear down at some point! Some signs of wear may include frayed edges, holes, or sole damage. Holes in shoes are a common problem for many, but luckily, there is an easy fix! This guide will demonstrate a durable fix for repairing a hole created between a shoe's midsole and upper body using superglue and stitching. Follow the following steps to make your shoes last longer!
Tools
-
-
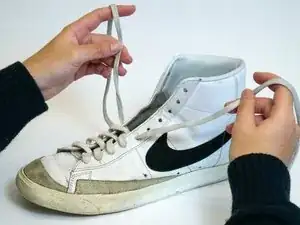
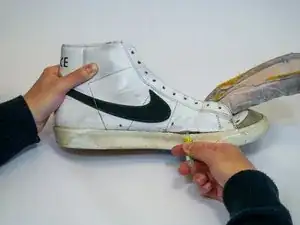
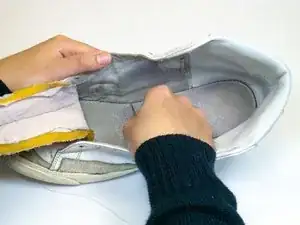
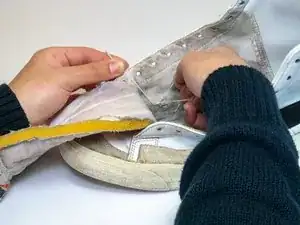
Insert the superglue tip into the midsole hole and glue along the seam. Repeat this process for the upper body hole.
-
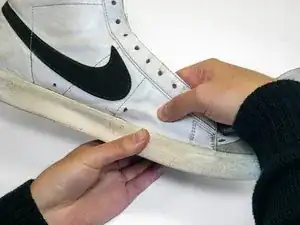
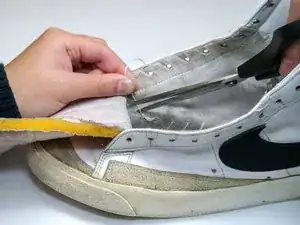
Firmly press the midsole and upper body together along the seam where they meet.
-
-
-
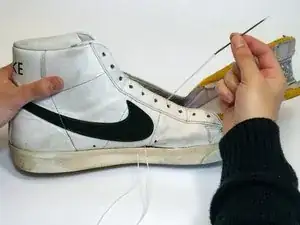
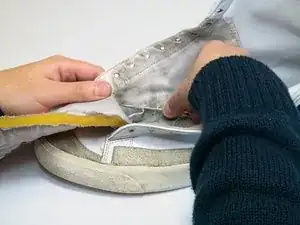
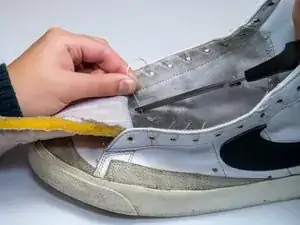
Position the needle near the shoe's sole where the hole begins and rotate the needle downwards at a slight angle.
-
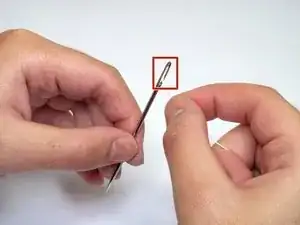
Press firmly while gripping the eye of the needle with your thumb and index finger to pierce the shoe.
-
-
-
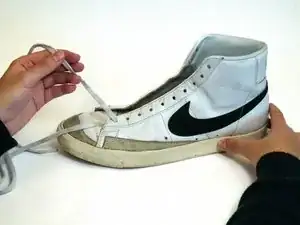
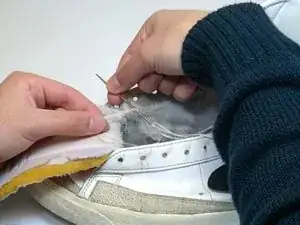
Move the needle diagonally toward where the hole stretches until the upper body is reached.
-
Grip the eye of the needle again with your thumb and index finger and pierce the upper body.
-
-
-
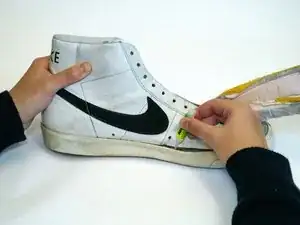
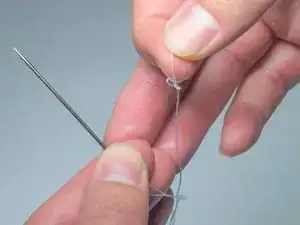
Pierce the needle only through the inner lining at the point of the last pierce to start the knot.
-
Grab the loose thread and loop your needle back through.
-
Pull the needle tightly to form a knot.
-


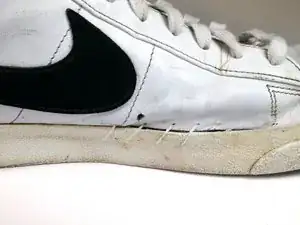
These steps provide longevity and extend the wear of a shoe, avoiding the inconvenience of buying a new pair for a while! Depending on the severity of the hole in a shoe, these steps apply to other areas. Though this repair technique will prolong the life of a shoe for quite a while, all shoes come with wear and tear at some point after wearing them often.

One comment
this was a really amazing incredible spectacular fantastic outstanding guide my shoes have never been so fixed