Introduction
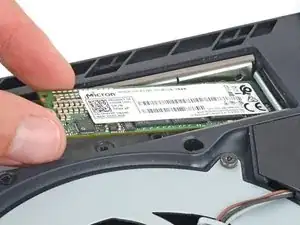
Follow this guide to install an M.2 SSD in the expandable storage slot in your PlayStation 5 Pro.
Increasing your PlayStation's storage with an upgraded SSD allows you to store more games, movies, music and other media on your device locally.
Before starting this repair:
- Make sure your M.2 SSD is compatible with your PlayStation—M.2 SATA SSDs are not supported. Your SSD should have a heat-dissipation mechanism, such as a heatsink or thermal pad.
- If the SSD you're installing has previously been used and still has data on it, back up the data before installing the SSD. The formatting process during setup will fully erase the drive.
Tools
-
-
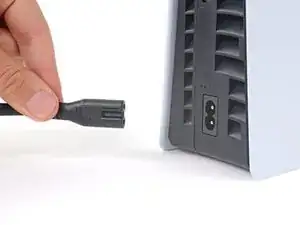
Shut down your PlayStation and unplug all cables and accessories.
-
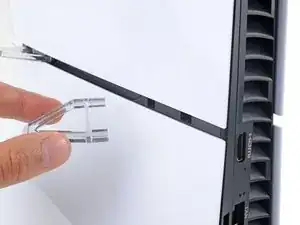
Remove any stands supporting your console and lay it down so the right side is facing up.
-
-
-
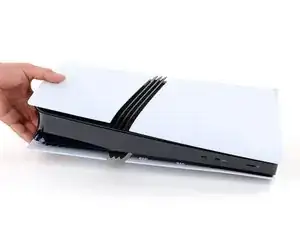
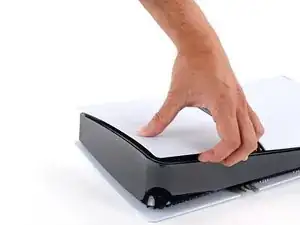
Firmly pull up the front edge of the smaller, upper cover to release the clips.
-
Remove the cover.
-
-
-
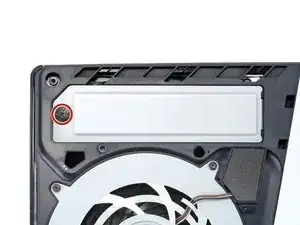
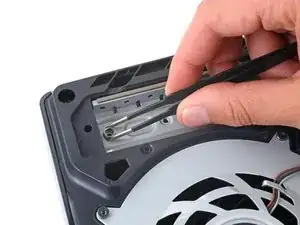
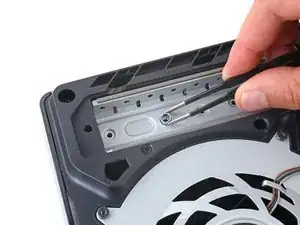
Use a Phillips screwdriver to remove the 17.4 mm‑long screw securing the expansion slot cover.
-
-
-
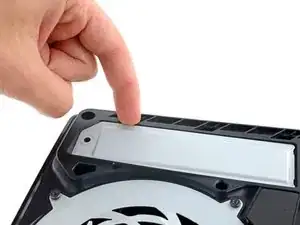
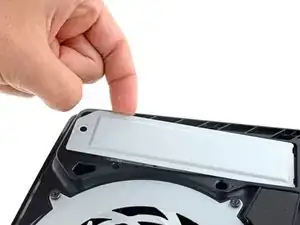
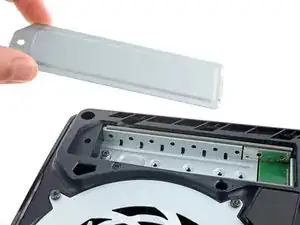
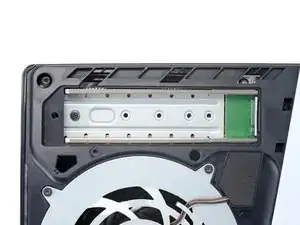
Use your fingers to lift the expansion slot cover near the notch by the screw hole and remove it.
-
-
-
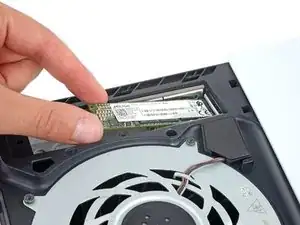
Insert the SSD into its M.2 socket at a slight downward angle.
-
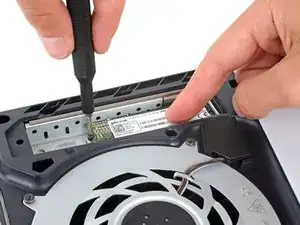
With one hand, push the SSD down so its cutout is aligned on top of the spacer.
-
With your free hand, use your Phillips screwdriver to tighten the SSD screw.
-
To reassemble your device, follow these instructions in reverse order starting with the expansion slot cover.
If it's your first time using the SSD with your PlayStation, you'll need to format it after installation.
If you're moving games to your new SSD, follow Sony's guide.
Take your e-waste to an R2 or e-Stewards certified recycler.
Repair didn’t go as planned? Try some basic troubleshooting, or ask our Answers community for help.
