Introduction
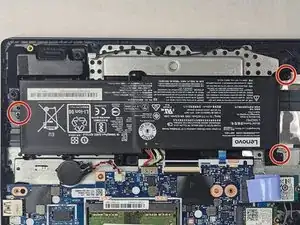
Use this guide to replace the battery in your Lenovo IdeaPad 3-15IML05. If your battery life has diminished and it won't hold a charge for very long, you may need to replace the battery.
Overheating, overcharging, and impact (such as dropping the computer) can damage the battery. If your computer suffers from overheating you may want to check out the Lenovo IdeaPad 3-15IML05 Fan Replacement guide as well.
Overcharging can be prevented by unplugging your computer when it's hit 90% so it won't hit 100% and keep trying to charge. This can be done in the battery settings to set the charge limit to whatever you'd like.
Before you begin this repair, make sure to power off your device and unplug it from the charging adapter.
If you encounter a swollen or puffy battery, refer to this What to Do With a Swollen Battery guide for important safety information.
-
-
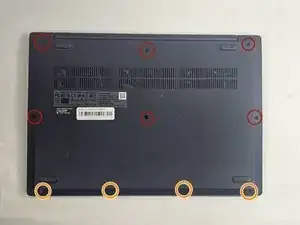
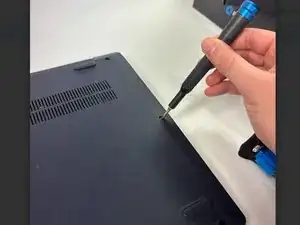
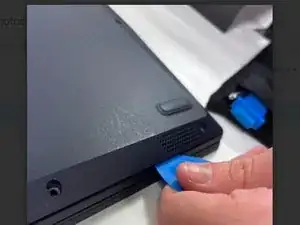
Use an opening tool to pry the bottom cover from the device.
-
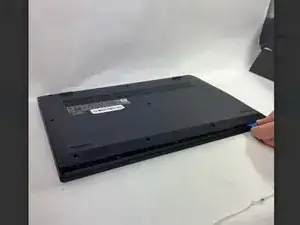
Use the opening tool to go around the entire perimeter, releasing the tabs that secure the cover to the frame.
-
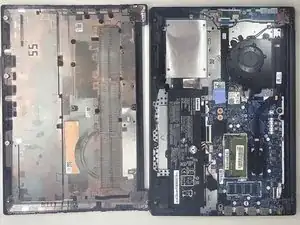
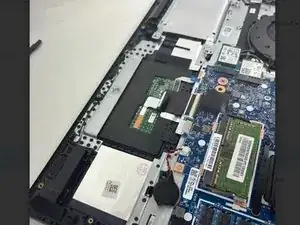
Carefully remove the cover.
-
-
-
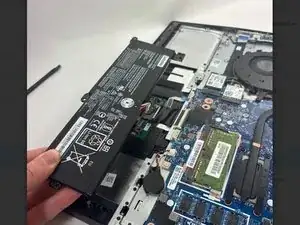
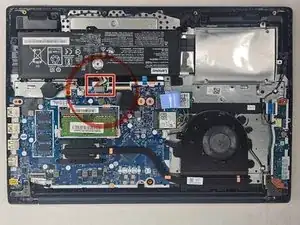
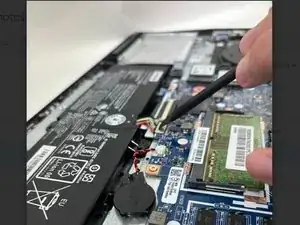
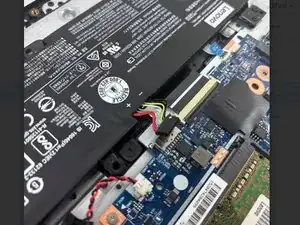
Use the point of a spudger to push on alternating sides of the sliding connector to "walk" it out of its socket on the motherboard.
-

To reassemble your device, follow these instructions in reverse order. Take your e-waste to an R2 or e-Stewards certified recycler.