Introduction

If your Solid State Drive (SSD) on your Lenovo Legion Slim 7 2021 (15ach6) is full on storage or has stopped working, this guide can help you replace it. This laptop is compatible with M.2 SSDs.

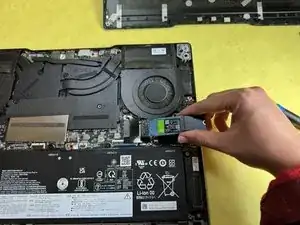
You will be working with the internal circuitry of your laptop. Ensure you are working in a clean area far from any uncovered liquids. If necessary, make sure to have a back-up of your current SSD for data restoration.

  1. nANtXoSZy1sAbjj5
    • Power off the laptop and ensure it is unplugged.

  2. FiOxGYjLmIAujKiu
    FiOxGYjLmIAujKiu
    p5DGMwPQVibqMUXH
    NPRpXPBkATnEHcdd
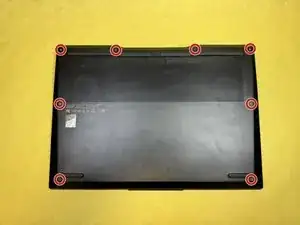
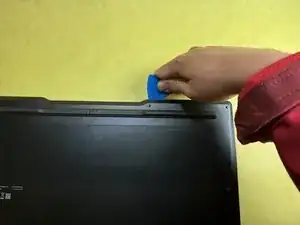
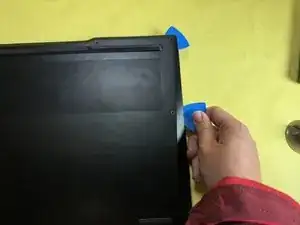
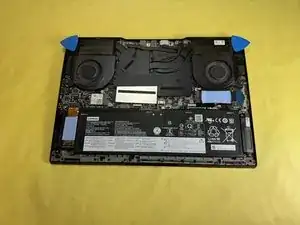
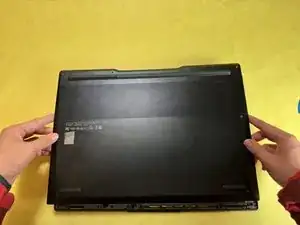
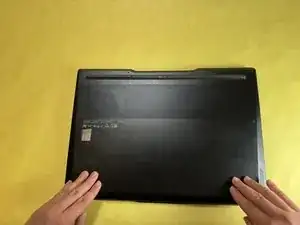
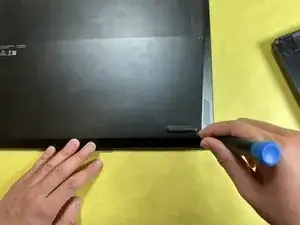
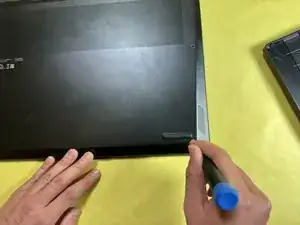
    • Lay the laptop upside down on a flat surface and clean environment.

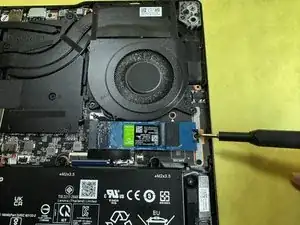
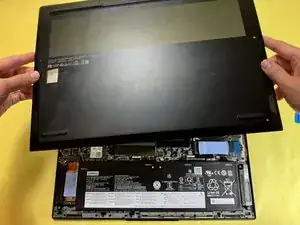
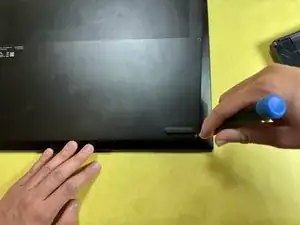
    • Remove all 8 M2 x L6 screws that secure the lower case with a Phillips #0 screwdriver.

  3. UKOPt6lSeUFNC4J5
    UKOPt6lSeUFNC4J5
    hucBxiIJjRTACjGM
    • Insert a pick between the lower case and the laptop chassis.

  4. qSemmhLJmLALBaiA
    qSemmhLJmLALBaiA
    61Wapo4flDa3GZh4
    • Slide the pick along the edge to pry open the bottom cover.

    • You will hear "pops" as the retaining clips release.

    • Insert as many picks as needed to ensure that the cover does not pop back in.

  5. NtZIahdOTkKWYhYr
    NtZIahdOTkKWYhYr
    WCaxXARkWF2PCsRi
    UuC6RNpPtbxWSphH
    • Once the lower case is fully released, lift it up and off.

  6. XiWrAA36ujBItPob
    XiWrAA36ujBItPob
    iaUKGnXknWjHHDZr
    wT1MPnfMecdFPlnD
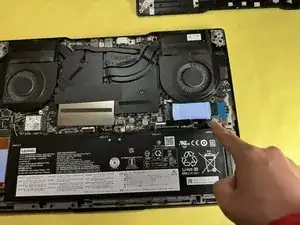
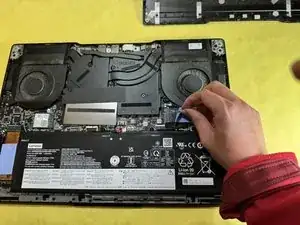
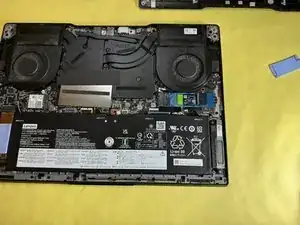
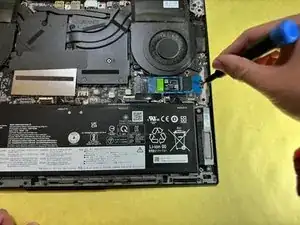
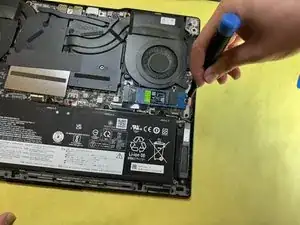
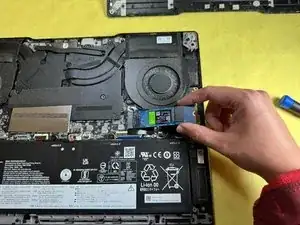
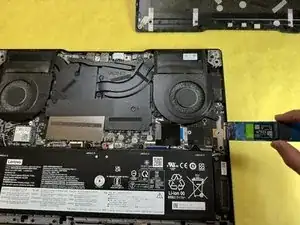
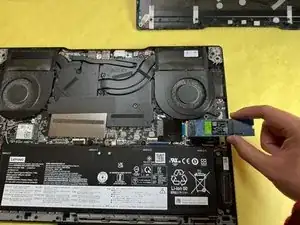
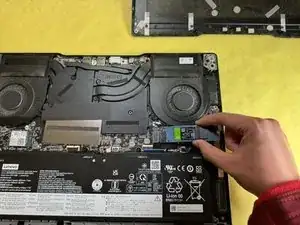
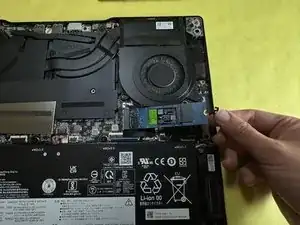
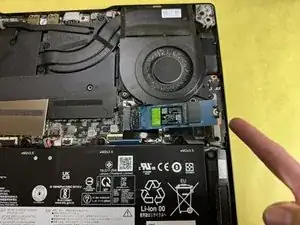
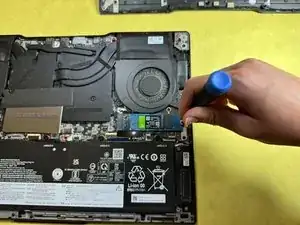
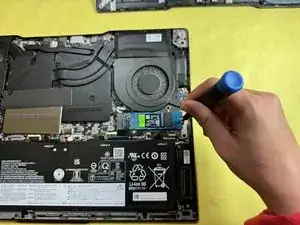
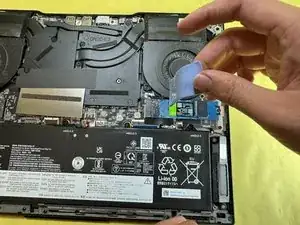
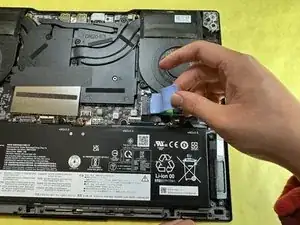
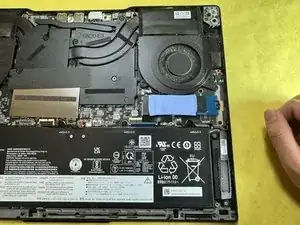
    • Peel off the thermal pad that lays on top of the SSD on the right side of the laptop and set it aside.

  7. JcbGYTJ5xT5IYAVP
    JcbGYTJ5xT5IYAVP
    ZyjWlnJ6NNTHjCXf
    Pw4acUMjuivuniMH
    • Unscrew the M2 x L3.5 screw that secures the SSD with a Phillips #0 screwdriver.

    • Make sure to keep this screw separate from the others to avoid confusion.

  8. EeOsmIqkt3wPbuQq
    EeOsmIqkt3wPbuQq
    DqC4wXkAWjqQQhrR
    • Remove the SSD holder from the SSD screw hole, setting it aside for later.

    • With the SSD screw removed, the SSD will pop up at a shallow angle.

  9. hdhQOrRCUj3e6sOi
    hdhQOrRCUj3e6sOi
    yEciEfATVnyljemP
    tcEOrJwhGSdGcPca
    • Grip the end of the SSD and pull it away from its M.2 board connector to remove it.

  10. pptM4RApgqiMYFkM
    pptM4RApgqiMYFkM
    TqSZ1ncfbQrOVEYW
    • The remainder of the guide details reassembly.

    • Grab the new SSD and slide it into the SSD slot, aligning the holes for the screw.

  11. SIMAhNr1Pdlohbiv
    SIMAhNr1Pdlohbiv
    PefUFjrUHPSLiA6e
    CeIkXFlu5cC1ITB5
    • Attach the plastic SSD holder on the screw hole for the new SSD.

  12. 4VRYqRFoDWoNwGDu
    4VRYqRFoDWoNwGDu
    RRIVTYOAiBpBwP4S
    BNYOkqbN54fS55ug
    • Replace the M2 x L3.5 screw that secures the SSD with a Phillips #0 screwdriver.

  13. wj4Wj2dfAJLTyKhf
    wj4Wj2dfAJLTyKhf
    FyiEFtcGZQ3EskY1
    tIJJBijBoLAjc2ms
    • Grab the thermal pad and lay it flat on the new SSD, ensuring it is sticking to the SSD.

  14. M2OSnMXZKgSPvhLF
    M2OSnMXZKgSPvhLF
    aJh62QRalKjxQCwW
    RPENWnhf14T5nvCv
    • Grab the bottom cover and align it with the laptop chassis.

  15. dOQ2oQnFLfumSZpP
    dOQ2oQnFLfumSZpP
    XkWEiRk3t1kIr4BU
    bZOoMQhNOcUif4RO
    • Apply firm pressure along the edges to ensure the clips snap back into place.

  16. W1GDpCEDepvIlItF
    W1GDpCEDepvIlItF
    wMllDsZb5dTsWeP6
    rGLnQwsDhcC5cL2U
    • Replace all 8 Phillips #0 screws that secure the lower case.

  17. nhlx6FlqPbj41Awr
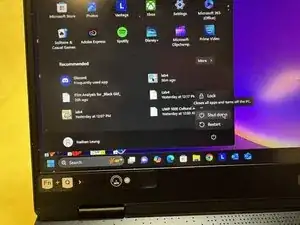
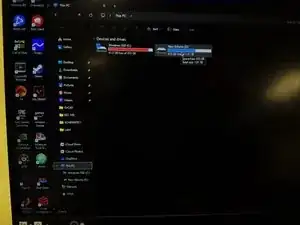
    • Power on the laptop and open File Explorer.

    • Under the section "This PC", ensure that you can see the new SSD.

Conclusion

All done!

If you need to, you can restore the back-up of your old SSD into the new one.

Nathan

Member since: 10/10/24

265 Reputation

0 comments