Introduction
As the battery ages, its quality and longevity decrease with the passing time to the point where it's just not optimal to use anymore. At this point, the battery cannot be fixed and will need to be replaced.
The following guide displays and goes into detail on the steps to follow when opening and replacing your laptop's battery. An easy simple process that will save you time and money. For this guide, we will be using the iFixit Precision Bit Driver, T5 Torx Screwdriver Bit(1.4 mm), Anti-Static Wrist Strap, and an opening pick.
-
-
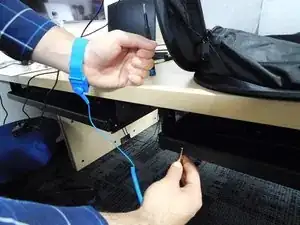
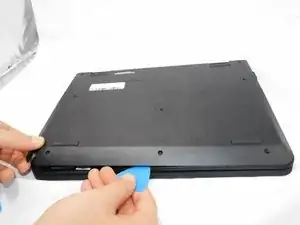
Start by putting on your anti static wrist strap and connecting it to a stationary and stable object, like a desk.
-
-
-
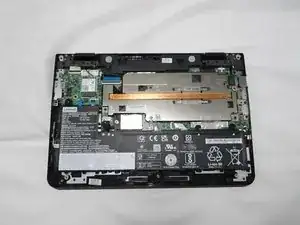
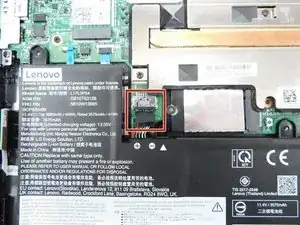
Unplug the battery from the motherboard. This will need to be done before removing the battery screws.
-
Pull the strip out, it might require some force and wiggling.
-
-
-
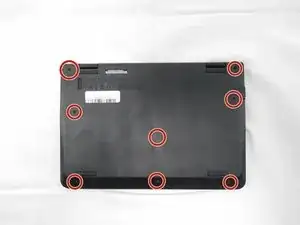
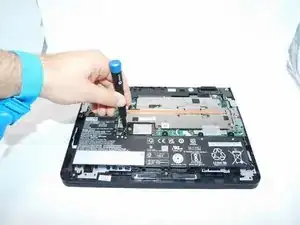
Remove the screws holding the battery in place. There are 5 screws that need to be removed.
-
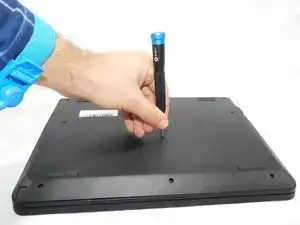
Using the same screwdriver and bit as before, remove all the screws and keep them somewhere safe.
-


To reassemble your device, follow these instructions in reverse order.