
Introduction
This guide will show you how to properly disassemble the speaker in order to safely remove and replace the crossover.
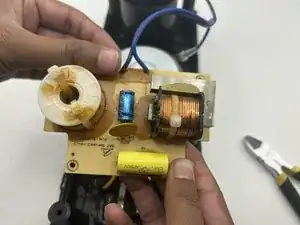
The crossover is an integral part of the speaker, as it divides the frequencies put out by the speaker and sends them to the right output. Damage to this part can disrupt where the frequencies are sent and further damage other parts of the speaker. An indicator of a worn out crossover is a dip in sound quality from the speaker.
While following this guide, ensure that you know how to properly handle a soldering iron as it is required in later steps. The hot iron can damage other internals if it makes contact with them, but it can also burn the user.
-
-
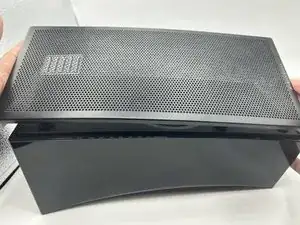
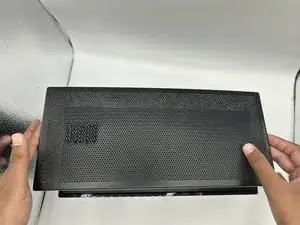
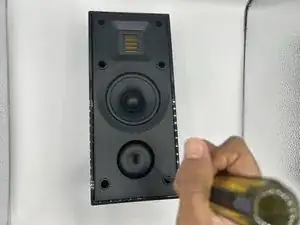
Remove the speaker grill from the face of the speaker by using both hands to grip both ends of the speaker grill and pulling up to release the magnetic ends.
-
-
-
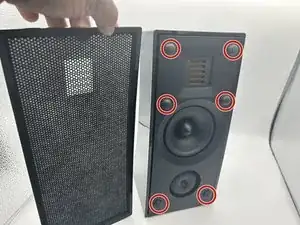
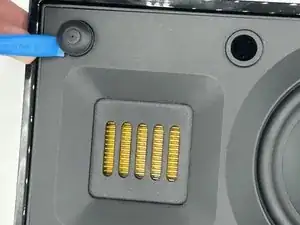
Remove the six caps from the outer edge of the face of the speaker with an iFixit opening tool.
-
-
-
Remove the six 4 mm Phillips #2 screws that are located inside each of the holes where the rubber caps used to be.
-
-
-
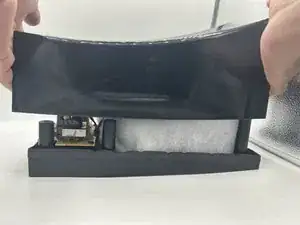
Lightly grip the material that insulates and covers the speaker components and remove it by pulling up.
-
-
-
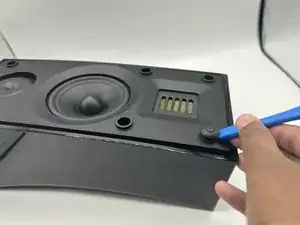
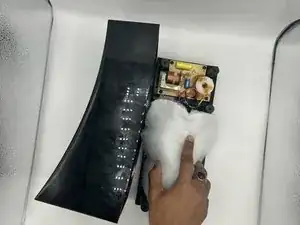
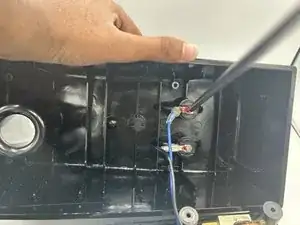
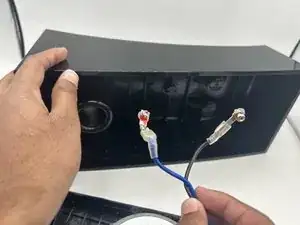
Remove both wires that are connecting the back of the speaker to the components of the speaker to fully access the speaker components.
-
-
-
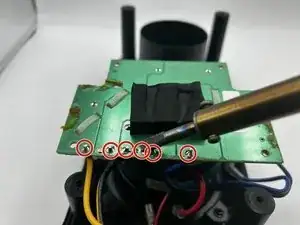
Using the soldering iron, remove the solder from the connections that are holding the wires in place before removing the connections entirely.
-
To reassemble your device, follow these instructions in reverse order.
