Introduction
-
-
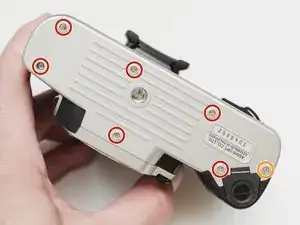
Remove three 5.3 mm #00 screws (the bottom-most screw is not always present).
-
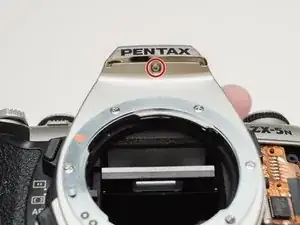
Remove one 7.3 mm #00 screw.
-
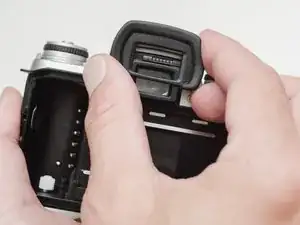
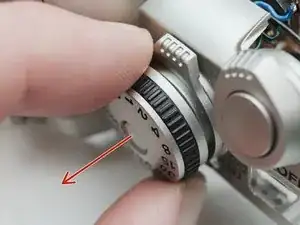
Remove the remote trigger cover.
-
-
-
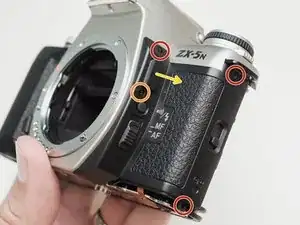
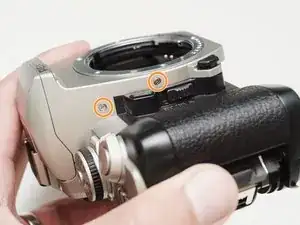
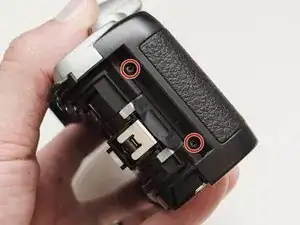
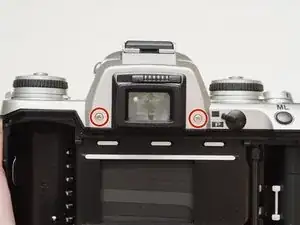
Remove two 5.3 mm #00 screws by the eyepiece.
-
Remove one 6.8 mm #00 screw in the battery compartment.
-
Remove one 7.0 mm #00 screw near the take up spool.
-
-
-
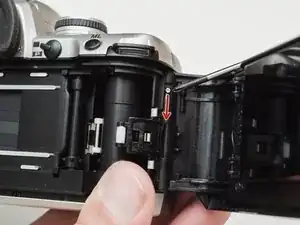
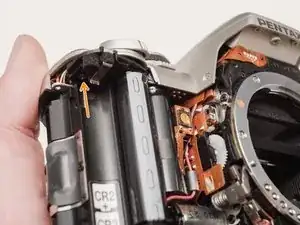
Use a 1kΩ-10kΩ resistor to discharge the capacitor. Place the resistor between the blue wire, exposed in the previous step, and ground.
-
-
-
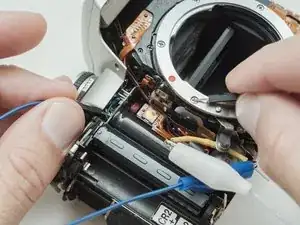
Unsolder one green wire.
-
Unsolder one blue wire.
-
Unsolder one brown wire.
-
Unsolder one black wire.
-
-
-
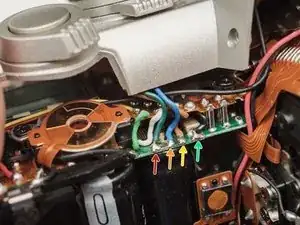
Unsolder one black wire.
-
Pull black wire out from its routed location.
-
Unsolder flex connector
-
-
-
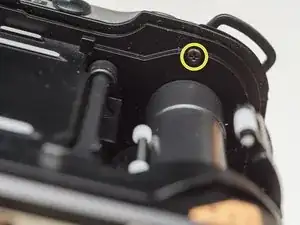
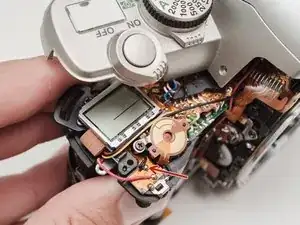
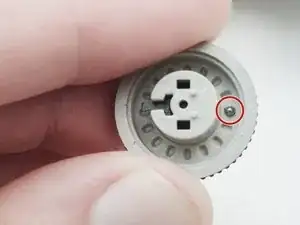
Remove one 4.3 mm #00 screw.
-
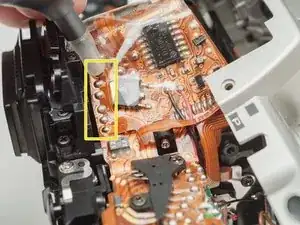
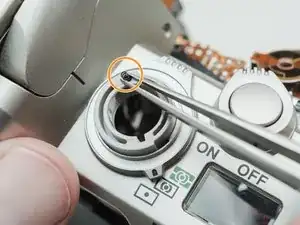
Be careful not to damage the feeler contacts for the metering switch throughout the repair. There are delicate and easily bent.
-
-
-
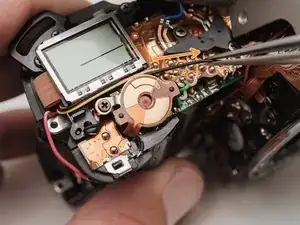
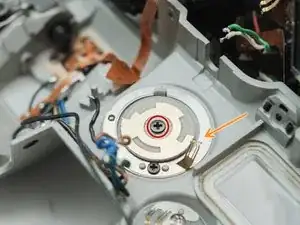
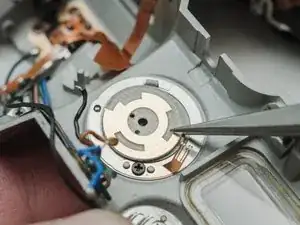
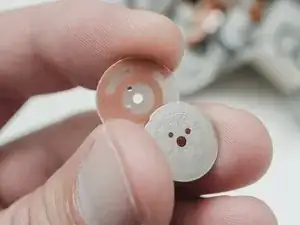
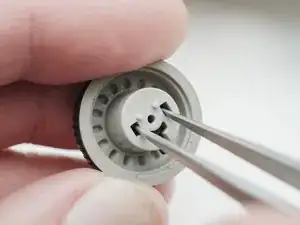
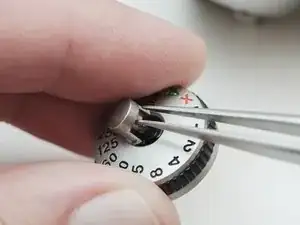
Remove the ball bearing from the inside of the dial.
-
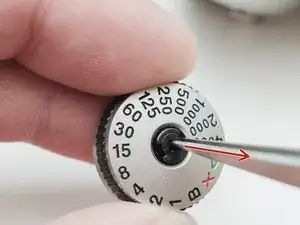
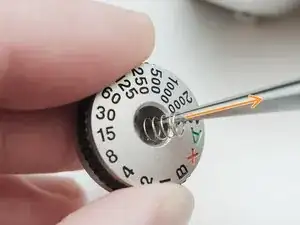
Remove the detent spring from the top cover.
-

To reassemble your device, follow these instructions in reverse order.