
Introduction
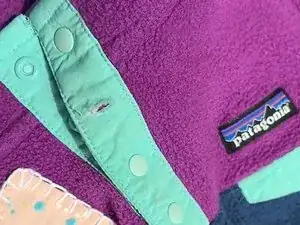
Plastic snaps are on many Patagonia items (Hey, that’s why its called a Snap-T!) and are used to fasten two pieces of fabric together. When a plastic snap breaks or falls off, a new one must be installed.
This guide will demonstrate how to replace a damaged or missing plastic snap without the need for sewing. To ensure this solution is applicable, confirm that both sides of the damaged snap (the cap and the socket/stud) are visible. Additionally, check the fabric around the old snap for tears or damage beyond a small hole. If the fabric is compromised, a reinforcing patch will need to be sewn on before replacing the snap.
This guide is for professional repair technicians with access to a tabletop hand press. If you're using a handheld snap tool, follow this guide.
Alternatively, Patagonia products can be taken to a local retail store for repair evaluation or sent in to Patagonia through their mail-in repair service.
Let's get fixing!
WARNING! Small Parts. Patagonia does not recommend conducting these repairs on garments intended for children age 3 or under. Instead, we recommend return of the product for professional repair services.
Related Tutorial: Metal Snap Installation Using a Hand Press
Tools
Parts
-
-
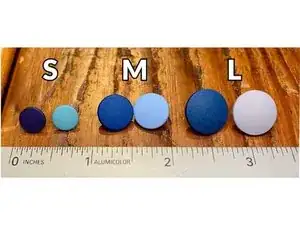
Small 14L (0.35 inches, 8.9 mm)
-
Medium 20L (0.5 inches, 12.7 mm)
-
Large 24L (0.6 inches, 15.3 mm)
-
-
-
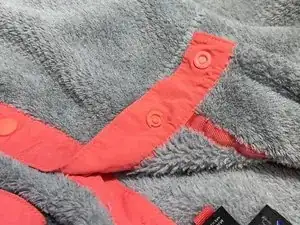
Locate the broken or missing snap.
-
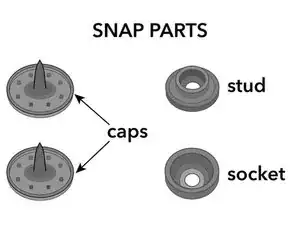
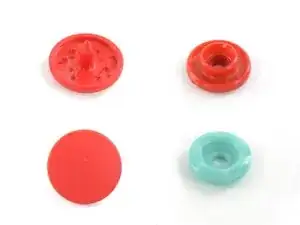
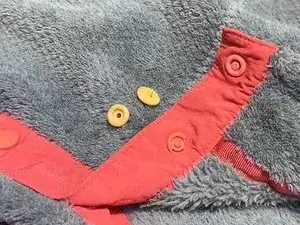
Pick out the replacement snap pieces:
-
Socket side is damaged - A socket piece and a cap piece
-
Stud side is damaged - A stud piece and a cap piece
-
Both sides are damaged - A stud piece, a socket piece, and two cap pieces
-
If you're only replacing one side, check that the new piece snaps into the remaining side.
-
If the broken snap needs to be removed, see Step 4. Otherwise, proceed to Step 5.
-
-
-
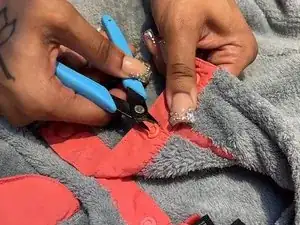
Using end nippers or flush cutters, slide one side of the nippers between the damaged snap and the fabric.
-
Carefully snip the damaged snap until the entire piece is broken off.
-
Discard the broken snap responsibly.
-
-
-
There should be a small hole where the original snap was placed - use this as a guide for the snap replacement.
-
-
-
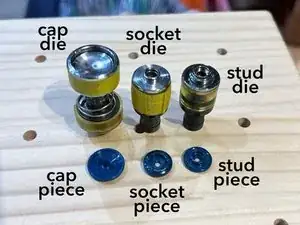
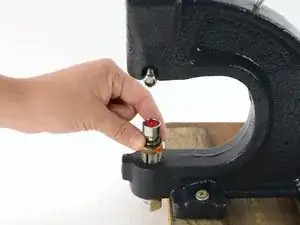
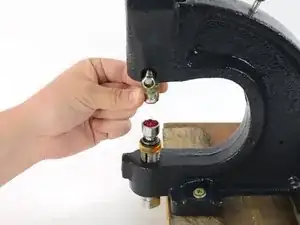
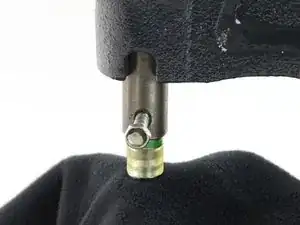
Place the cap die into the lower fitting of the hand press and drop the cap piece into the die, flat side down, so the plastic post is sticking upward.
-
Click the socket or stud piece into the corresponding die.
-
-
-
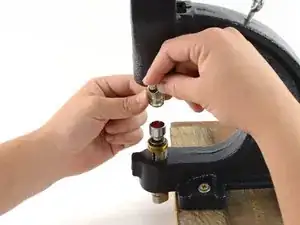
Use your fingers, a screwdriver, or a hex key, as needed, to unscrew the tightening mechanism on the side of the press near the top die fitting.
-
Insert the die upward and hold it in place.
-
Tighten the tightening mechanism.
-
-
-
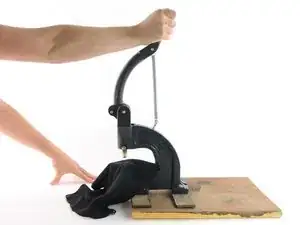
Place the garment over the bottom snap die so that the hole on the fabric lines up with the plastic post of the new cap.
-
Make sure no extra fabric is caught inside the press and that the orientation of the garment is correct.
-
Hold the fabric in place with one hand, then use your other hand to pull down the handle of the press.
-
-
-
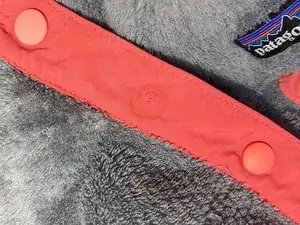
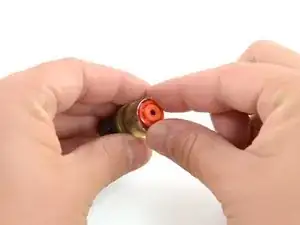
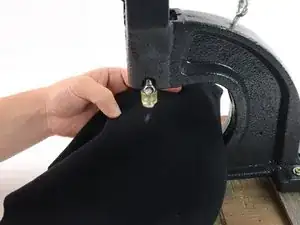
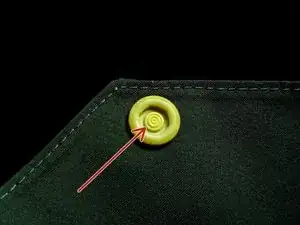
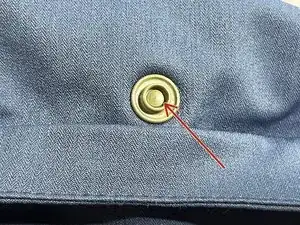
Remove the garment from the press and check that the new snap clicks into the opposing side.
-
Three concentric circles visible at the center of the snap (reference image #2)
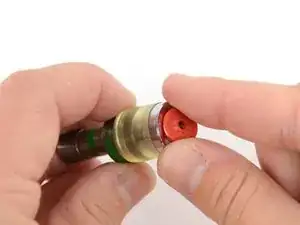
-
A mushroom dome shape at the center of the snap (reference image #3)
-
If the snap spins in place, the snap isn't secure. Repeat the previous step.
-
-
-
Snap the two halves of the snap together to make sure they're properly aligned and functional.
-


5 comments
This is not a very helpful post as there are no sources for the tools needed and Patagonia support had no idea what I was talking about. They may not even have the replacement snap. Any further information would be gratefully appreciated.
Patagonia sent me some snaps to replace one that popped off a jacket. I do not have access to a hand press. any workarounds or suggestions would be helpful.
Agree with the previous comments. A workaround for those without the exact sockets and the hand press would be appreciated…