Introduction
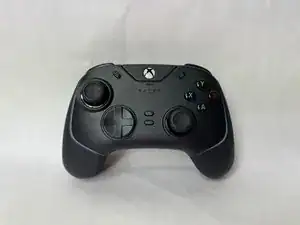
If the D-Pad on your Razer Wolverine V2 Chroma RZ06-0401 is not functioning as intended or is very worn, use this guide to replace the D-Pad.
The D-Pad is used in many games to complete tasks, move your character, or select options on menus. If it is not working properly, you may not be able to complete certain functions or tasks.
Before using this guide, inspect the button to ensure there is no trapped debris that could be causing it to not work correctly. Typically dust build up or trapped debris can be removed using a small dust blower or brush.
Before beginning, make sure to unplug your controller from any external power source.
-
-
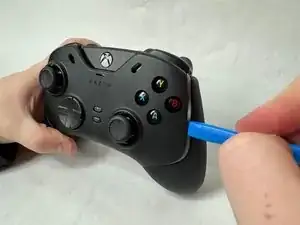
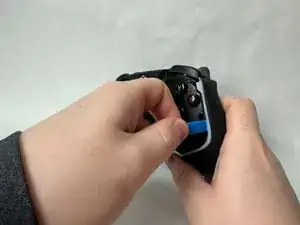
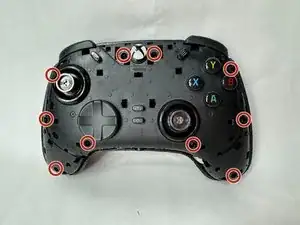
Using an opening tool, pry off the the outer front plate.
-
Once the front plate is loose, pull it off.
-
-
-
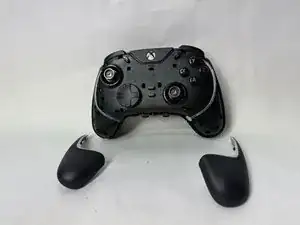
Using an opening tool, pry off the the handle grips.
-
Once they're loose, pull off the handle grip plates.
-
-
-
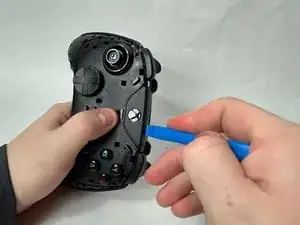
Using an opening tool, pry off the Xbox logo plate.
-
Once it's loose, pull off the Xbox logo plate.
-
-
-
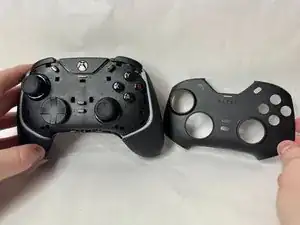
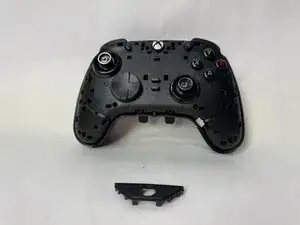
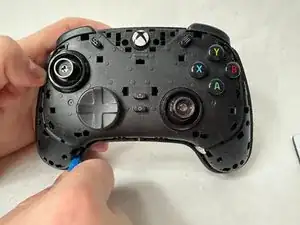
Using an opening tool, pry off the backplate of the controller. It should come off relatively easily.
-
-
-
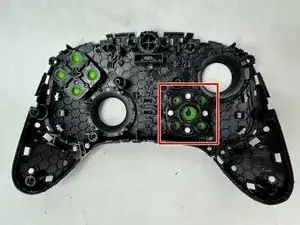
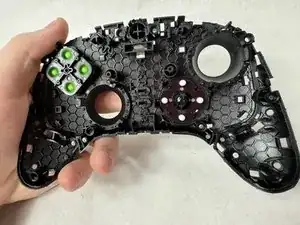
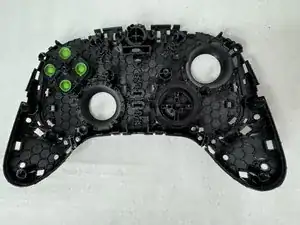
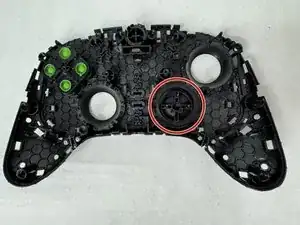
Look at the inside of the inner front plate.
-
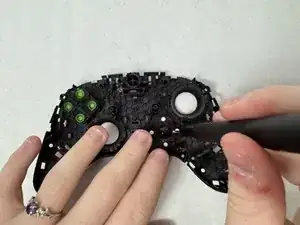
Where the curtains are, pop off the back of the piece that pushes the buttons.
-


To reassemble your device, follow these instructions in reverse order.