Introduction

  1. DfsnBLYcHOxgSFKd
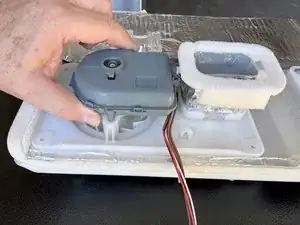
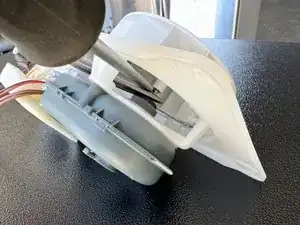
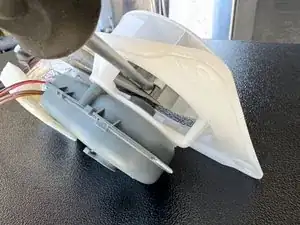
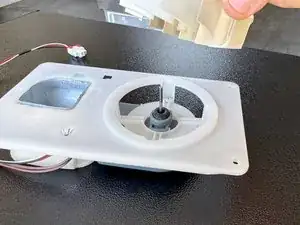
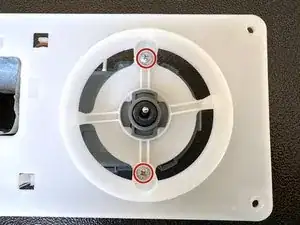
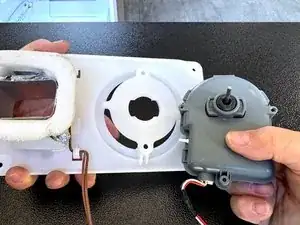
    • Use a #2 Phillips driver to unfasten the screws securing the ice room blower assembly to the evaporator cover.

  2. iuJDKjgULe3OycjE
    iuJDKjgULe3OycjE
    ldTfxPTfANpfvCXF
    AypmaBCrGPfECmxI
    • Lift the blower assembly off of the evaporator cover and remove it.

  3. ScRO51xDJNkkITXg
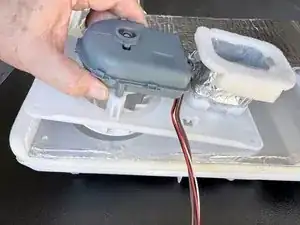
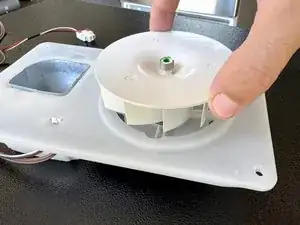
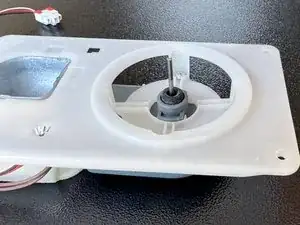
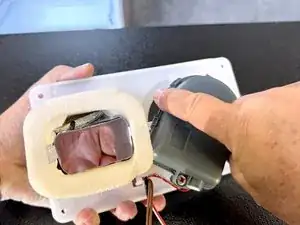
    • Turn the blower assembly motor side down.

    • Insert the long nose pliers in from the side on the motor side of the blower assembly and grasp the motor shaft.

    • Try to insert the pliers as far as you can without distorting or straining the blower assembly frame.

  4. WPredOgsoaC1ZcET
    WPredOgsoaC1ZcET
    iMyvtU6DRZDPLbDt
    nLXk3Tvcft4U2vjl
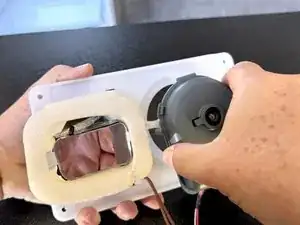
    • Insert a 1/4" straight blade screwdriver between the side of the pliers and the blower wheel hub.

    • You want the screwdriver blade to be as close to the motor shaft as possible.

    • Rotate the screwdriver to apply a prying force to the blower wheel hub and move it upwards on the shaft.

    • The frame of the blower assembly is not strong enough to use a straightforward upward prying motion from the blower wheel side of the assembly. You will likely damage the assembly if you do that.

  5. AYmdCPKQxqxcJsHY
    AYmdCPKQxqxcJsHY
    YZEGA1P5iO4BN1Qd
    PEZEKlG3PAXjCmlG
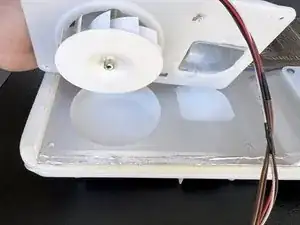
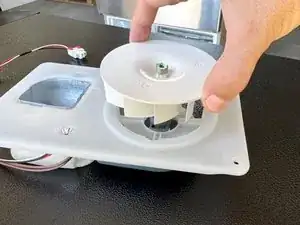
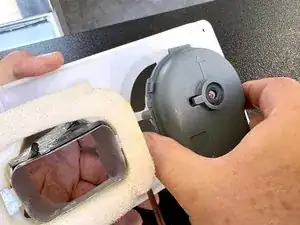
    • Pull the blower wheel straight off the motor shaft. Be prepared to support the fan assembly with your other hand (not shown for clarity).

  6. XOOpmV4RYJxuGyTn
    XOOpmV4RYJxuGyTn
    5pZV5HHTB3kbvqTR
    • You can choose to remove the motor while leaving the motor case attached to the blower assembly.

    • The blower assembly will not be as stable, as the motor shaft is longer and projects further on the blower assembly than on the fan assembly. So the assembly wobbles on the end of the shaft.

    • It can save a couple of steps but is likely a bit more difficult as it isn't as stable. Here's a link to the procedure. The motor arrangement is essentially identical.

  7. nyQlEPs1bAaNpVJB
    nyQlEPs1bAaNpVJB
    BwIgMieLVhbs4EdH
    XTSdbqWPKnOKufJu
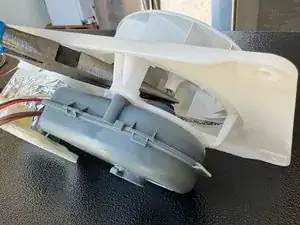
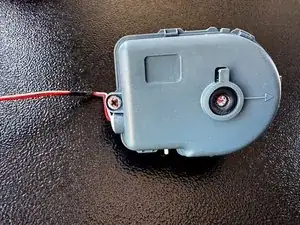
    • Turn the blower motor assembly over so the motor side is up.

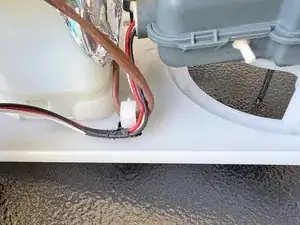
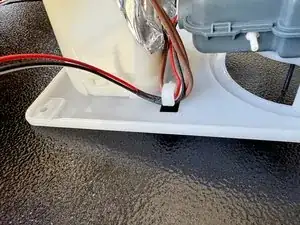
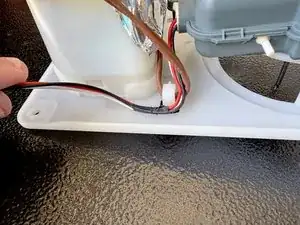
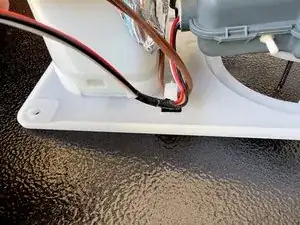
    • Unhook the blower motor wires from the assembly.

  8. hVwDJD3NtooYQS6r
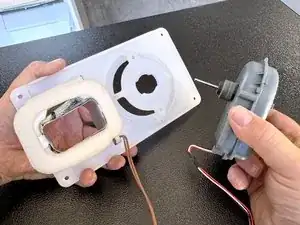
    • Use a #2 Phillips driver to unfasten the screws securing the blower motor case to the ice room blower assembly.

  9. dbS6ncyJQRwyEfBR
    dbS6ncyJQRwyEfBR
    xxAtvqipNrouU5gP
    a4RWfxtnnISKJHbh
    • Rotate the blower motor 90° counter clockwise to unlock it from the blower assembly frame.

  10. YC5MBTqkYutNNVOI
    YC5MBTqkYutNNVOI
    OuIIKvmLMci3IZlw
    glTFaUYHj4ccgINL
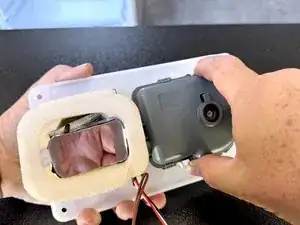
    • Grasp the blower motor case and pull it straight off of the blower assembly frame. Remove the blower motor case with the motor.

  11. FJ3dZ4OuxEZLqHFP
    FJ3dZ4OuxEZLqHFP
    ZSSDAFbDDtlfQcoR
    • Turn the blower motor case so the shaft points downward.

    • The following steps show the fan motor case being opened. The procedure is identical for the blower motor.

Conclusion

To reassemble your device, follow these instructions in reverse order.

Bill Gilbert

Member since: 30/06/22

37443 Reputation

0 comments