Introduction

If your Shark Apex DuoClean Powered Lift-Away (Model-AZ1002) brush roll is not self-cleaning, then follow the steps of this repair guide. This self-cleaning brush roll is a mechanism that automatically removes tangled hair, debris, and pet fur to ensure optimal performance and prevent clogs for uninterrupted cleaning sessions. The brush roll not cleaning may be due to excessive hair wrapped around the brush, needing to be cleared, or filters could be full. If the brush roll itself is broken, you can follow this guide to replace it.

  1. ahajrjWxMMlcsBYL
    ahajrjWxMMlcsBYL
    bLHe41ZHDgIQX1eg
    w5QvD1wHwhxklNU2
    • Initial disassembly isn't strictly necessary, but makes accessing the brush roll simpler.

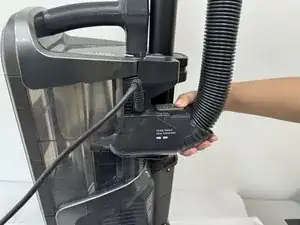
    • Press the hose release button while pulling to ensure the hose is unattached.

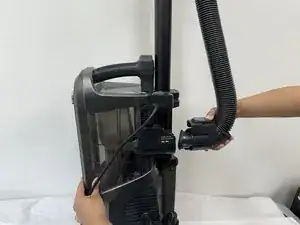
    • Push the release button on top of the body and lift upwards to remove. Then set aside.

  2. q1dgpnBTKF3DC2Zj
    q1dgpnBTKF3DC2Zj
    MhFCHLGSRLmq6JPI
    d3DiqpEBV4fAemMv
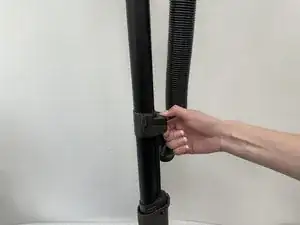
    • Push the wand release and lift wand away.

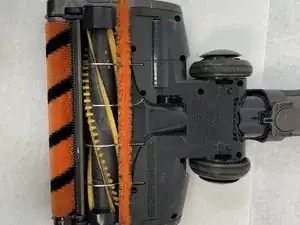
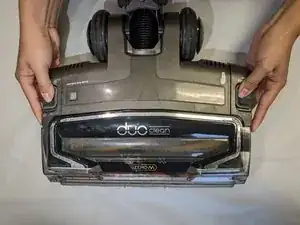
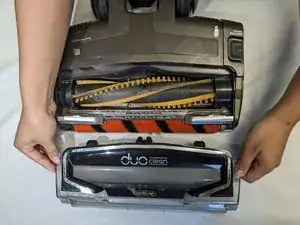
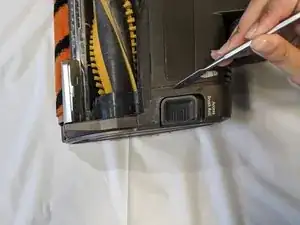
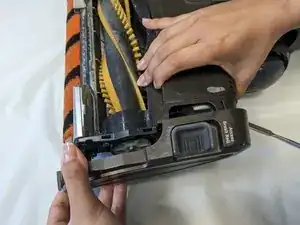
    • Flip over the floor nozzle (the remaining piece).

    • Clear out any tangled hair, debris, or trash.

    • If necessary scissors may be used to cut it out.

  3. uwDcZFdp4APfySXR
    uwDcZFdp4APfySXR
    XJ2EI3UME4fkxIRB
    • Pull the release buttons on each side of the floor nozzle to pop off the garage door.

  4. H1PvXBHBuWPldGOP
    H1PvXBHBuWPldGOP
    Q1Dax6sbplW1y5Mq
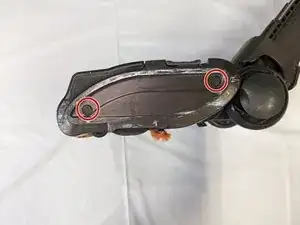
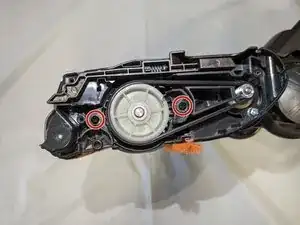
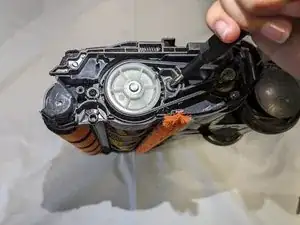
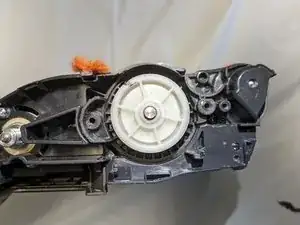
    • Turn the floor nozzle on its side where the large wheels are on your right.

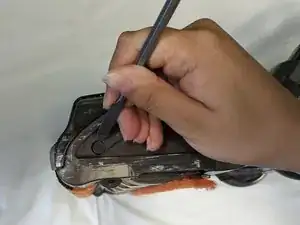
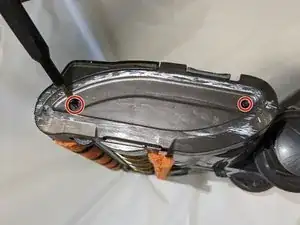
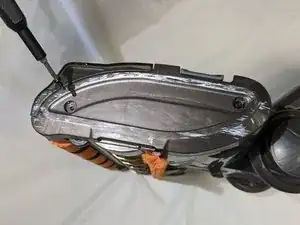
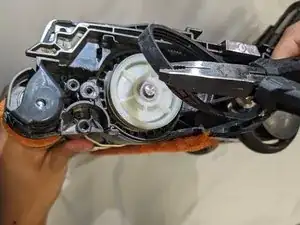
    • Use a spudger to remove the two plastic covers to reveal the screws beneath.

  5. dLBmWPYP3qErrHFF
    dLBmWPYP3qErrHFF
    xiT5KhC4c52bI1Iy
    • Remove the two Torx screws.

  6. OVuWSQvSBqgP2whv
    OVuWSQvSBqgP2whv
    BXZsCiwlOEauiKlF
    • Use a spudger to pop off the side cover.

    • You may have to use force and pull.

  7. VSiJXtS5NlLLxBdQ
    VSiJXtS5NlLLxBdQ
    oSL6vAElQVrFErJt
    • Remove the two Phillips screws on either side of the brush roll.

  8. LSeUlbJMHEYNL5re
    LSeUlbJMHEYNL5re
    owGCHCnVLCRquqhp
    HwrwHIFpilIqgFEr
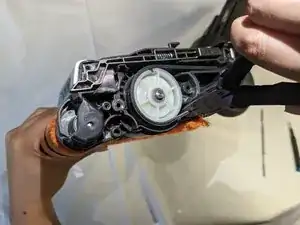
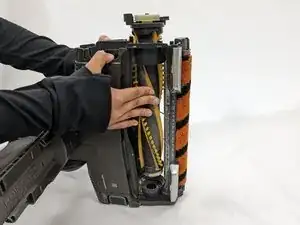
    • Use pliers to grab the belt just below the wheel.

    • Pull in a circular motion around the wheel until the belt comes loose and you are able to remove it.

  9. R1E5mvHgihDRkbSS
    R1E5mvHgihDRkbSS
    JfaGQ5FEGLKAitAi
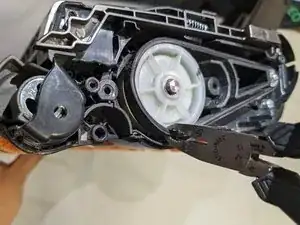
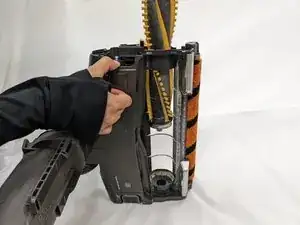
    • Push the brush roll up so it pops out of its slot.

    • Grab the end of the brush roll and pull it completely out.

  10. DDNAwwRHIHq2MJyu
    DDNAwwRHIHq2MJyu
    hXMlApoj645Ti5Xj
    • Insert new brush roll until it clicks in place.

    • Be sure to align the brush roll end before pushing it fully in, so that it looks like the second photo. This will allow it to click into place.

Conclusion

To reassemble your device, follow these instructions in reverse order.

Tori Vineyard

Member since: 05/02/24

181 Reputation

0 comments