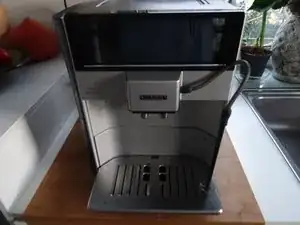
Introduction
It may be that only clear water ends up in the drip tray, but no coffee is produced. Two possible causes are shown here.
Note: you can also carry out the test in steps 7 to 9 without opening the appliance. Simply skip steps 1 to 6 first .
These instructions can also be used with other Siemens/Bosch models - the models have a similar structure.
-
-
Remove all attachments such as water tank, pulp drawer, brew group.
-
Remove the coffee container lid and take out all the coffee beans.
-
-
-
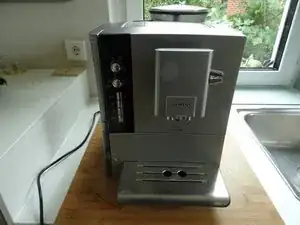
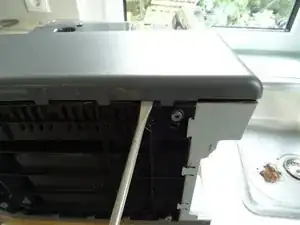
Lay the machine on its side with the water tank side facing up.
-
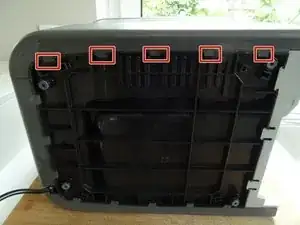
The side panel is essentially held on the ground by five strong catches. Pry up the pegs with a strong prying tool. It's pretty difficult and you need a lot of strength.
-
If the catches are loose, you can pull the side panel away from below. But it's still stuck in other places.
-
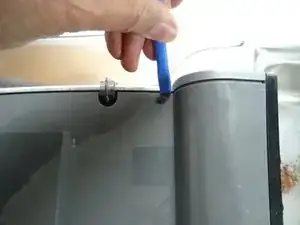
Use a plastic tool to pry the top cover up a few millimeters and lift off the side panel. Most of the time it's still stuck, especially at the front edge, you have to pull hard.
-
-
-
You may need to pry the front edge with a plastic tool.
-
Lift the side panel off, but don't remove it completely yet. It is still connected with a silicone tube.
-
The water tank lid is located at the top of the side panel. Lift it up off the hinges.
-
-
-
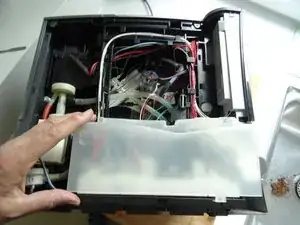
Remove the cover over the electronics.
-
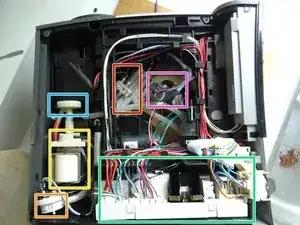
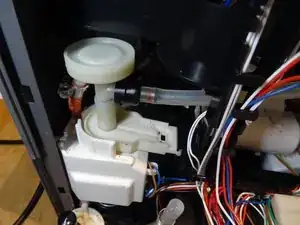
The second picture shows the most important components:
-
heater
-
Ceramic valve/Brew valve (depending on model)
-
electronics
-
pump
-
mute
-
flow meter
-
-
-
First check whether the water is dripping into the drip tray via the expansion vessel. To see this, you need to trick a sensor:
-
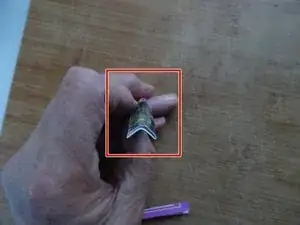
Make an L-shaped strip of cardboard about 5 cm long.
-
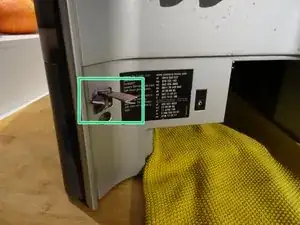
Slide the strip into the L-shaped opening at the top left of the drawer for the trester drawer. You should hear the microswitch click, the machine now "thinks" that the drawer is inserted correctly.
-
Insert an absorbent cloth in place of the drawer.
-
-
-
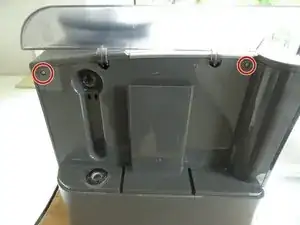
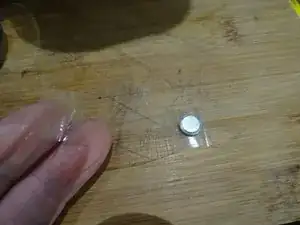
If you have already removed the left side, you will also have to trick the water level sensor:
-
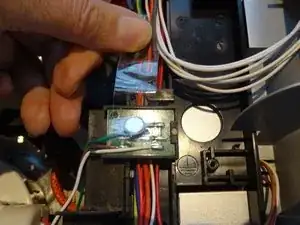
Stick a small, not too strong magnet (this one is from a box top) on a strip of tape.
-
Attach the magnet over the two sensors so that the machine "thinks" there is enough water.
-
-
-
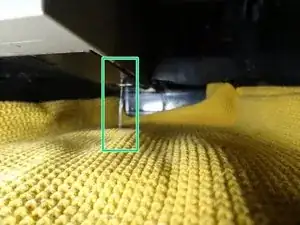
Switch on the machine and wait until it starts rinsing.
-
Observe whether a steady stream of water runs into your cloth. At most, a few drops should come out here.
-
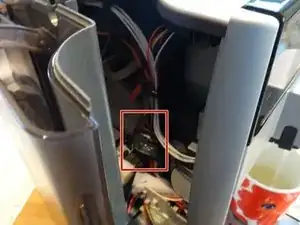
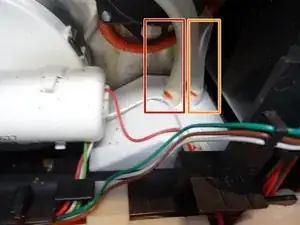
In this case, the water runs out via the expansion tank. There are two valves that lead to the expansion vessel, either of which may be defective.
-
The left hose comes from the pulsation damper/pressure relief valve
-
The right hose comes from the ceramic valve
-
-
-
Start with the pulsation damper/pressure relief valve:
-
Remove the left hose from the expansion vessel and place its end in a glass of water.
-
Start the machine. If the water now runs into the glass, you have found the culprit: The pressure relief valve. A clogged heater may also be a possibility.
-
You can test the heater by also disconnecting the hose between the heater and the ceramic valve on the valve. Blow into the heater. It should go fairly easily.
-
If the water does not run into the glass, the pressure relief valve is probably OK. If the heater is continuous, the culprit must be the ceramic valve. Here are the instructions for the EQ5 and the EQ6.
-


Work through the steps in reverse order to reassemble your device.
3 comments
Hallo @vauweh,
habe auch eine EQ.6 plus s700 Maschiene. Heute ist ein Quaderförmiges Lager in meiner Tropfschale in zwei Teile gebrochen gelandet. Die Außenmaße sind 15x15x7.5 mm mit einer 10.2 mm Bohrung. Habe keine Vorstellung wo das Teil mal hingehört hat. Meine Vermutung ist das Malwerk. Hast Du evtl. eine Idee?
Danke & Grüße
Harald
Harald -
@harald85552 Ziemlich sicher eines der beiden Schiebelager der Brühkammer aus der Brühgruppe. Wenn du sie zerlegst wie in dieser Anleitung, Schritt 5, rechts im Bild, solltest du spüren, dass sie sich nicht mehr sauber bewegen lässt. Wenn du genau schaust, ist vermutlich ein Lager noch drin, das andere fehlt. Leider gibt es das Teil nicht einzeln, ich fürchte du brauchst Ersatz, neu (um 85€) oder gebraucht (vielleicht 50€). Kennst du jemanden, der dir eine probeweise leihen würde?
VauWeh -