Introduction
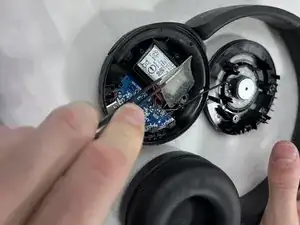
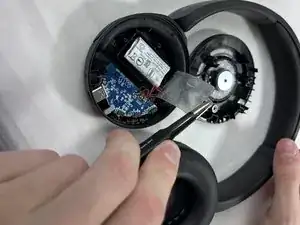
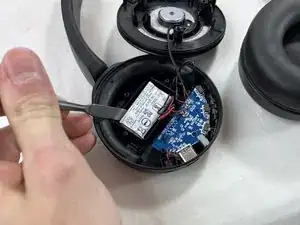
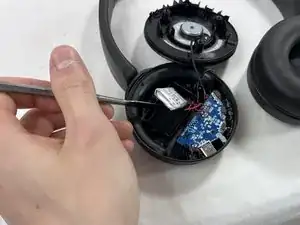
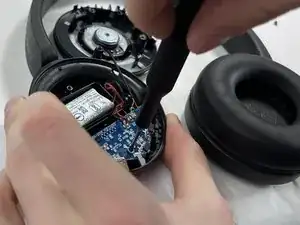
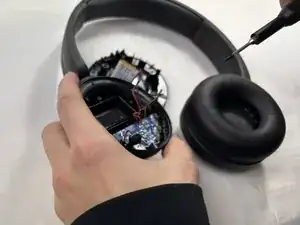
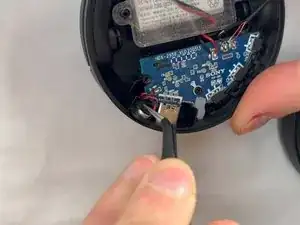
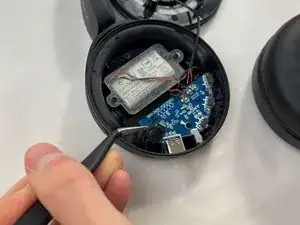
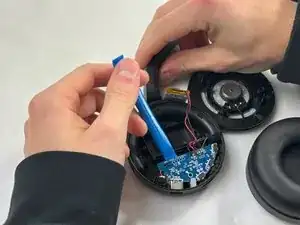
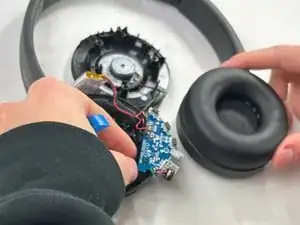
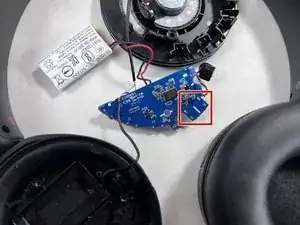
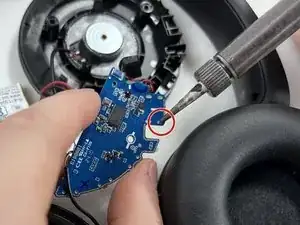
Exposure to liquids or debris can damage the USB-C charging port on your Sony WH-CH520 headphones. If they won’t charge and the orange indicator light stays off when connected to power, the port may be damaged. Replacing it requires soldering and handling small electronic components. Ensure the headphones are disconnected from power before disassembly to avoid injury. Follow the guide below to replace the USB-C charging port.
Tools
-
-
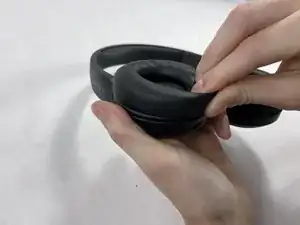
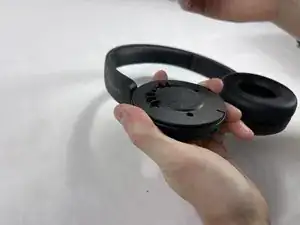
Pull the pinched portion of the cushion up and towards yourself.
-
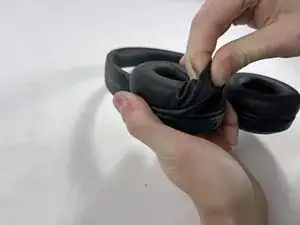
Pull part of the cushion off of the lip of the headphones.
-
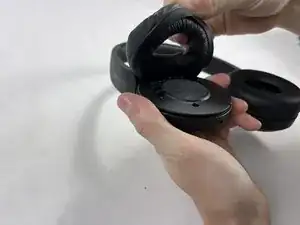
Fully remove by pulling the earpad cushion down and away from yourself.
-
-
-
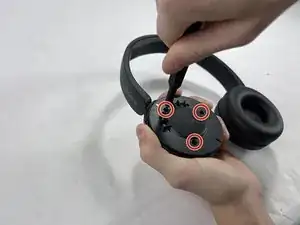
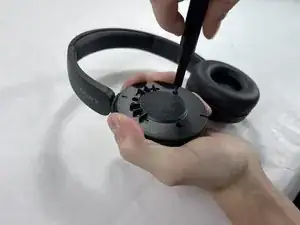
Remove the three 2.5 mm screws from the right side of the headphones using a JIS #00 screwdriver.
-
-
-
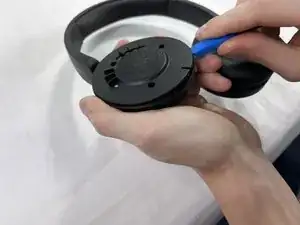
Place one end of an opening tool against the edge of the base with the hook-like side pushing up against the covering.
-
Carefully pull the tool down against the edge to lift the covering.
-
Move the tool to different spots around the base of the headphones to pry it up until the covering comes off.
-
-
-
Use the tweezers to pinch the silicone casing surrounding the microphone.
-
Pull it up and out from the headphone casing.
-
-
-
Use the opening tool to lift the motherboard out of the headphone casing.
-
Isolate all wires and electronic components from the plastic pieces.
-
Flip the motherboard such that the back pins of the charging port are exposed.
-
-
-
Heat your soldering iron to around 350-450°F (175°C-230°C).
-
Reheat the solder on each pin one by one.
-
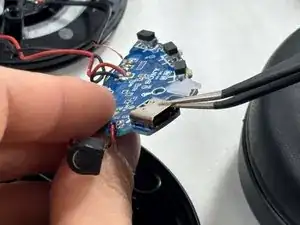
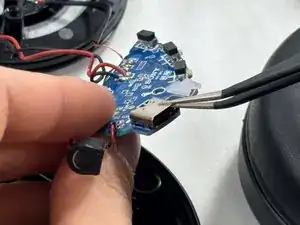
After reheating, use the tweezers to pull up on the charging port, releasing each pin from its place.
-
To reassemble your device, follow these instructions in reverse order.
