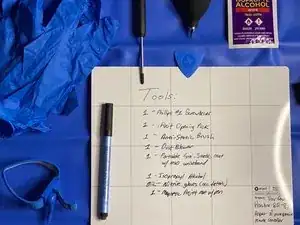
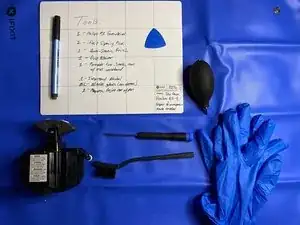
Introduction
-
-
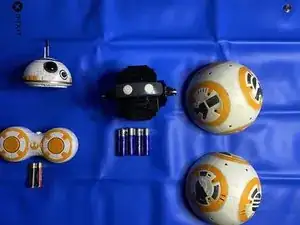
The main components are: headpiece, two (2) shell halves, remote controller, internal ballast (PCB, motors, wheels, sound speaker, and magnets)
-
-
-
Remove the three (3) screws. The headpiece is a simple plastic molding. There are two (2) magnets attached to the ends of the orange molding. These align with the magnets on the internal ballast as we’ll see later. NOTE: It’s good practice to always be ready to clear out any dust or debris resulting from damage or a previous teardown.
-
-
-
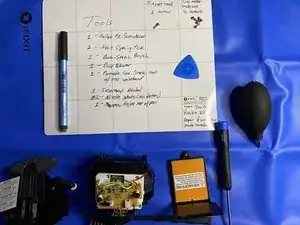
Remove the screw from the battery cover (it stays attached). Remove the four (4) screws. Separate molding with an iOpener pick. Remove screw from controller circuit board to inspect. NOTE: Be prepared to clean corrosion from old batteries off the battery contacts and on the circuit board.
-
-
-
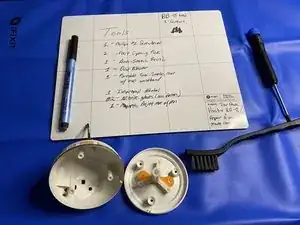
Remove the screw, then remove the battery cover. Remove the four (4) screws from the motor casing. Pull apart casing to expose PCB, speaker and two (2) motors. Notice the two (2) magnets in the rounded y-shaped molding. These align with the magnets in the headpiece. Be prepared to clean contacts and re-solder wire if motor replacement is necessary.
-