Introduction

If you find that your microphone has broken after extensive use or damage, you may want to take the opportunity to replace it before buying a new headset. This guide will take you through the steps necessary to ensure that your microphone replaced and working again.

  1. 2CqWEbccLsxdWtrH
    2CqWEbccLsxdWtrH
    JxAqgnqDNvqqiCDX
    • Before continuing, remove the left ear pad with the earpad replacement guide.

    • Ensure that you are removing the side that houses the microphone.

    • Use a spudger to pry up the black plastic housing.

    • Remove the plastic cover.

  2. ByKoGlekGaoKV6VO
    ByKoGlekGaoKV6VO
    tsuRsLNShpXF3KWJ
    X45hHmyZXkuvcGmQ
    • Use a Phillips screwdriver remove the two 5 mm screws that secure the motherboard.

  3. ZlrAQSGmJJK4J2Rs
    ZlrAQSGmJJK4J2Rs
    E6luUwdnlnymLR3g
    Z41EMA2XrHtWPw33
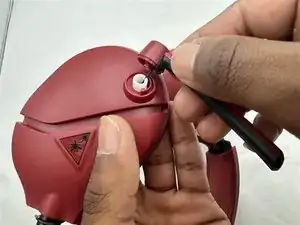
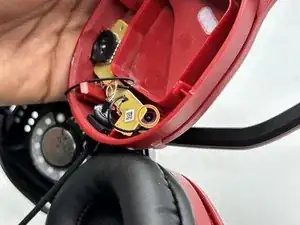
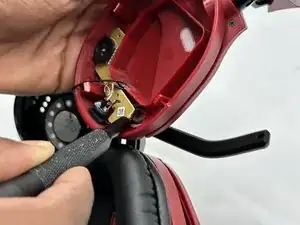
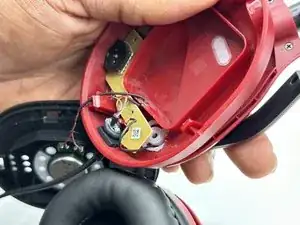
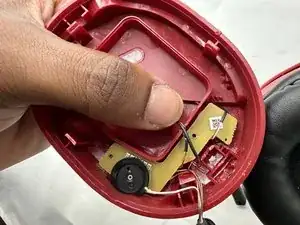
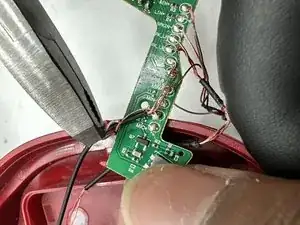
    • Use a Phillips screwdriver to remove the single 8 mm screw under the motherboard that secures the microphone.

  4. hfoJFksPWsLAErgA
    hfoJFksPWsLAErgA
    osUv2DWcSAcENC2d
    iELLSSFdQIRNcZwR
    • You may need to move the wire connecting to the speaker to easily remove the motherboard.

    • Remove the circuit board from the housing.

    • Take care not to strain the wires.

  5. XTrJYxrQ2diPevaD
    • Desolder the microphone connections.

    • Soldering irons can cause burns and fires. Always solder and desolder in a well-ventilated workspace.

Conclusion

To reassemble your device, follow these instructions in reverse order.

Austin Hance

Member since: 05/02/24

588 Reputation

0 comments