Introduction

The motherboard is the central component of your headset that ensures that the device is functioning. Any problems with the motherboard may cause the headset to stop working in its entirety, therefore, in any case that your motherboard has suffered any damage, this guide will take you step by step on how to replace it and get your gaming headset working again.

  1. IsvMOpwYJAbkSC5R
    IsvMOpwYJAbkSC5R
    nRKjyCdFobB5FtCZ
    tKXN5jWCLOL2GWAG
    • Remove the left ear pad by following the steps from the ear pad replacement guide.

    • Use a spudger to pry up and remove the black plastic cover.

  2. LRWIX5irNQxd3p3X
    LRWIX5irNQxd3p3X
    Z4maYBFv2R6aaTdV
    dpc15EsHUEi5TPOO
    • Use a Phillips screwdriver to remove the two 5 mm screws that secure the motherboard.

  3. UdTEJlIhCttt6ius
    UdTEJlIhCttt6ius
    V4YSOFlq5JdV2gfy
    sRrPW3Rapq6NCFsV
    • You may need to move the speaker so it does not block the path of the motherboard.

    • Remove the motherboard from the headset by up and away from the volume wheel.

    • Take care not to strain the connections.

  4. CNudvxTLRVpQ2TZR
    CNudvxTLRVpQ2TZR
    bwrpH1NURBKLyHyL
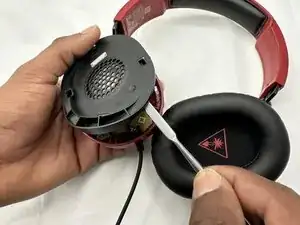
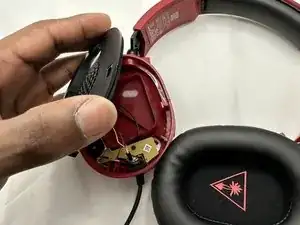
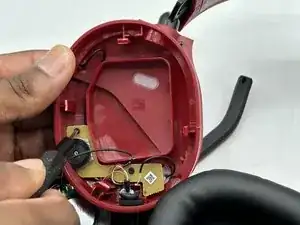
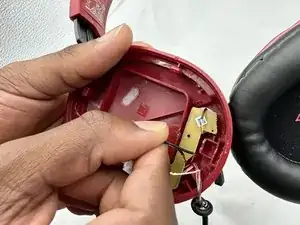
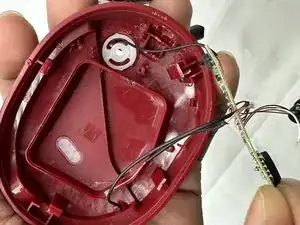
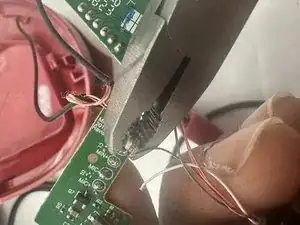
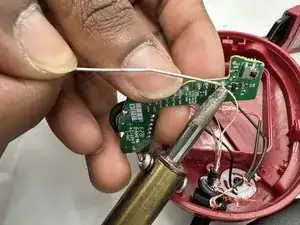
    • Before replacing the motherboard, use flush cutters to cut each wire connected to the motherboard.

    • Cut the wires as close as possible to their connections.

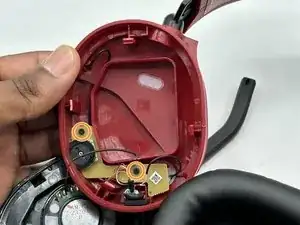
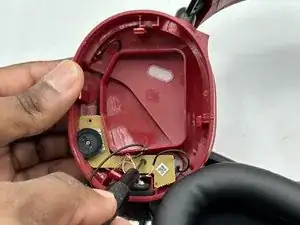
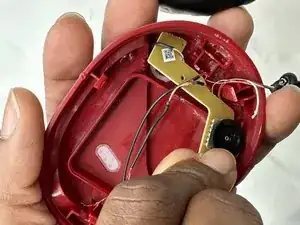
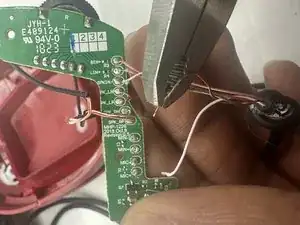
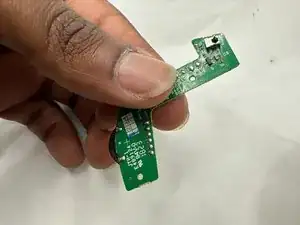
    • Take note of how each component connects to the motherboard.

  5. ULNsYT5bbFAKJ1ED
    ULNsYT5bbFAKJ1ED
    Do6sSEKrB1ASkreX
    • Prepare your replacement motherboard before continuing.

    • Solder each wire of the new motherboard in the same spots they were originally found.

    • Soldering irons can cause burns, fires and device damage. Always solder in a well-ventilated area.

Conclusion

To reassemble your device, follow these instructions in reverse order.

Austin Hance

Member since: 05/02/24

588 Reputation

0 comments